This is Part 1 in a series about getting the most out of your chicken, check out Part 2!
Today I’m going to show you how to make an amazing lemon herb roasted chicken. I know, I know, there are hundreds of recipes for roasting a whole chicken on the internets. But, I’m starting this blog off with the basics in all categories for two reasons: one, I believe that these posts set up a good foundation for anyone who wants to start being more self sufficient; and two, I need the practice so that this blog can be super awesome! Anyways, here we go with how to roast a chicken, the simple and yummy way!
First things first, let’s talk about the chicken that you’re going to eat. I’m a firm believer in only eating animals that have been raised humanely and without any of the nasty stuff (hormones, antibiotics, chemicals, etc.). Organic is good, but local is better. The movement towards local farms that raise these types of animals is growing exponentially (I hope to be one someday), so that means there should be one within, at the very most, a few hours drive from you. Check them out! The cost may be more than you’re used to paying in the regular grocery store, but it is so worth it. Your health depends on it!
How to Roast a Chicken
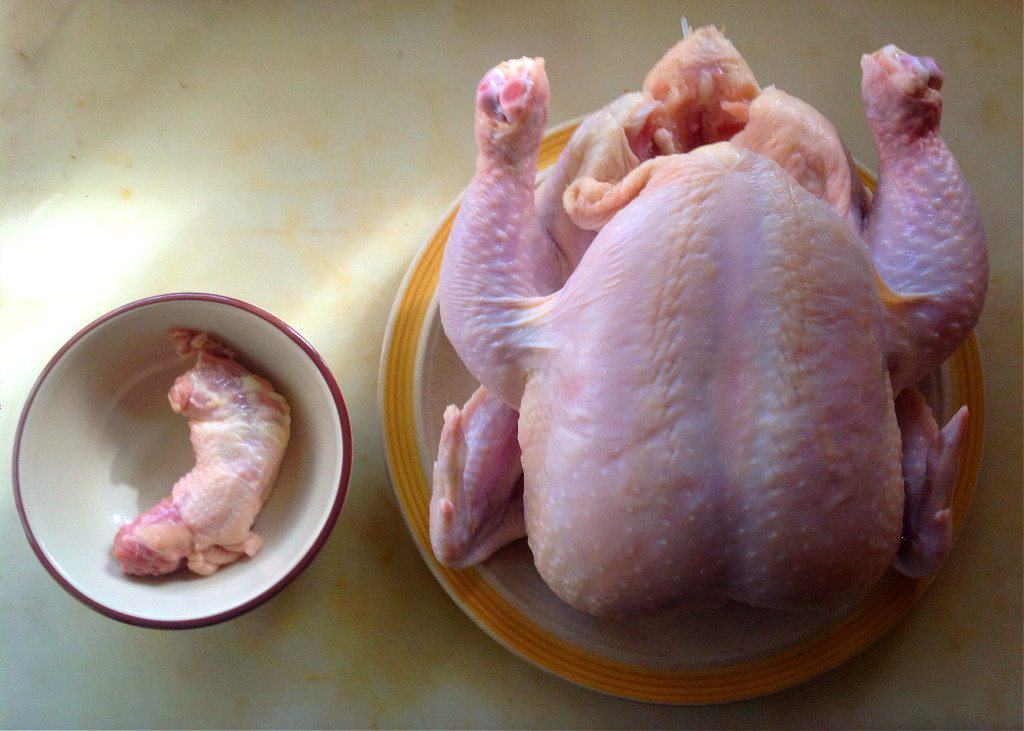
Now that we got that out of the way, let’s first pull our chicken out of the fridge. Remove any wrapping there may be on it and pull the neck and any giblets out of the cavity and set aside. Rinse the chicken well and pat dry. My chicken didn’t come with giblets so I’m not going to show any of that, but do what you will with them if yours has them. Fry up the liver if you’re so inclined. Save the rest (not the liver) for your chicken stock makings later. The neck will be roasted along side the bird.
Want to save this post for later?
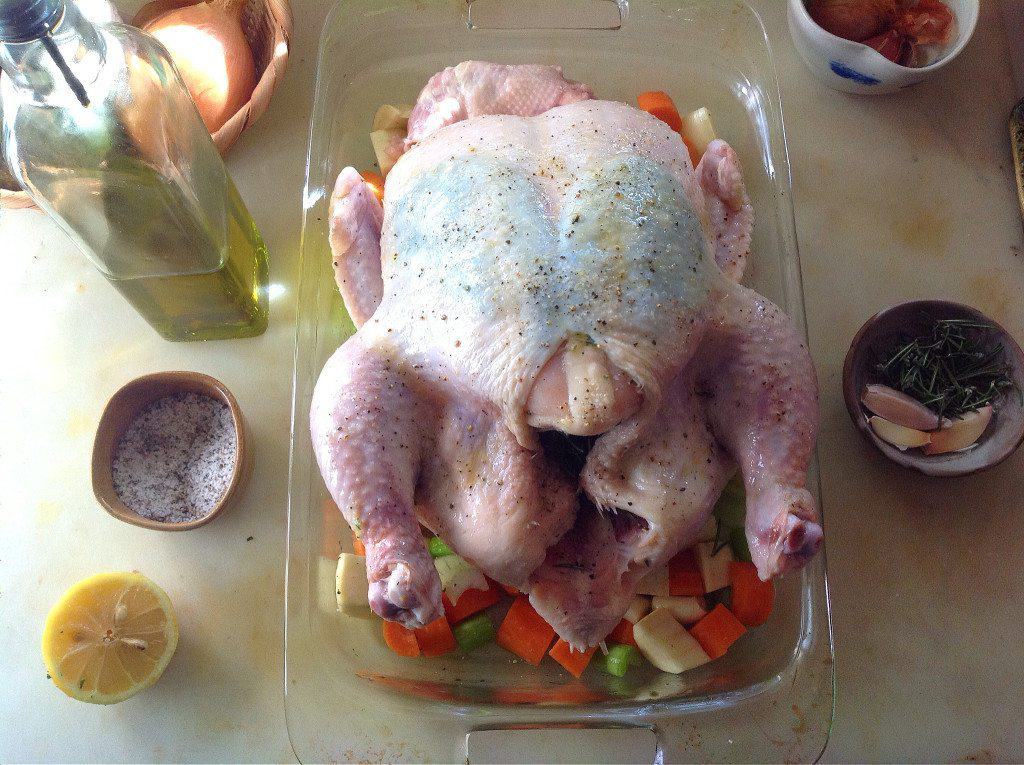
Now we’re going to create a base to put our chicken on for roasting. Cube up some sturdy veggies and put them in the bottom of a glass pyrex or casserole dish. Drizzle them with olive oil, sprinkle with salt and pepper and stir ’em around.
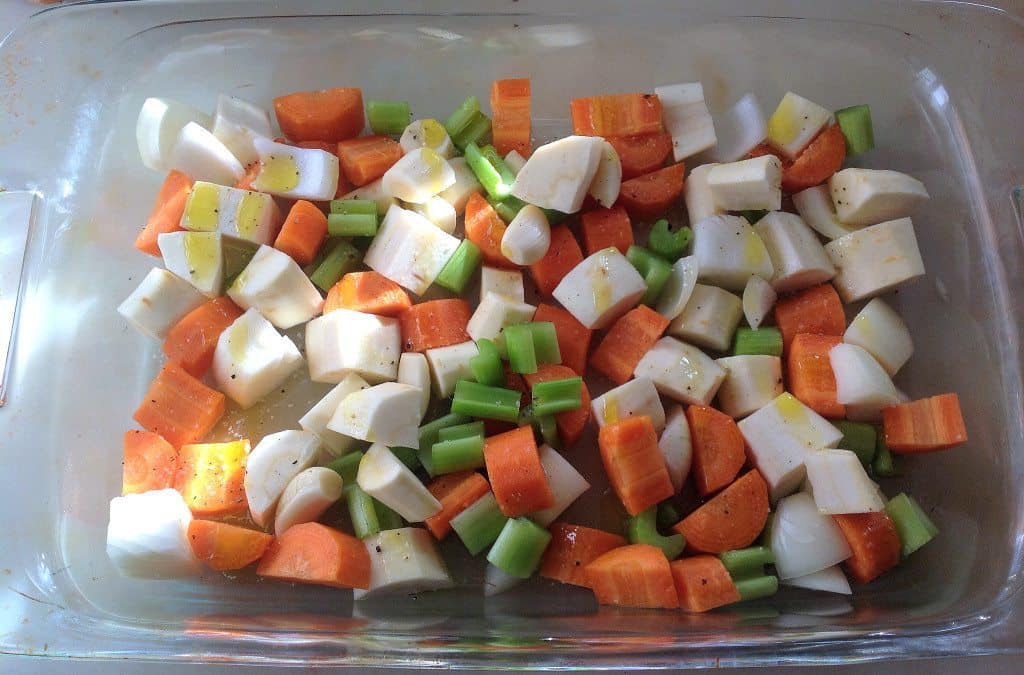 I used carrots, parsnips, celery, onion and whole garlic cloves, but you can use anything that you like that will hold up. I’ve used potatoes, sweet potatoes, winter squash, turnips, and brussels sprouts in the past.
This is a good time for me to mention, start saving all of your scraps from onions, carrots and celery! Carrot peelings and ends, celery ends and any peelings and ends from the allium family (onions, garlic, leeks, etc.) all should be saved.
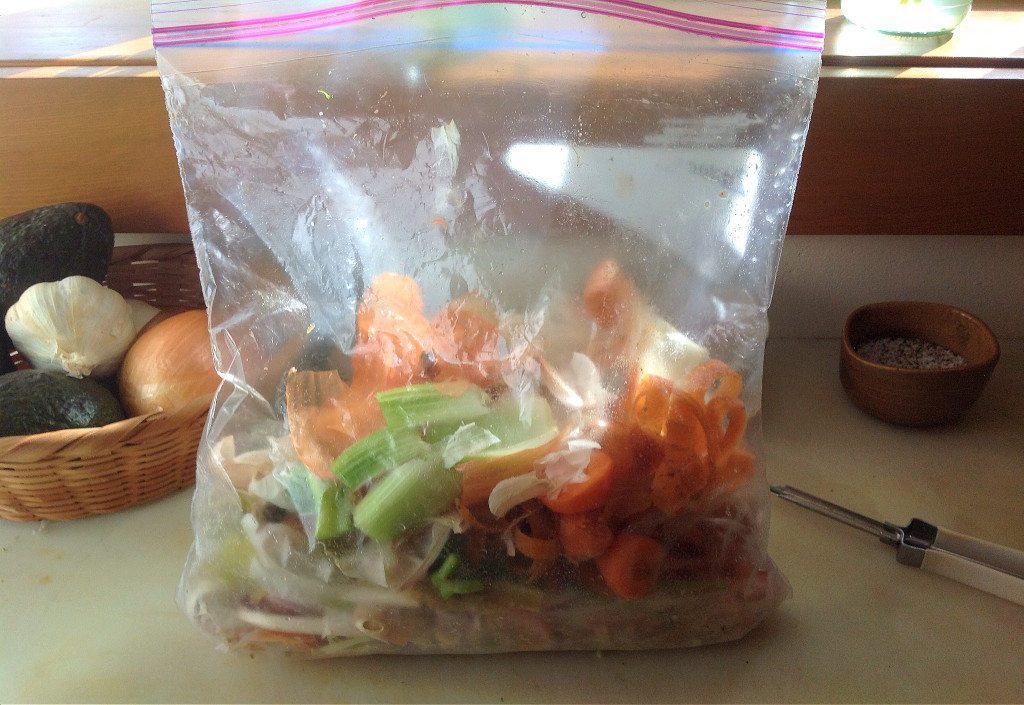 Put them in a big ziplock bag or a container and stick them in your freezer. Add to it any time you use those veggies. They will be used to make chicken (or veggie) stock later!
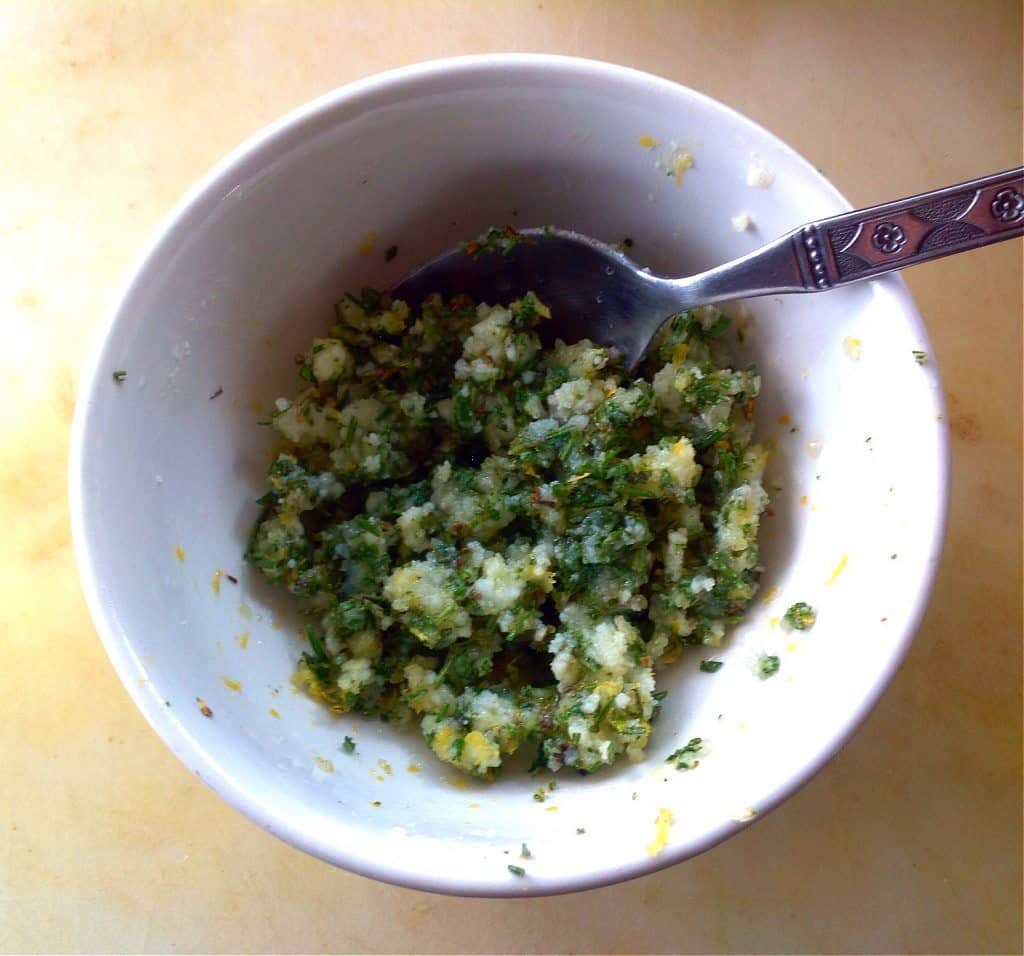
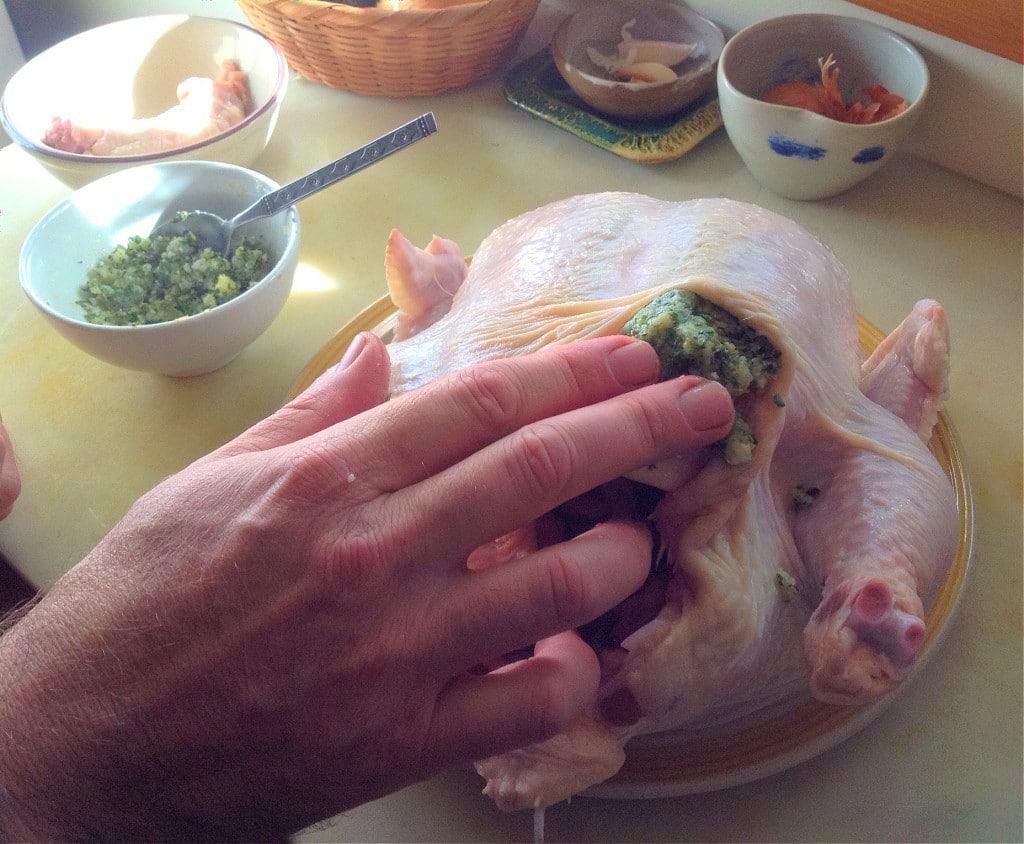
Ok, now we’re going to make the lemon herb paste to put on the chicken. Mix together a few tablespoons of ghee (or butter), minced garlic, lemon zest, minced rosemary and sage, salt and pepper.
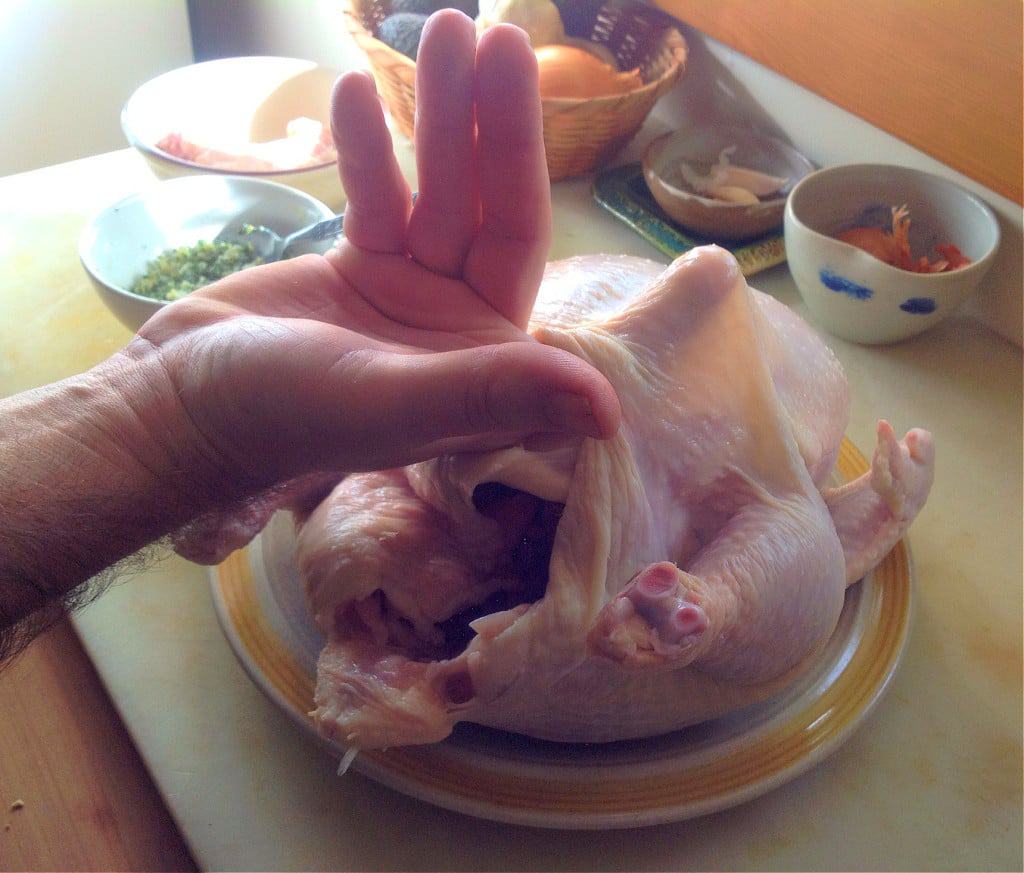
 Now go back to your chicken. On the breast side, separate the skin from the meat as best you can.
 Then stuff that herb paste in there. Both sides. Trust me.
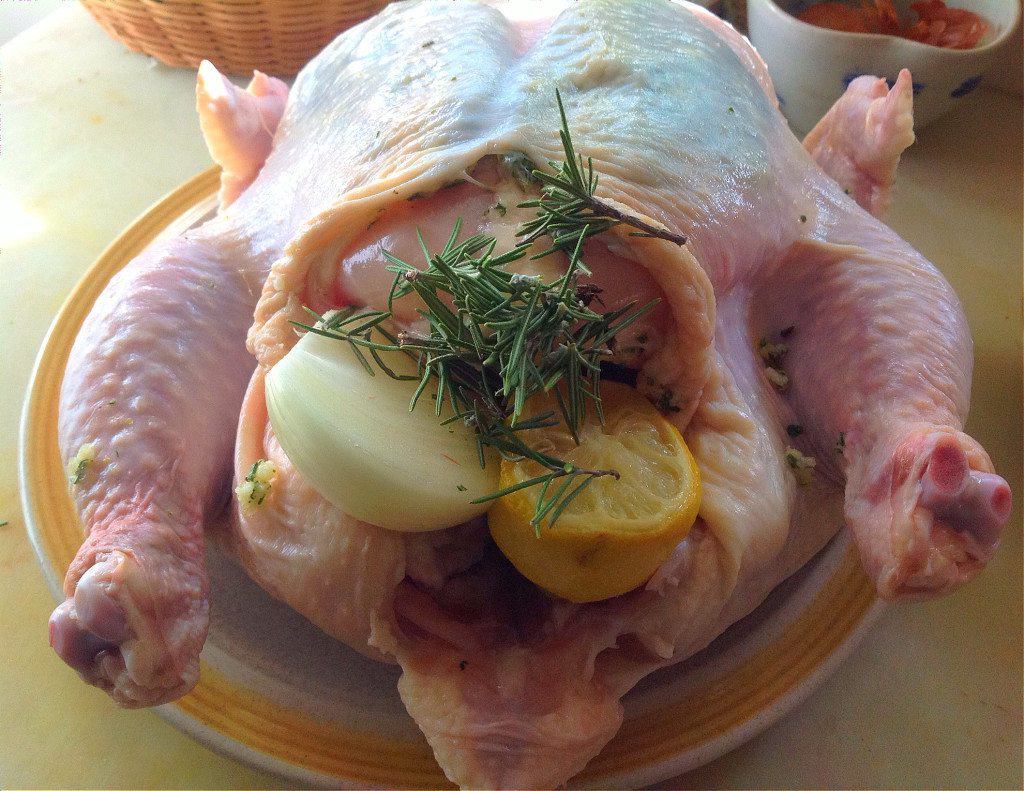
 Now stuff the cavity with half a lemon, onion and rosemary.
 Put the chicken on top of the cubed veggies, drizzle it with olive oil and lemon juice and rub it all over. C’mon, don’t be afraid to use your hands! Sprinkle liberally with salt and pepper. Put the neck in the pan next to the chicken.
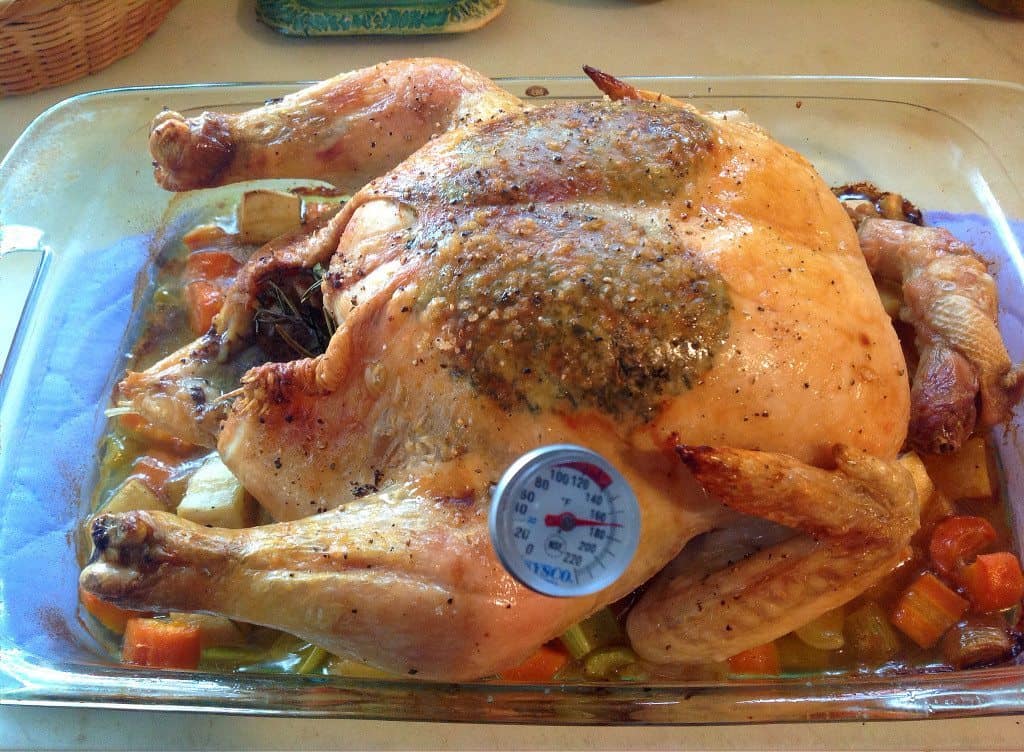
 Ok, ready to go! Pop that sucker into a preheated 450° oven for 30 minutes, then turn it down to 350° and continue roasting for about 1 1/2 hours for a 5-6 pound chicken, less if it’s smaller. Check it with a meat thermometer where the leg meets the body, it should read 165°-170° when it’s done.
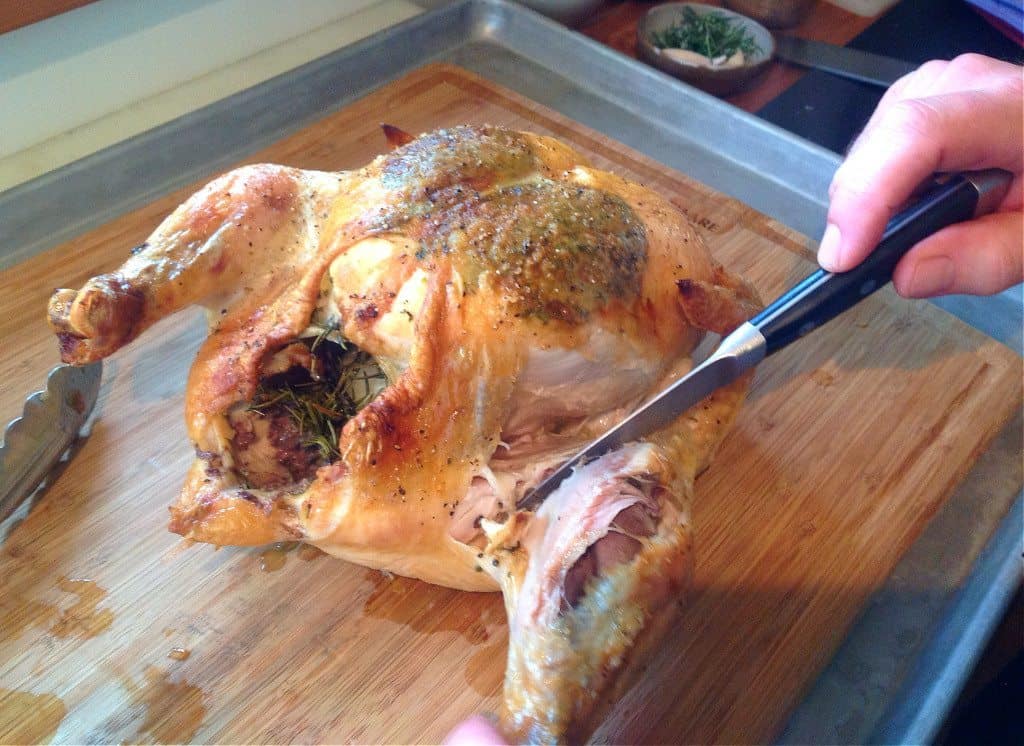
 Now it’s time to cut it up! This is something that I am admittedly not good at, but luckily I have Joel to show us the ropes. First cut the legs and thighs off (we always eat those first!).
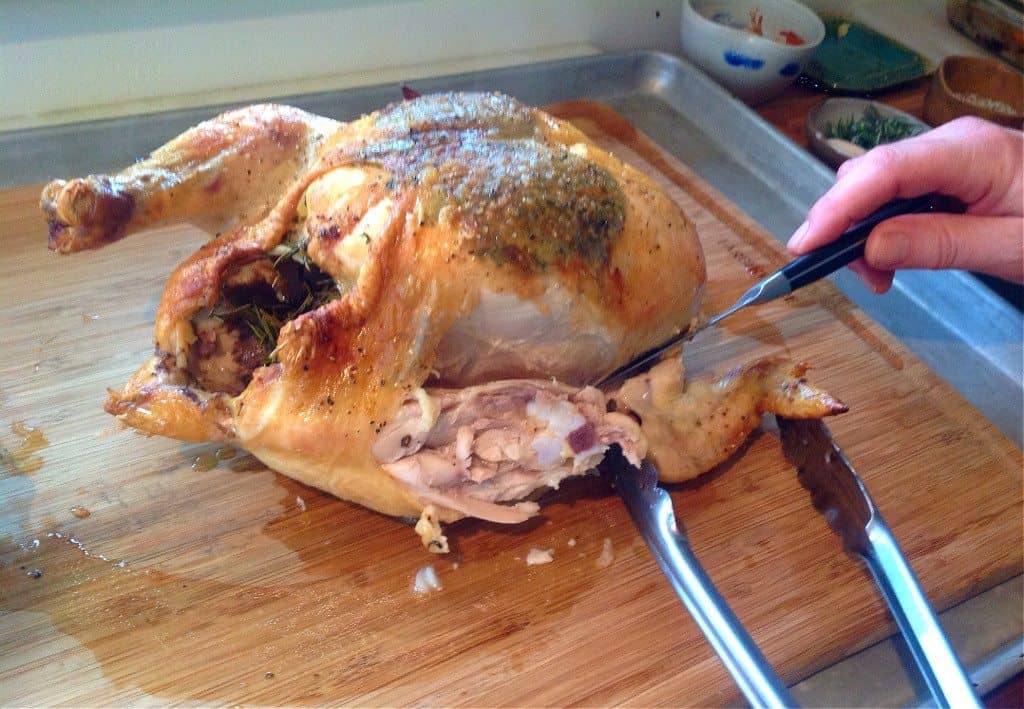
Then the wings.
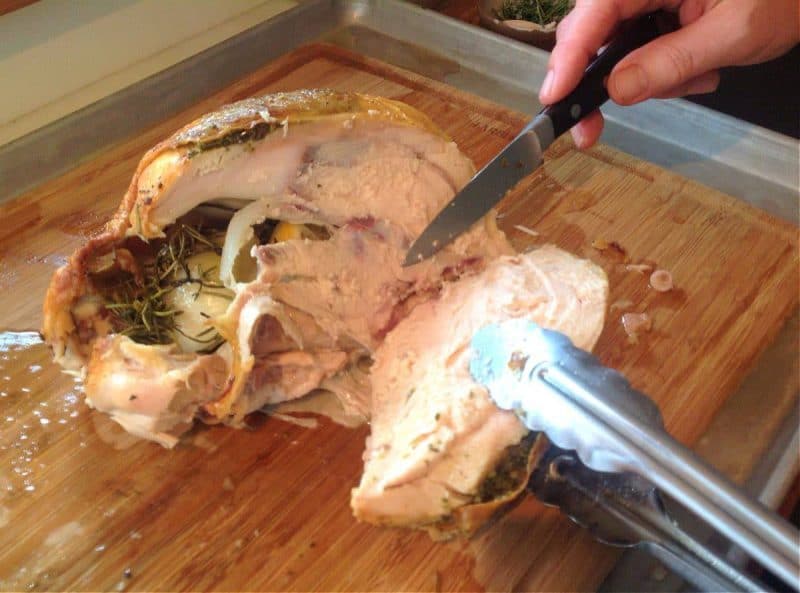
Then you can easily carve the breasts.
Pick the rest of the meat off the carcass, then save all the bones for stock making later (which I will show soon!), either in the fridge or freezer.
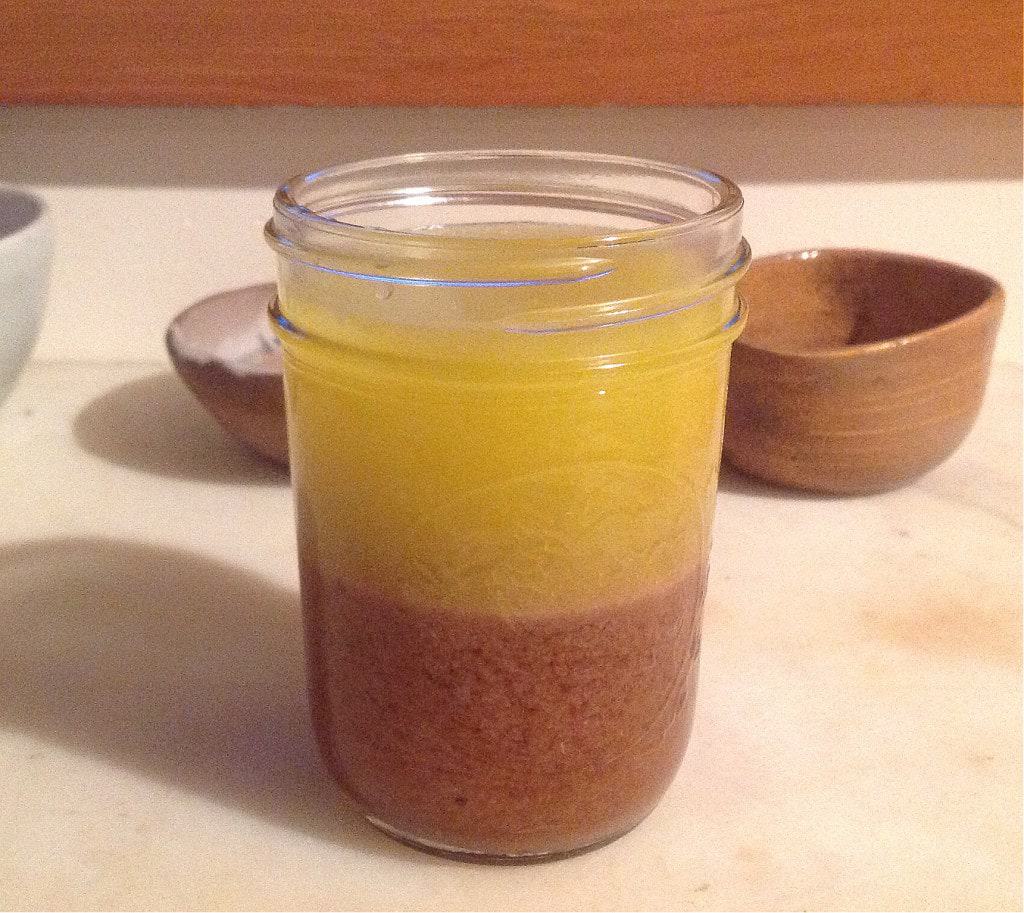
Next you’ll want to strain the veggies before you eat them, but save the fat! Put it in a jar and after a few hours it will separate and all the fat will be on top.
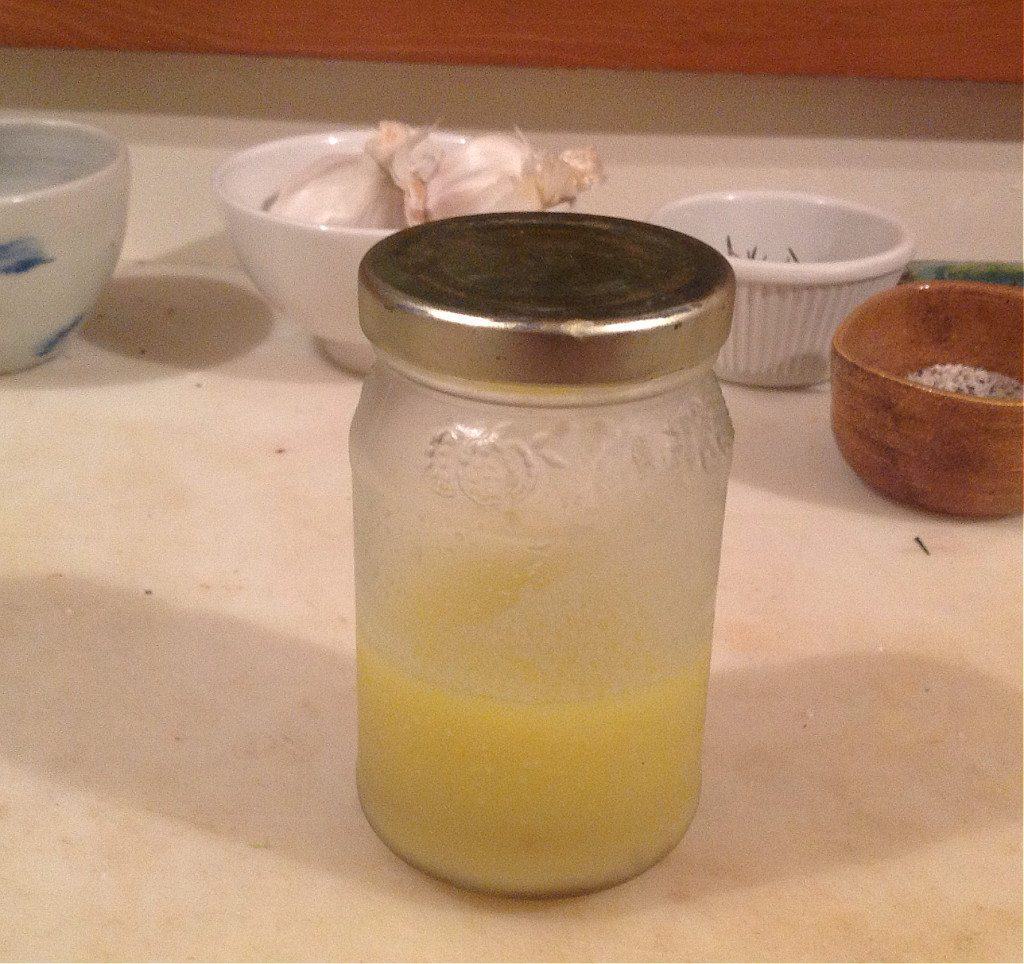
Use a turkey baster to suck that fat off the sediment and transfer it into another jar and keep it in the fridge. This is wonderful to roast potatoes or other veggies.
 And there you have it! Lemon Herb Roasted Chicken would be delicious served with a slice of No-Knead Sourdough Bread for a complete meal.
For just two people this yields a good amount of leftovers which is always nice. If you have a bigger family you may want to consider roasting 2 chickens at once. If you’re doing one you might as well do two!
Next up in this series about chicken I’m going to show you how to make chicken stock! Exciting!

Perfect timing- I just happened to buy a whole chicken. Going to roast it today and make stock tomorrow. I’m enjoying your blog!
Awesome, thanks! Hope it turns out great!
This is awesome I kinda cook my turkey this way, I sometimes like to put a roasted red pepper in the blender and mix it in with the butter.
Great Blog!
Thanks! Ooh, that sounds pretty tasty!
Good work. Thanx for sharing your experience with us. I am going to try this recipe and hope it work well for me. Looking for more interesting tips from you.
Well done! You are still one of the raddest people I know. I am quite enjoying your blog – your writing style is just right!
Thanks! Glad you like it! And glad that you still think I’m rad, haha!!!
A good job Colleen! Love the pictures and the tips about saving everything to be used later!
I’m passing this one along to my meat-eating friends.
Good job! Just bookmarked this into my “Food” folder. I love a way to share the basics with my friends and children and this is excellent.
Thank you, glad you like it!