
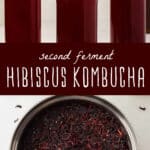
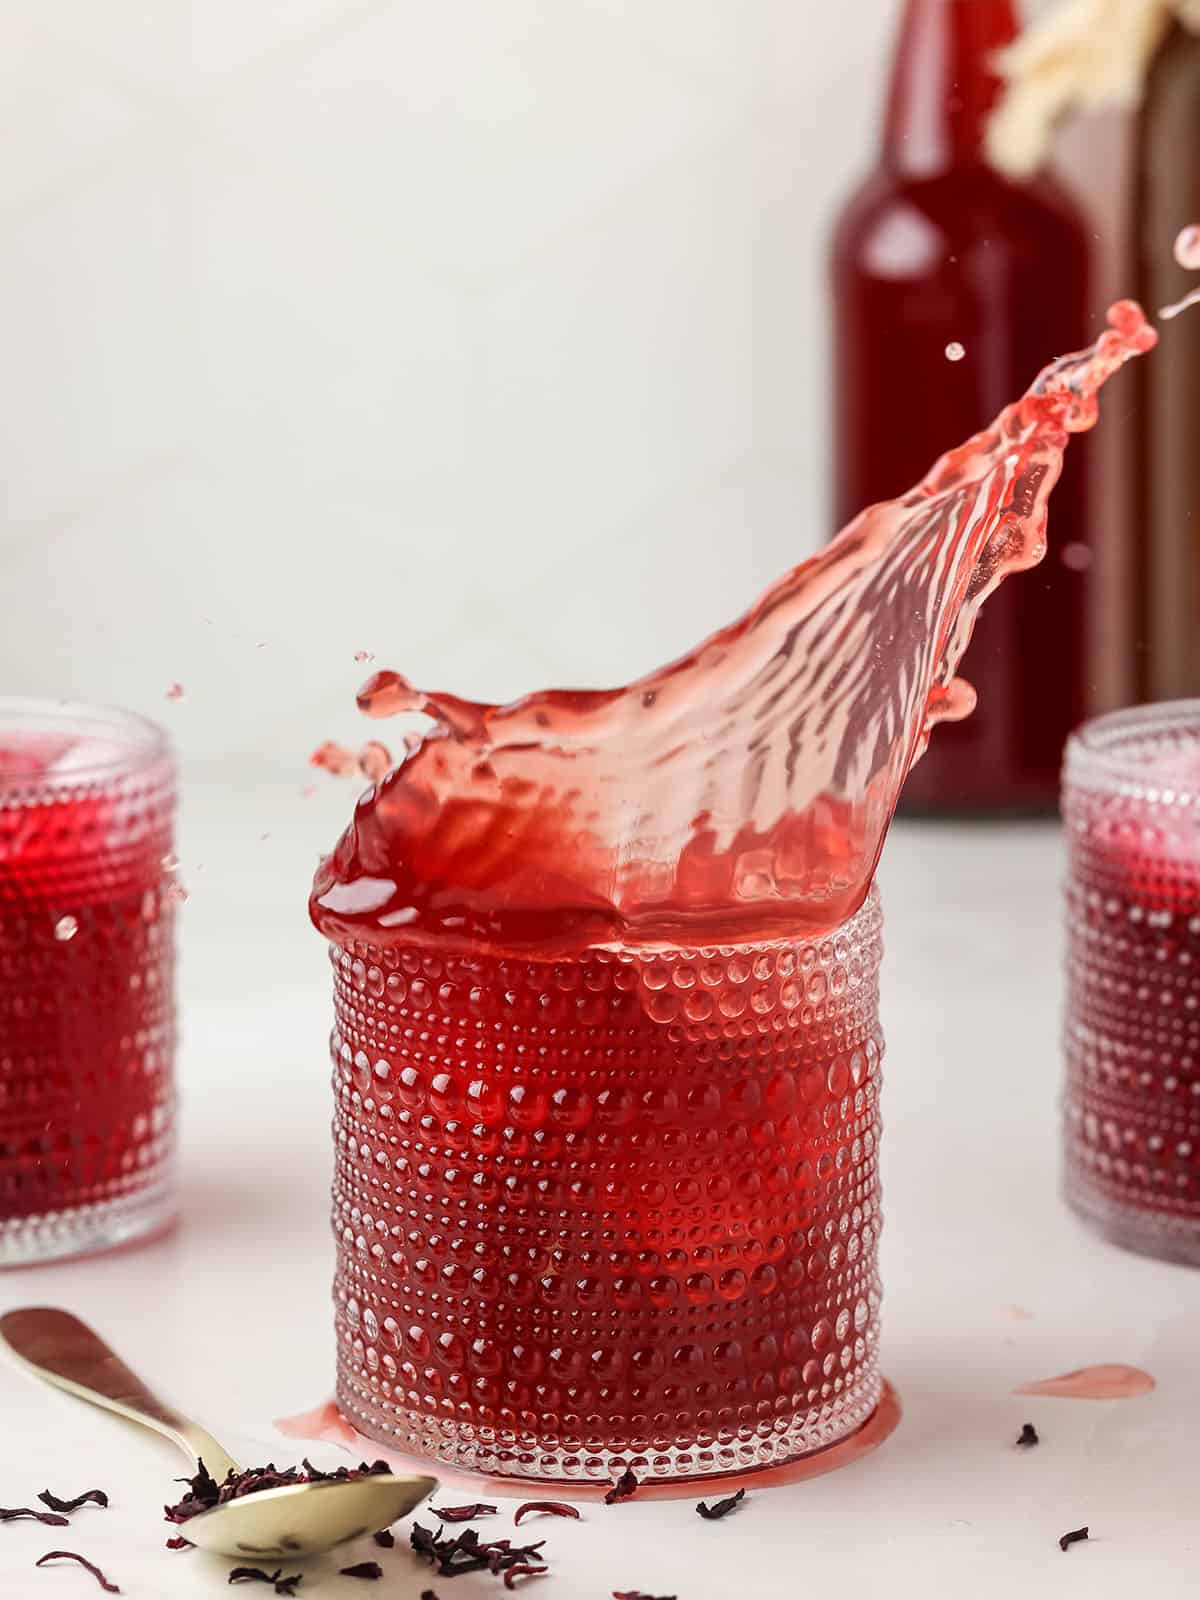
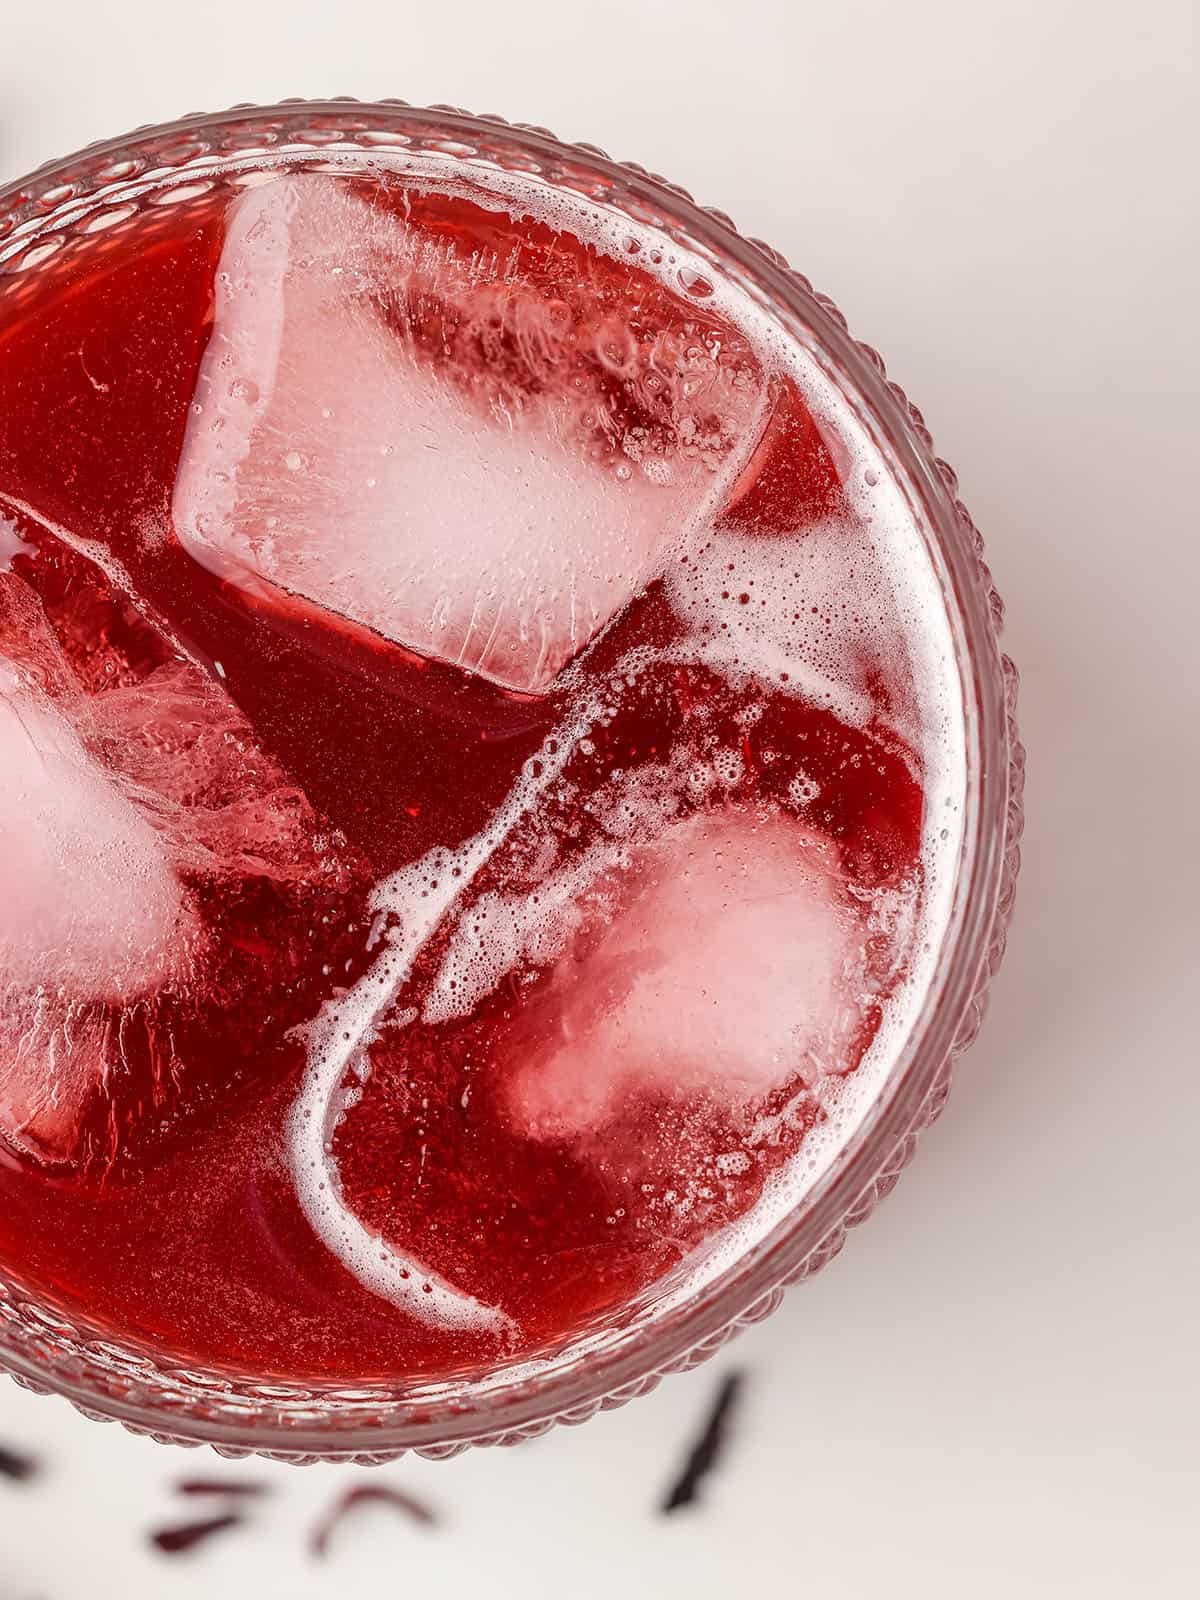
Hibiscus kombucha is a delicious tart and floral flavored brew with a beautiful bright pink color. Boasting a refreshing fizz, benefits from hibiscus tea, and healthy probiotics, this brew will be in your regular rotation!
Want to save this post for later?
Quite Possibly The Best Kombucha
Saying something is “the best” when there’s clearly so many good options is strong words, I know. However, I dare say it! Hibiscus kombucha is so tasty with many benefits, it’s one of my favorites.
Of course, you’ll have to make this super pretty pink delightful brew to see for yourself. I trust that you’ll love it just as much as I do, it’s right up there with rose kombucha and strawberry kombucha.
Hibiscus is antioxidant, high in vitamin C, and can help lower blood pressure. Add hibiscus benefits to the probiotic rich nature of kombucha, and this is a bubbly drink you’ll want in your daily rotation!
Since this is a second ferment made with already brewed basic kombucha, it’s a super easy recipe. The other main ingredient is hibiscus tea, which is naturally tart and floral in taste. It’s a lovely combo!
If you need an overview on the process of how to make basic kombucha with a SCOBY, hop on over to my how to brew kombucha recipe. It also includes all of the SCOBY basics.
Or, you can use green tea kombucha if you prefer.
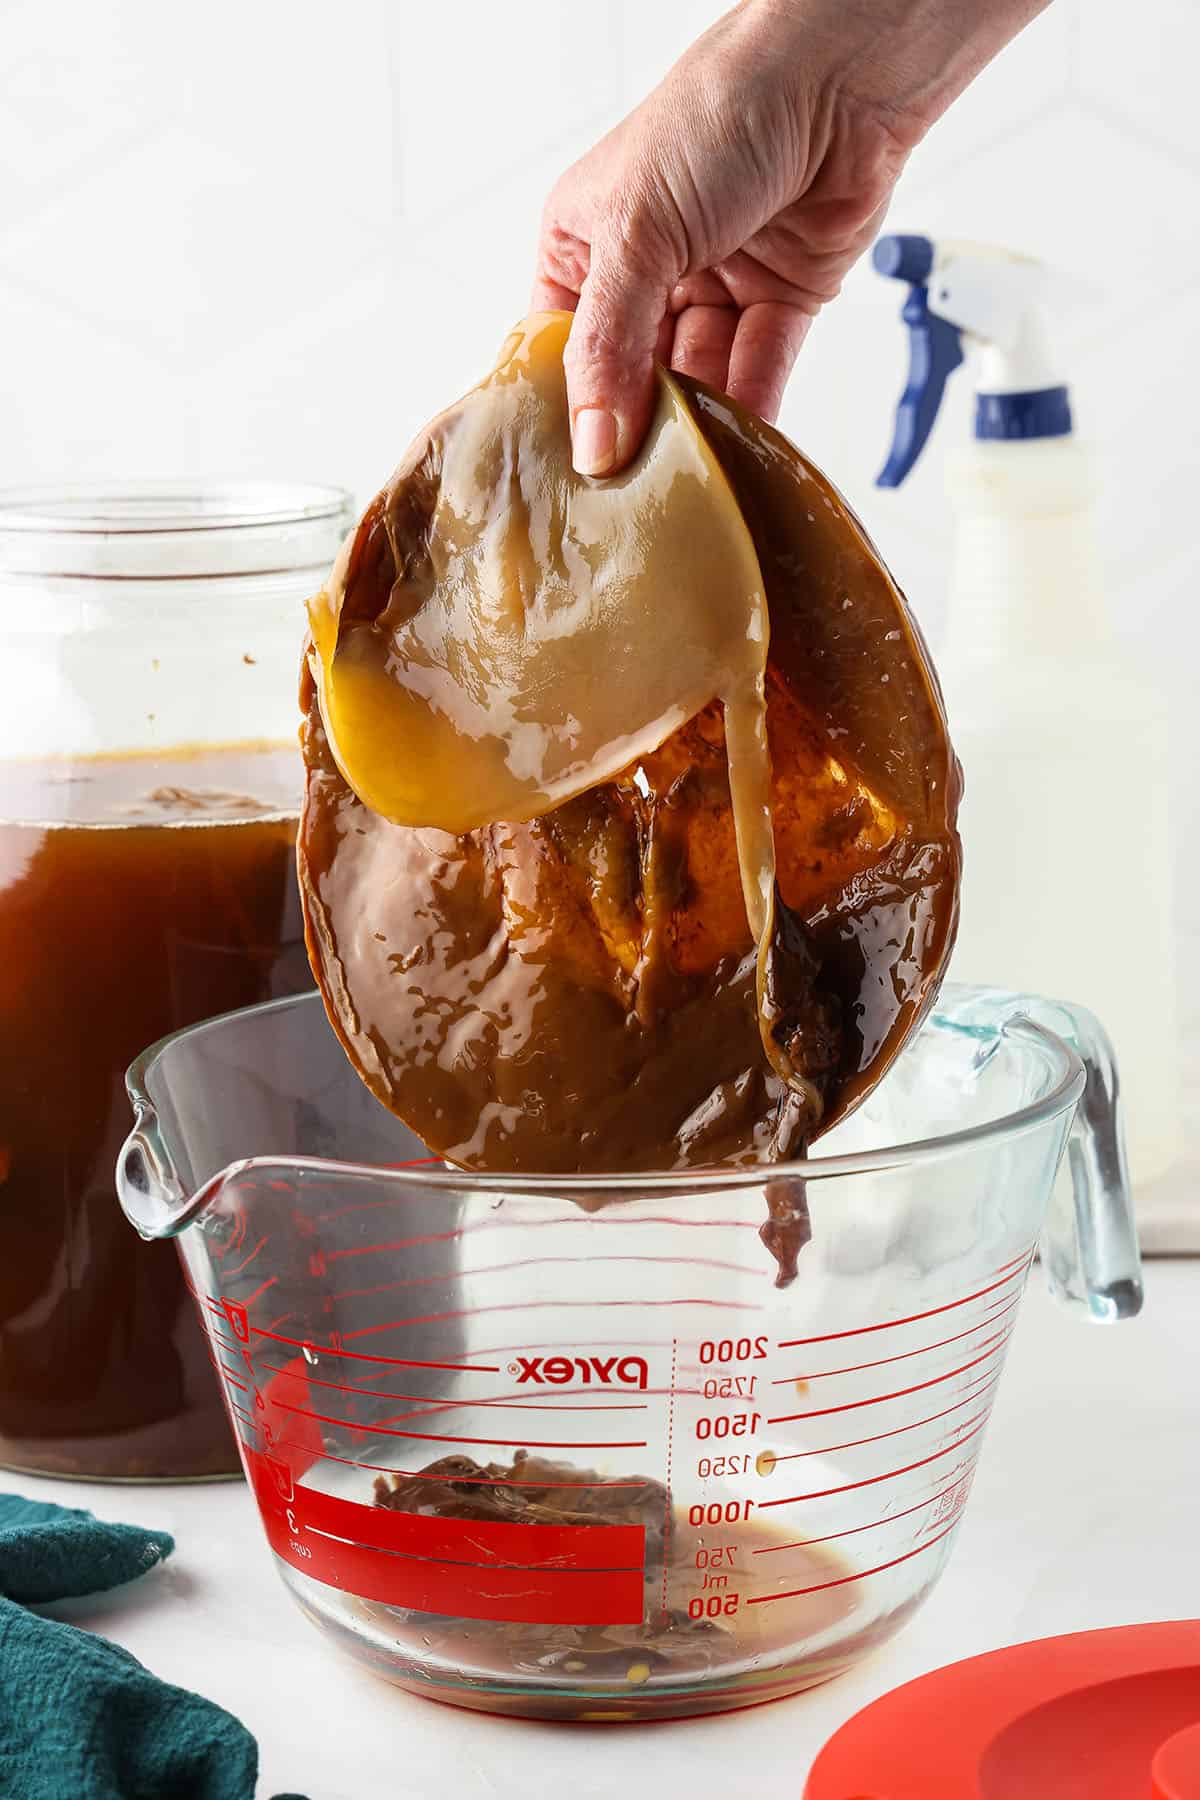
A Quick SCOBY Love Note
SCOBY (Symbiotic Culture of Bacteria and Yeast) might sound a little weird to kombucha novices, but trust me, they’re a good thing! SCOBYs are alive with amazing bacteria and love!
Note: The best way is to get a SCOBY baby from a friend who is already brewing kombucha, or order one online from Kombucha Kamp or Amazon.
Sure SCOBYs are kinda slimy, BUT they’re full of all of the good bacteria that help you thrive, and they eat the sugar to make your brew bubbly. Just don’t judge it on its looks, and everything will be fine!
SCOBYs are what drive the fermentation process, so even though you don’t need one to brew a second ferment, it’s important to know what you’re getting into for your first ferment.
Another option is to make a first fermented hibiscus tea kombucha with a SCOBY, and use some basic kombucha as a starter. It will turn your SCOBY pink!
For today, we will stick with the second fermentation process though, no new SCOBY necessary. Once the first batch is brewed, set SCOBY and 2 cups of liquid aside for your next batch of basic kombucha.
Hibiscus Kombucha Second Fermentation
Of course you can drink the first batch as is, but to make it even better and more flavorful, a second ferment process is an easy way to get flavor, extra fizz, and herbal benefits with your kombucha.
Ingredients
Dried hibiscus flowers: I usually buy dried hibiscus flowers from Mountain Rose Herbs (my favorite place to buy high quality, organic dried herbs) to make the hibiscus tea for kombucha.
Sugar: The sugar will sweeten the tea a little, but mainly it serves to fuel the ferment. The end result isn’t a sugary or sweet drink, since the sugar is metabolized by the yeast during the fermentation process.
Note: It is okay to use more or less sugar based on your preference though.
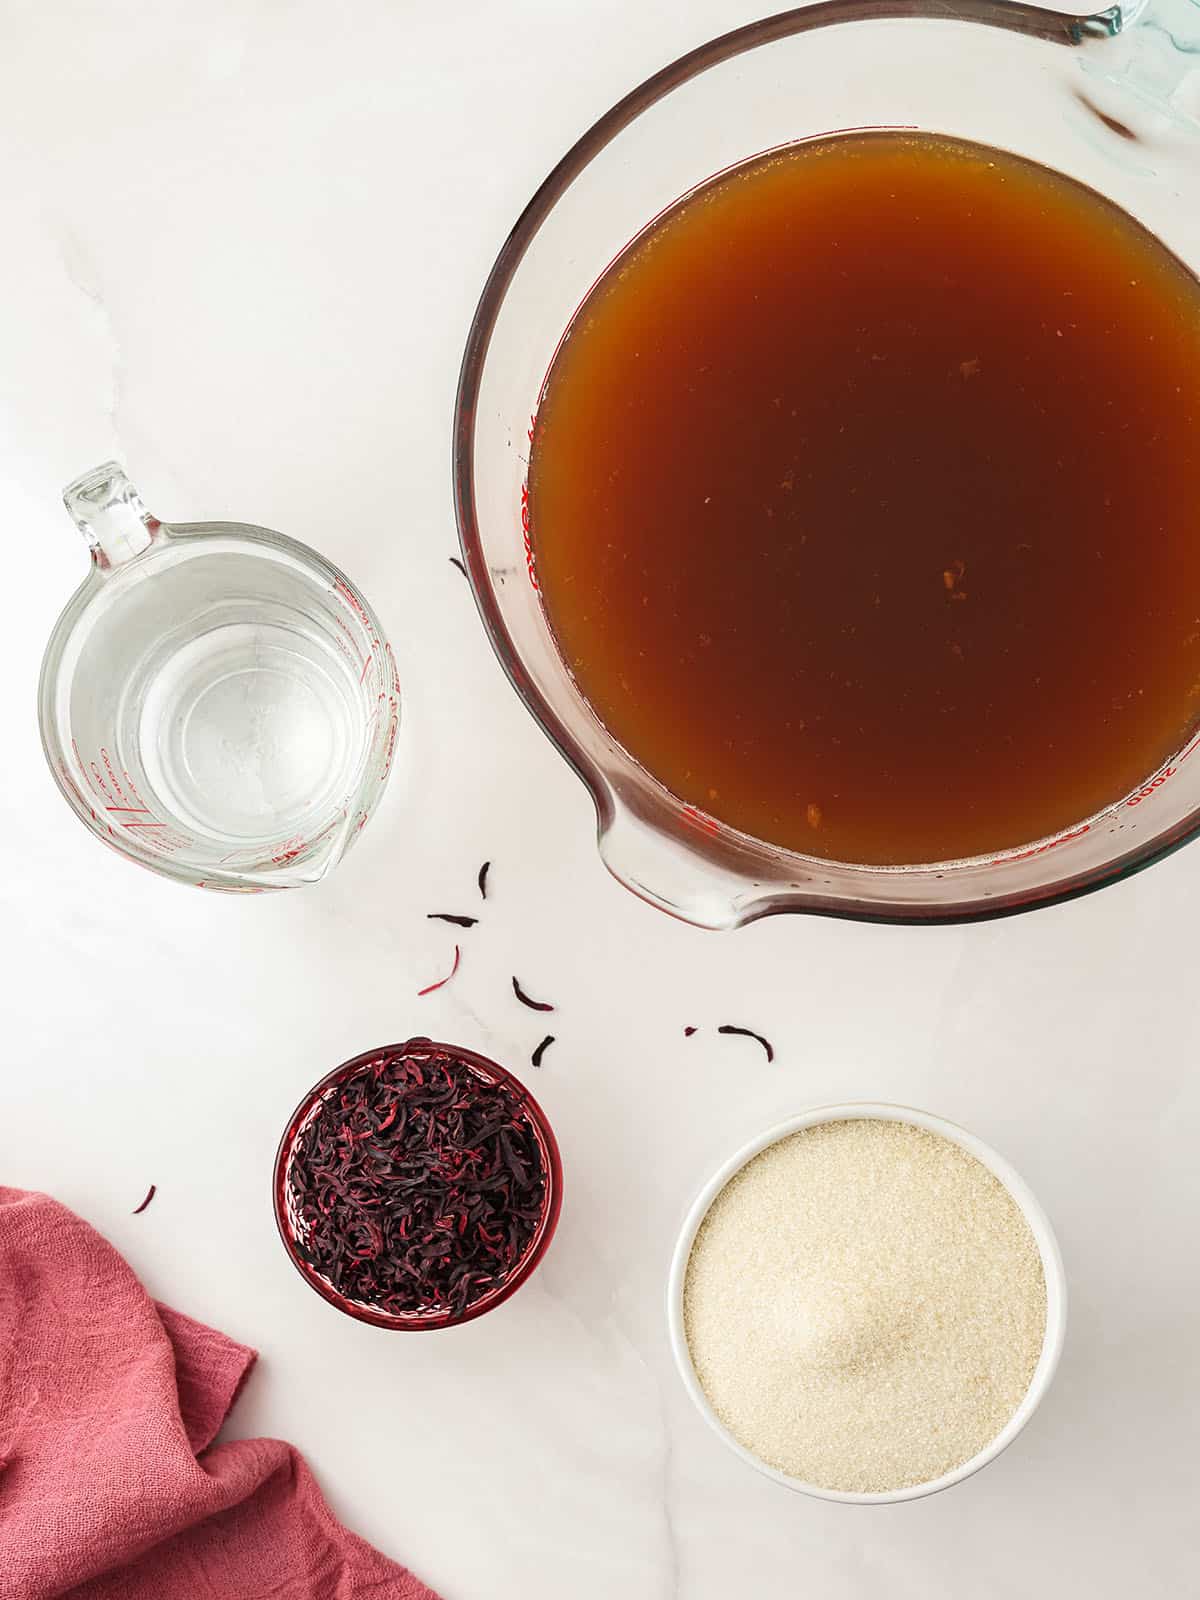
Fermented kombucha: Hibiscus kombucha can be made with black tea or green tea fermented kombucha, use what you have!
Note: If you don’t have the bandwidth to make a first ferment kombucha, feel free to use some store bought original kombucha with no flavoring.
How to Make Hibiscus Tea
First, to make the hibiscus tea, put the dried hibiscus flowers and water into a pot and bring to a boil. Once the water is boiling, remove the pot from the heat.
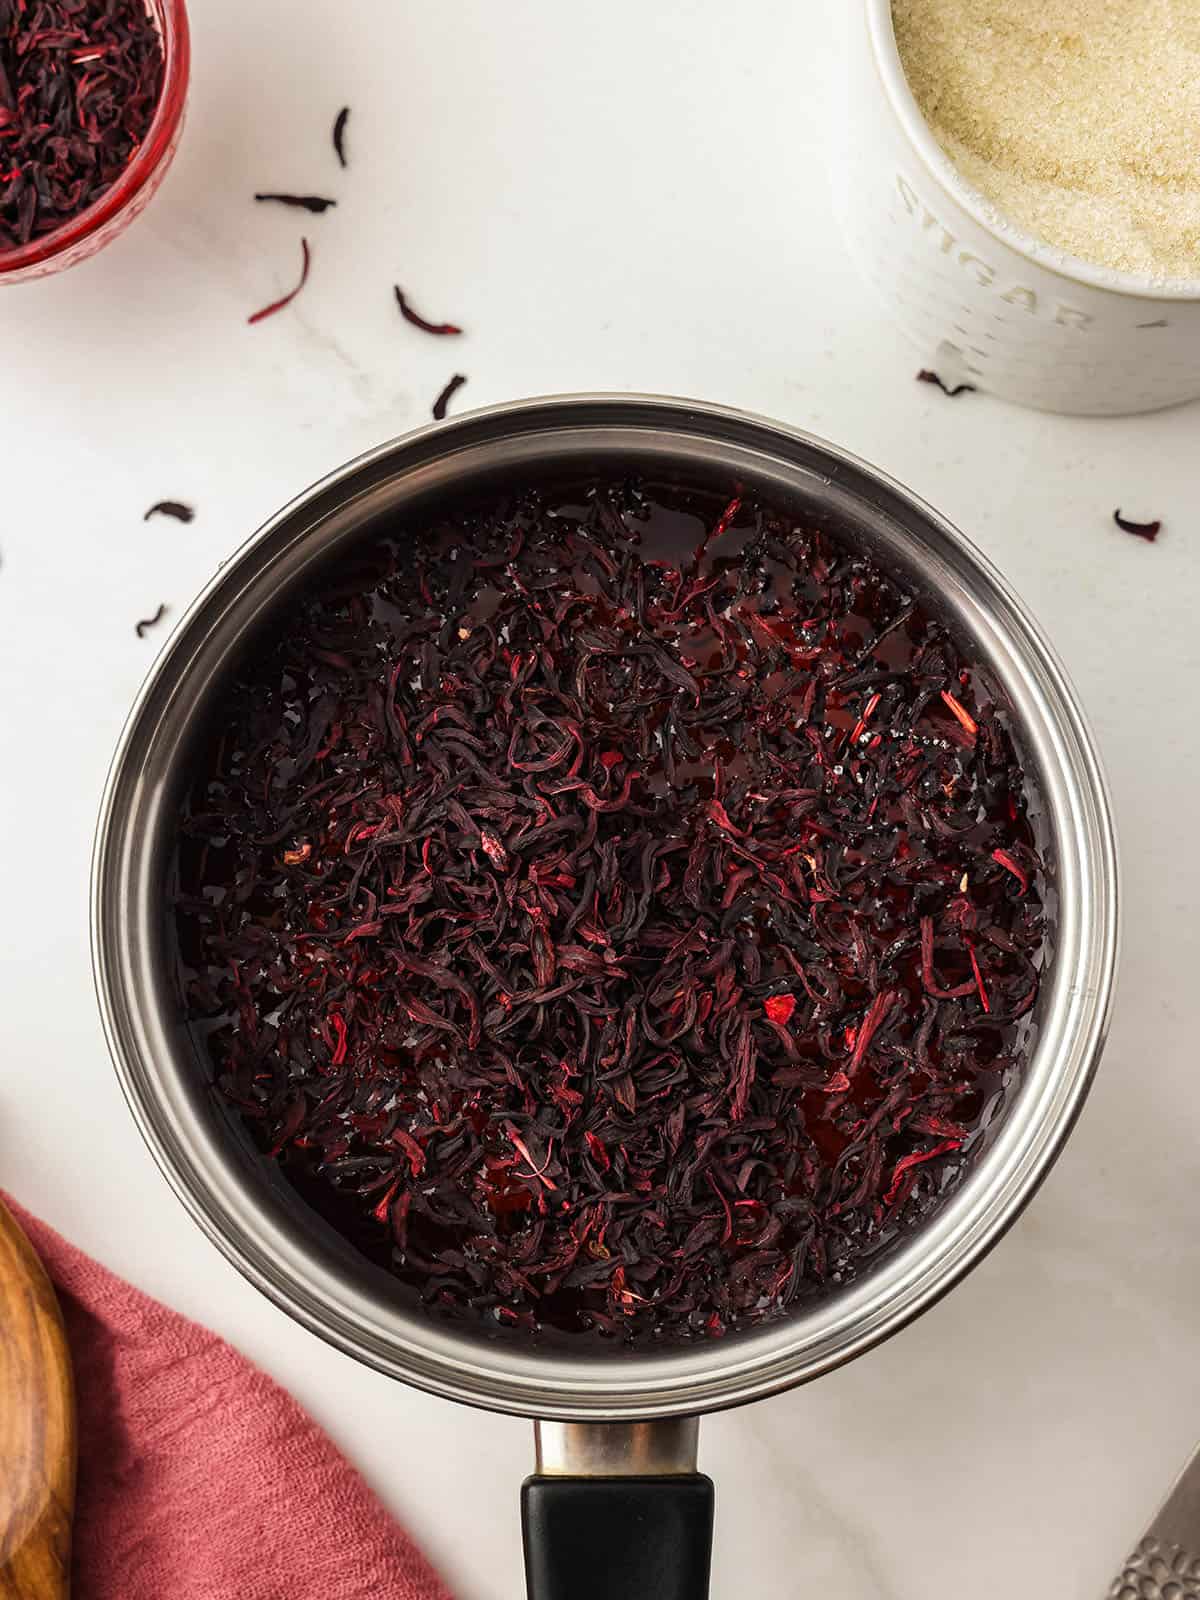
Then, add the sugar into the hibiscus tea, and stir it until it dissolves.
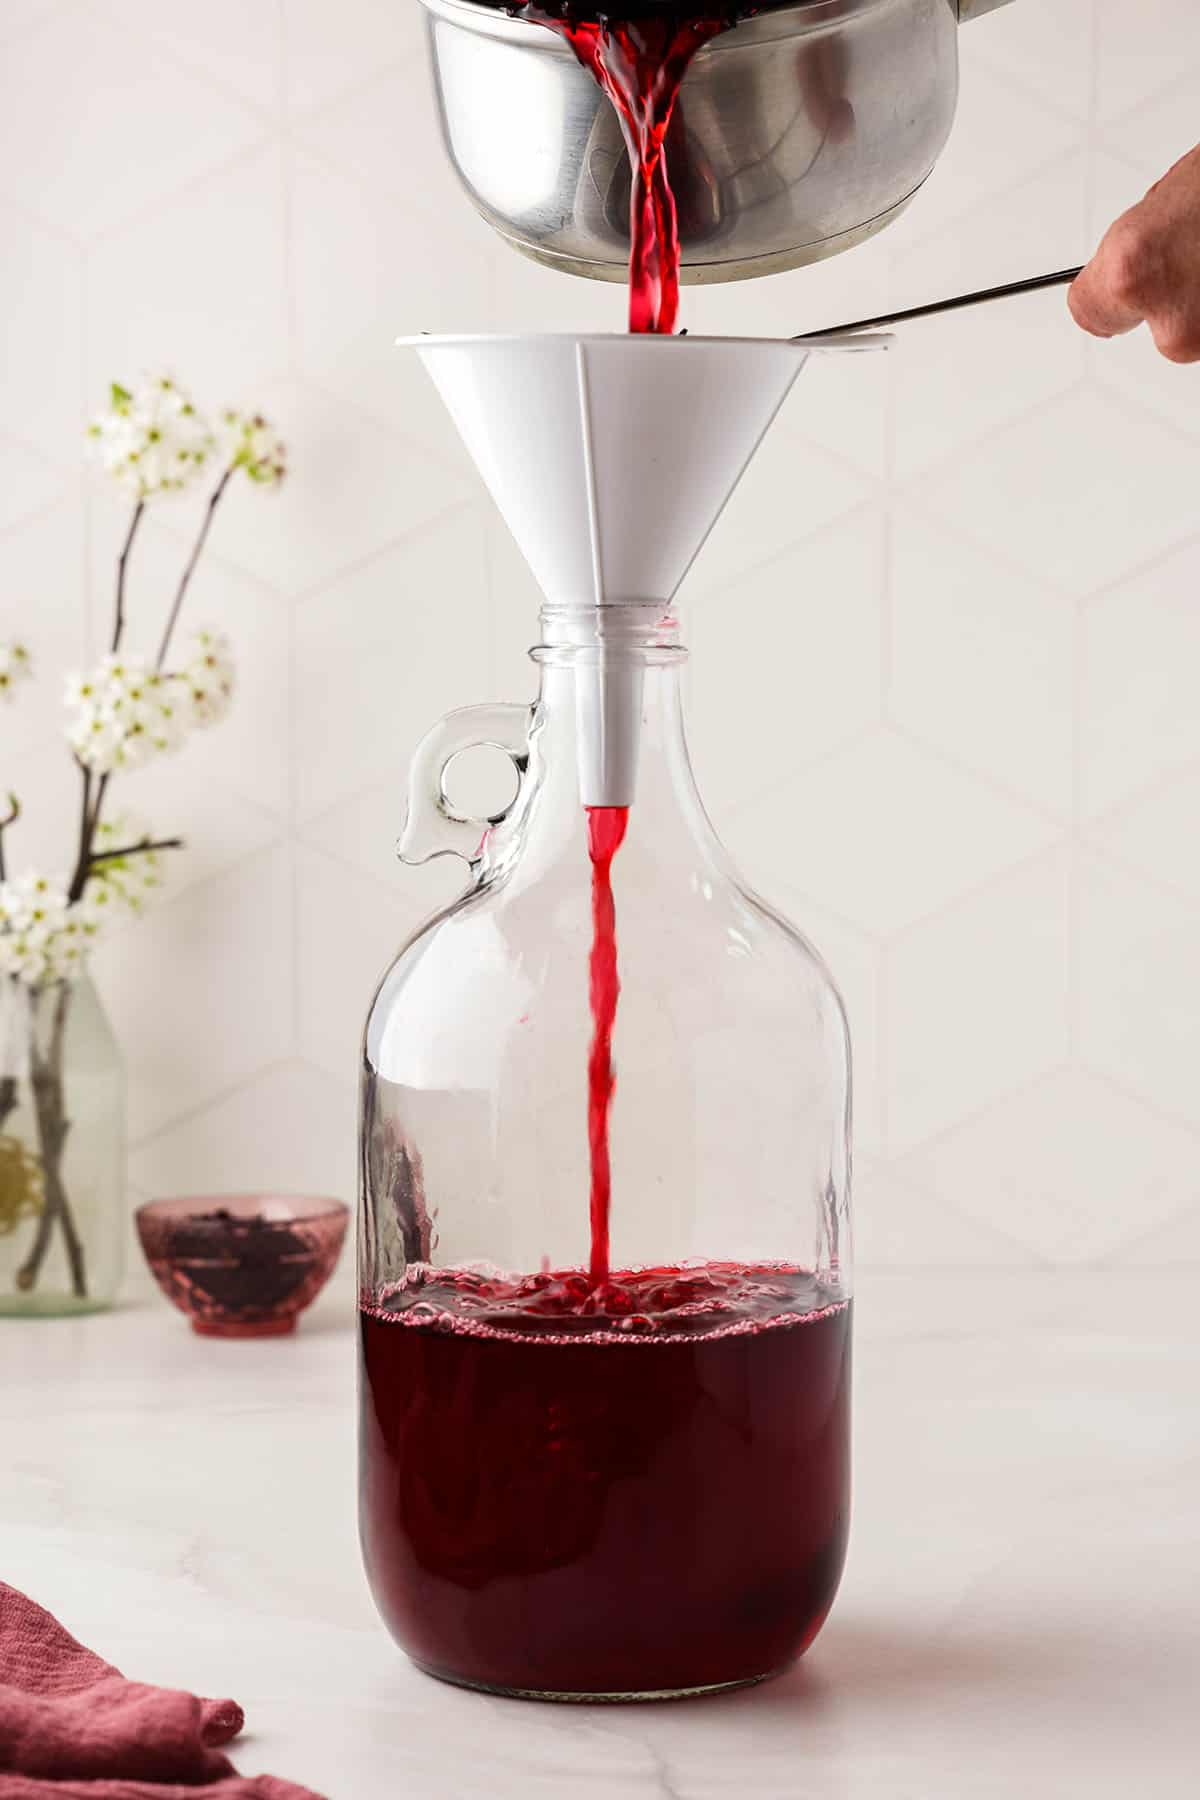
Make sure to let the tea cool completely to room temperature before adding it to the kombucha. If it’s too hot, it will kill all of the beneficial bacteria and it won’t ferment.
Use a funnel with a fine mesh sieve to strain out the hibiscus from the tea.
Second Fermentation Process
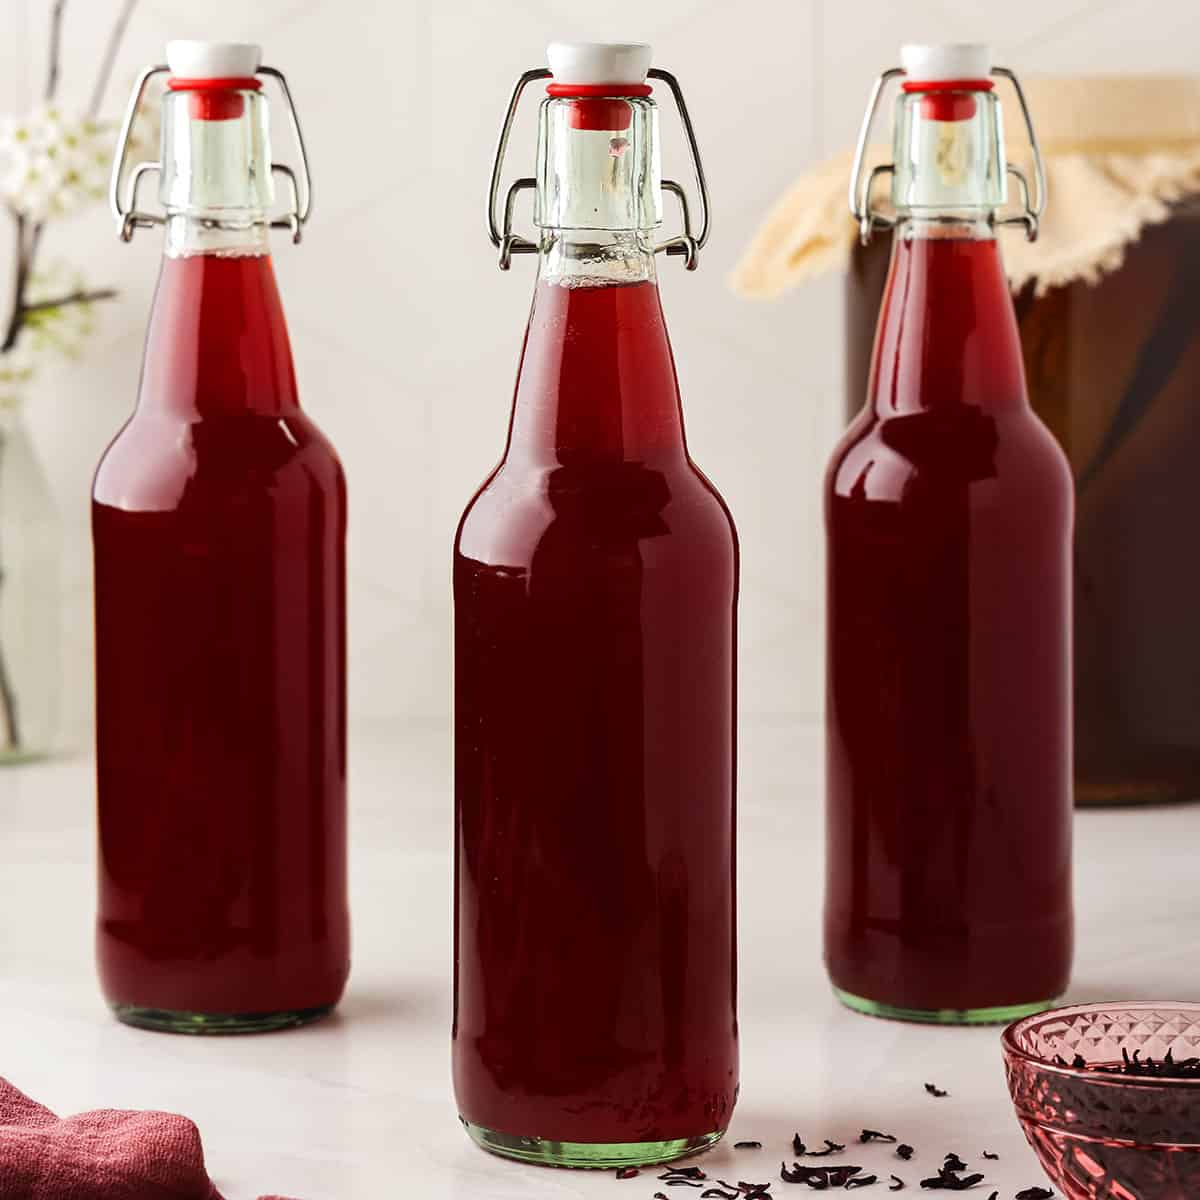
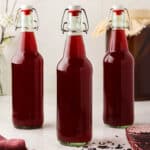
Gently swirl the fermented kombucha you choose to use before you pour it into the bottles to evenly distribute the yeast. Then, use a funnel to pour one cup of brewed kombucha into each bottle.
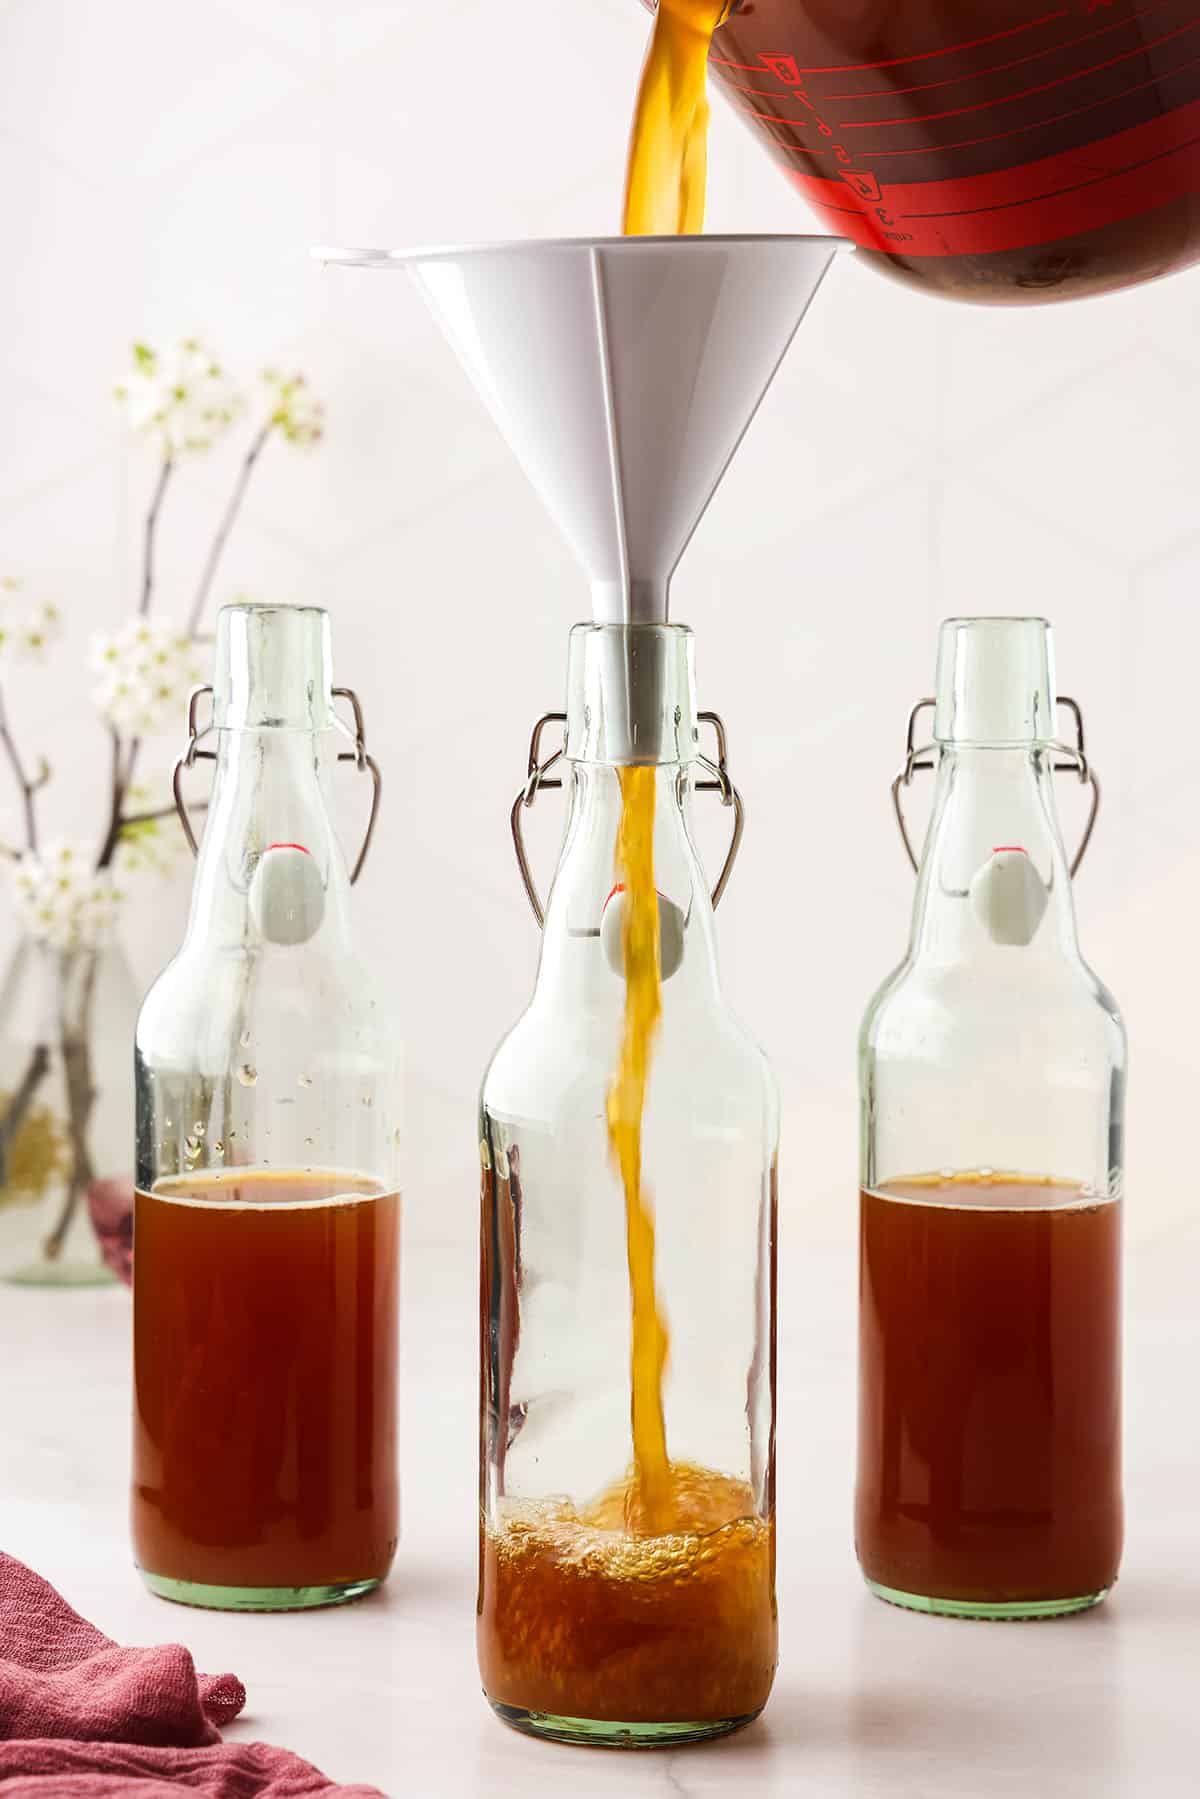
Now pour about one cup of hibiscus tea into each bottle to add to the kombucha.
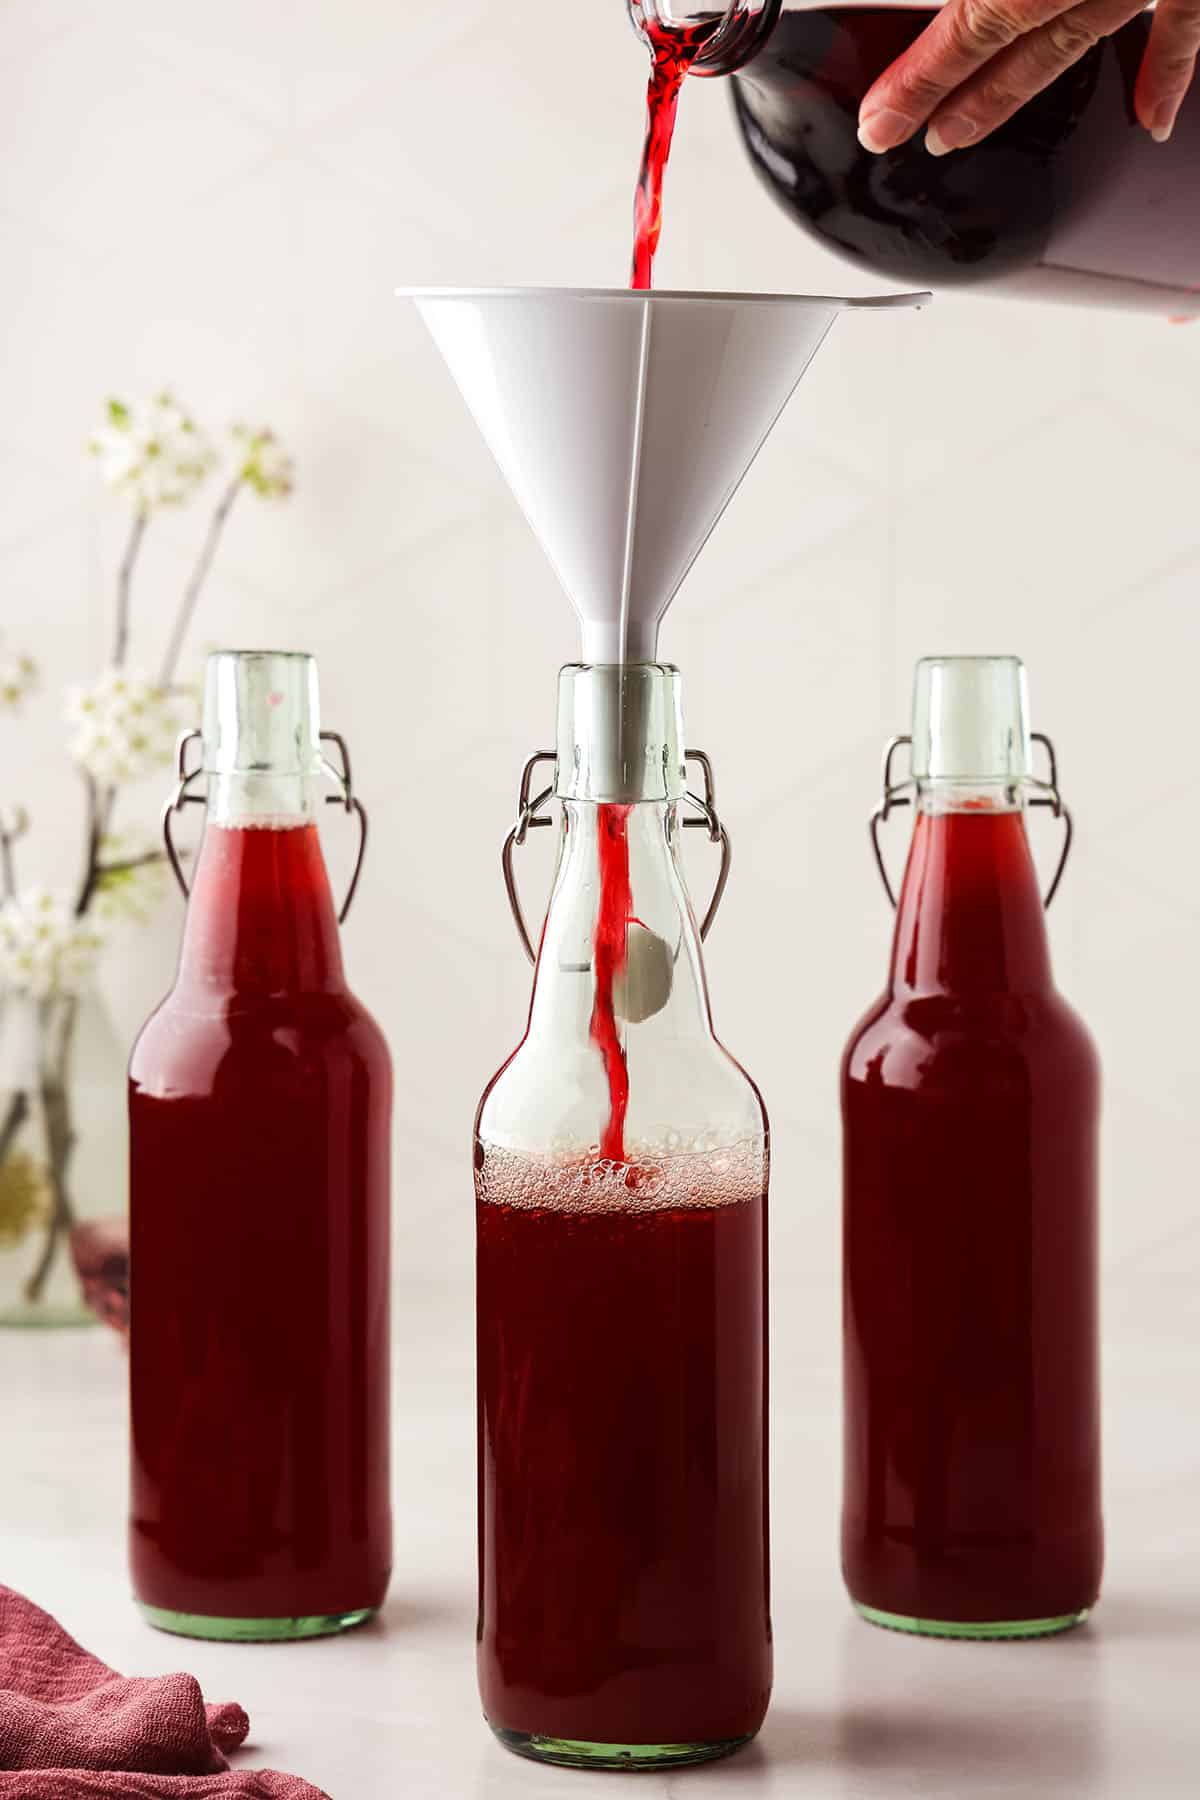
Note: I like the balance of using half kombucha and half hibiscus tea per bottle, but this can also be adjusted to your liking.
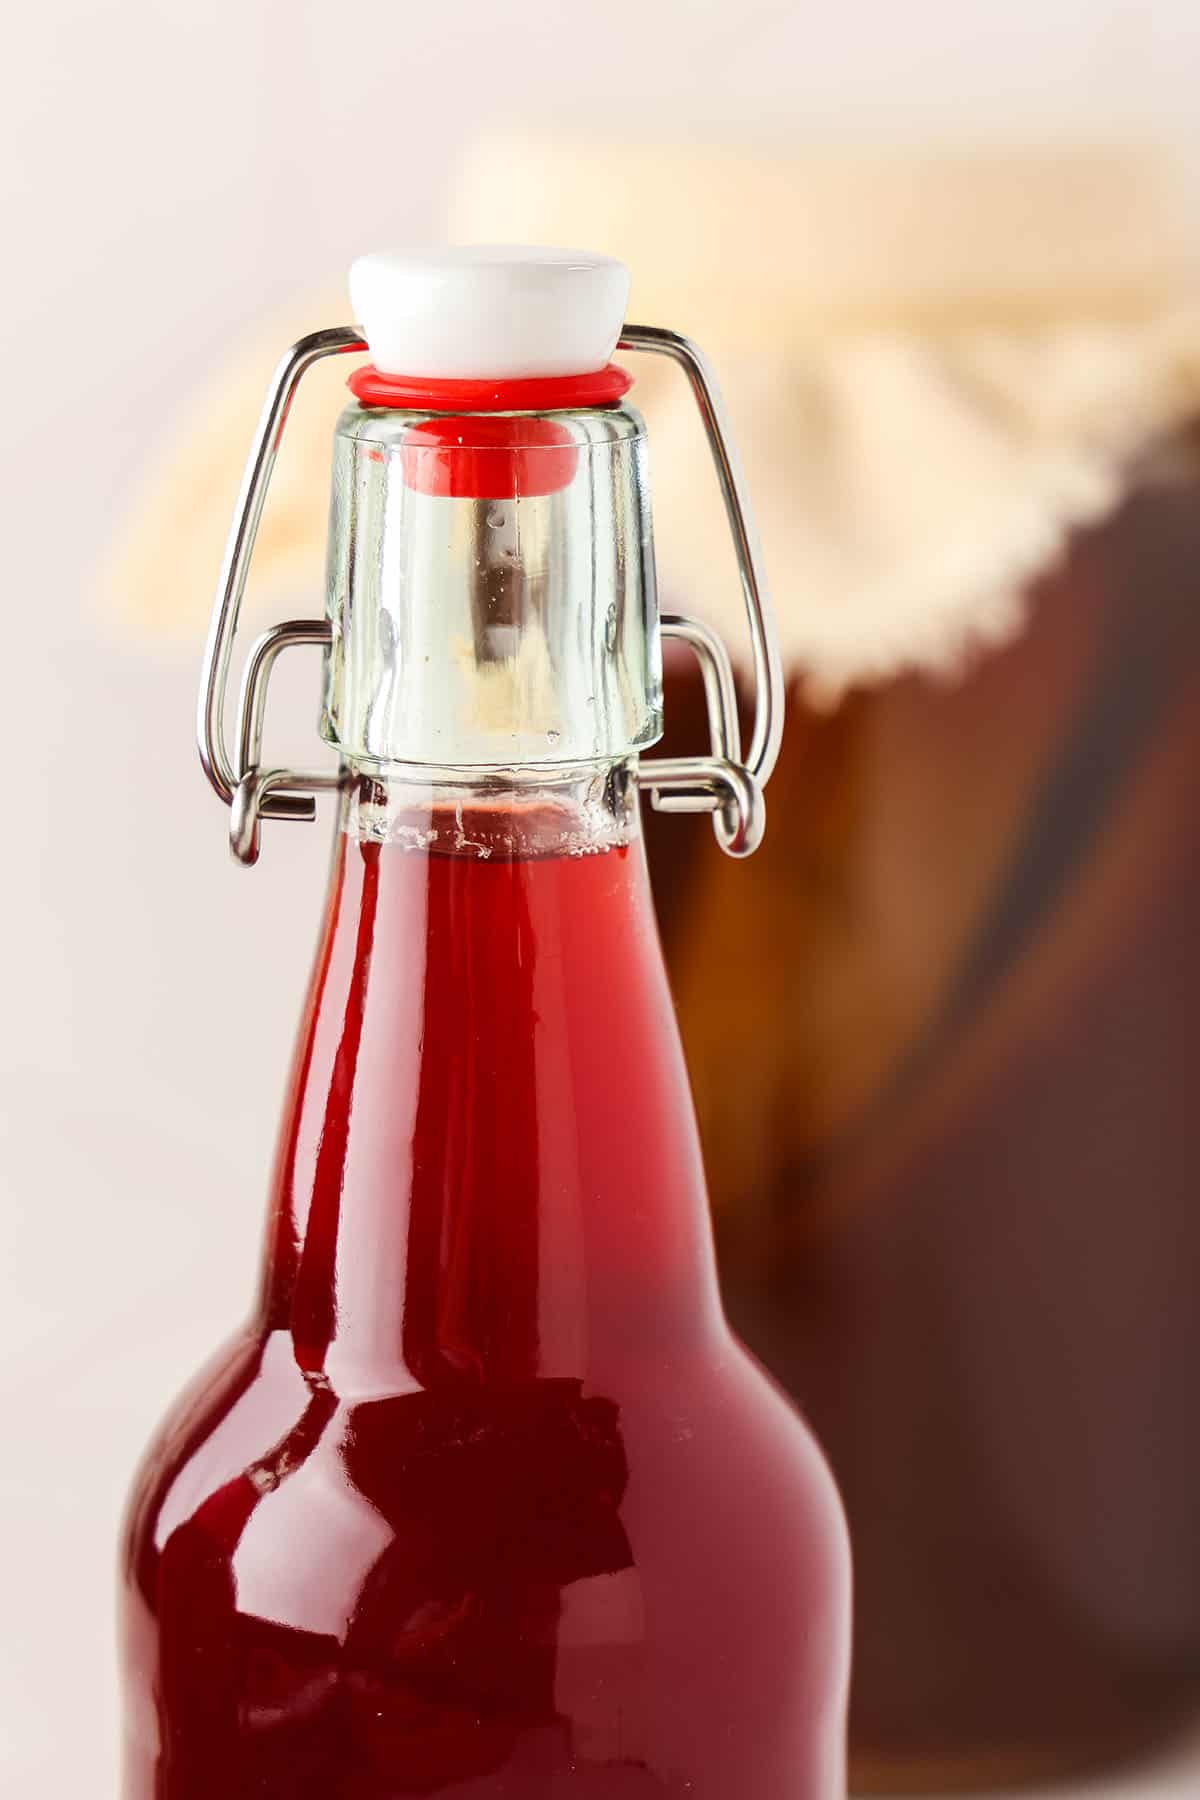
It’s important to leave about 1-2 inches in the neck of the bottles for headspace, so the bottles don’t explode with pressure as they fizz.
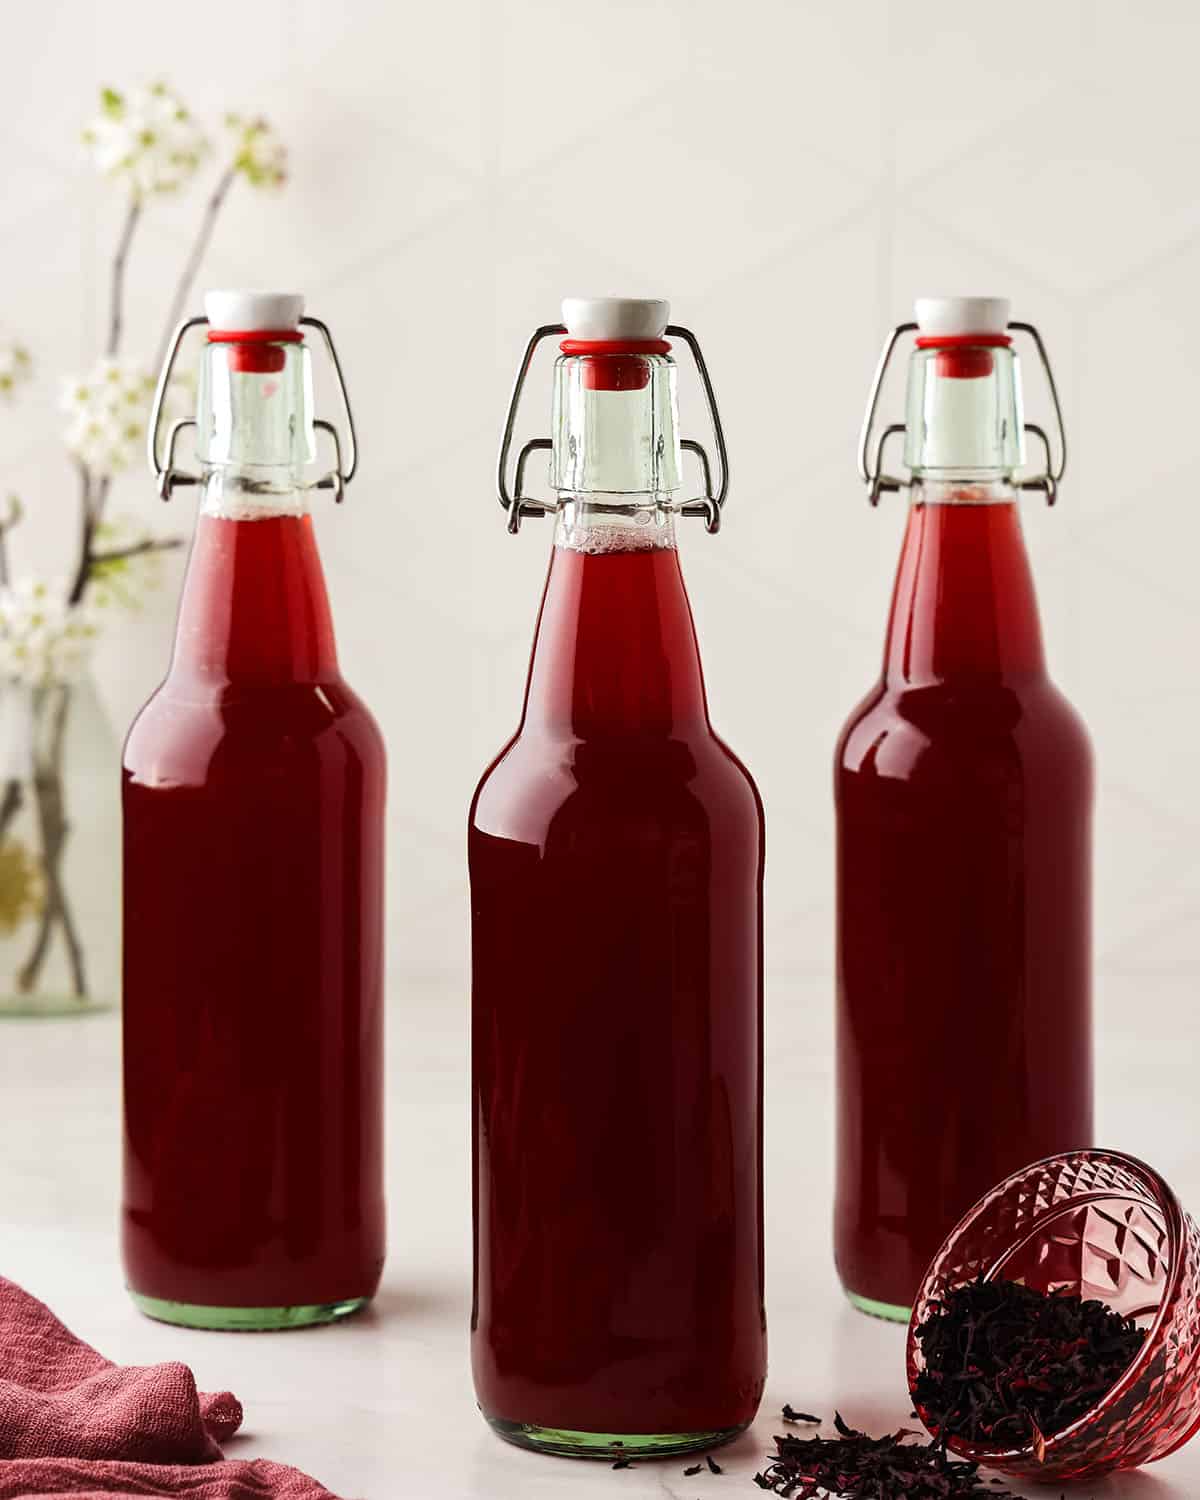
Seal the bottles and shake them gently to mix the kombucha and the tea, so the yeast and happy bacteria infiltrate the whole bottle.
Then, place the bottles in a room that is out of direct sunlight, and where you will remember to check on them daily. Set a daily alarm if needed!
As the fermentation process occurs, you will notice little bubbles forming at the top and the yeasts will float. Check the bottles daily and “burp” them at least once daily to release pressure.
If there is built up pressure and bubbles race to the top with a loud pressure release, that means it’s ready to drink! Move the bottles to the refrigerator to stop the fermentation process.
Hibiscus kombucha will not get as fizzy as fruit kombuchas, so keep that in mind as you check it’s bubble status.
Depending on the ambient air temperature, the second fermentation process can take anywhere from 2 to 5 days or so. It varies on the season and temperature where you live.
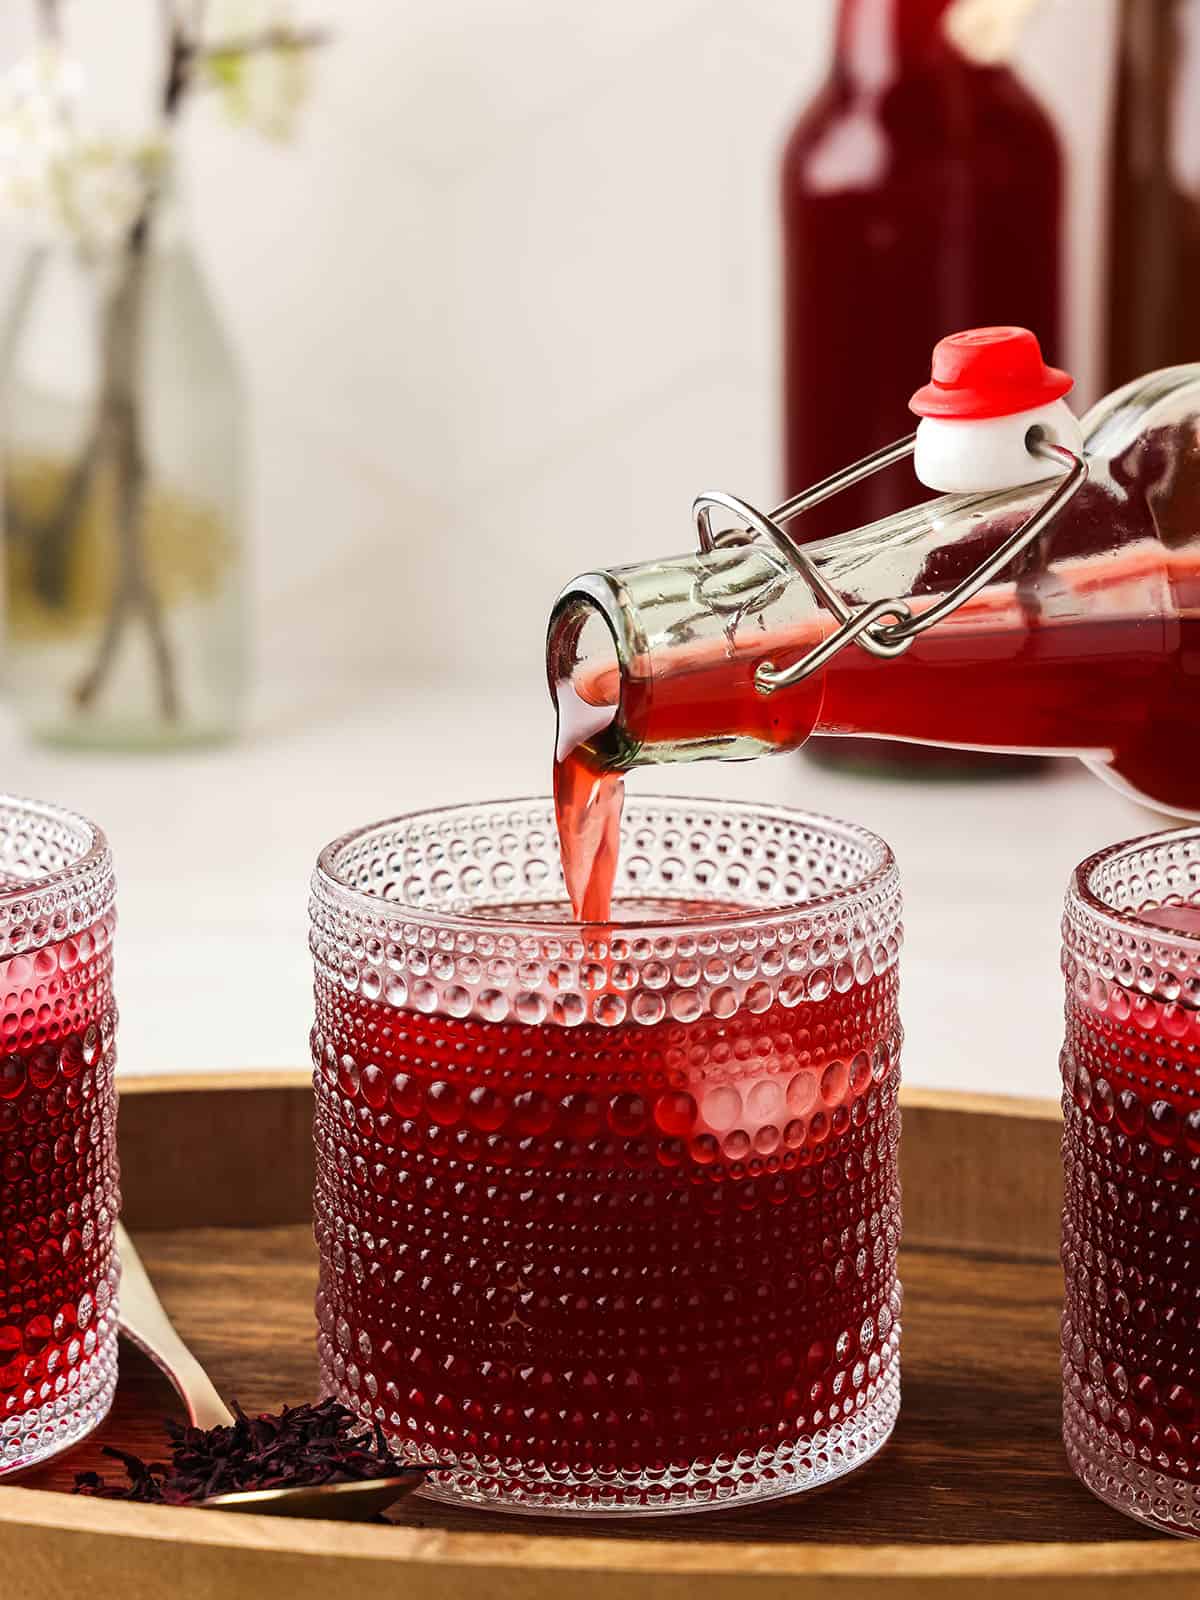
Enjoying Hibiscus Kombucha
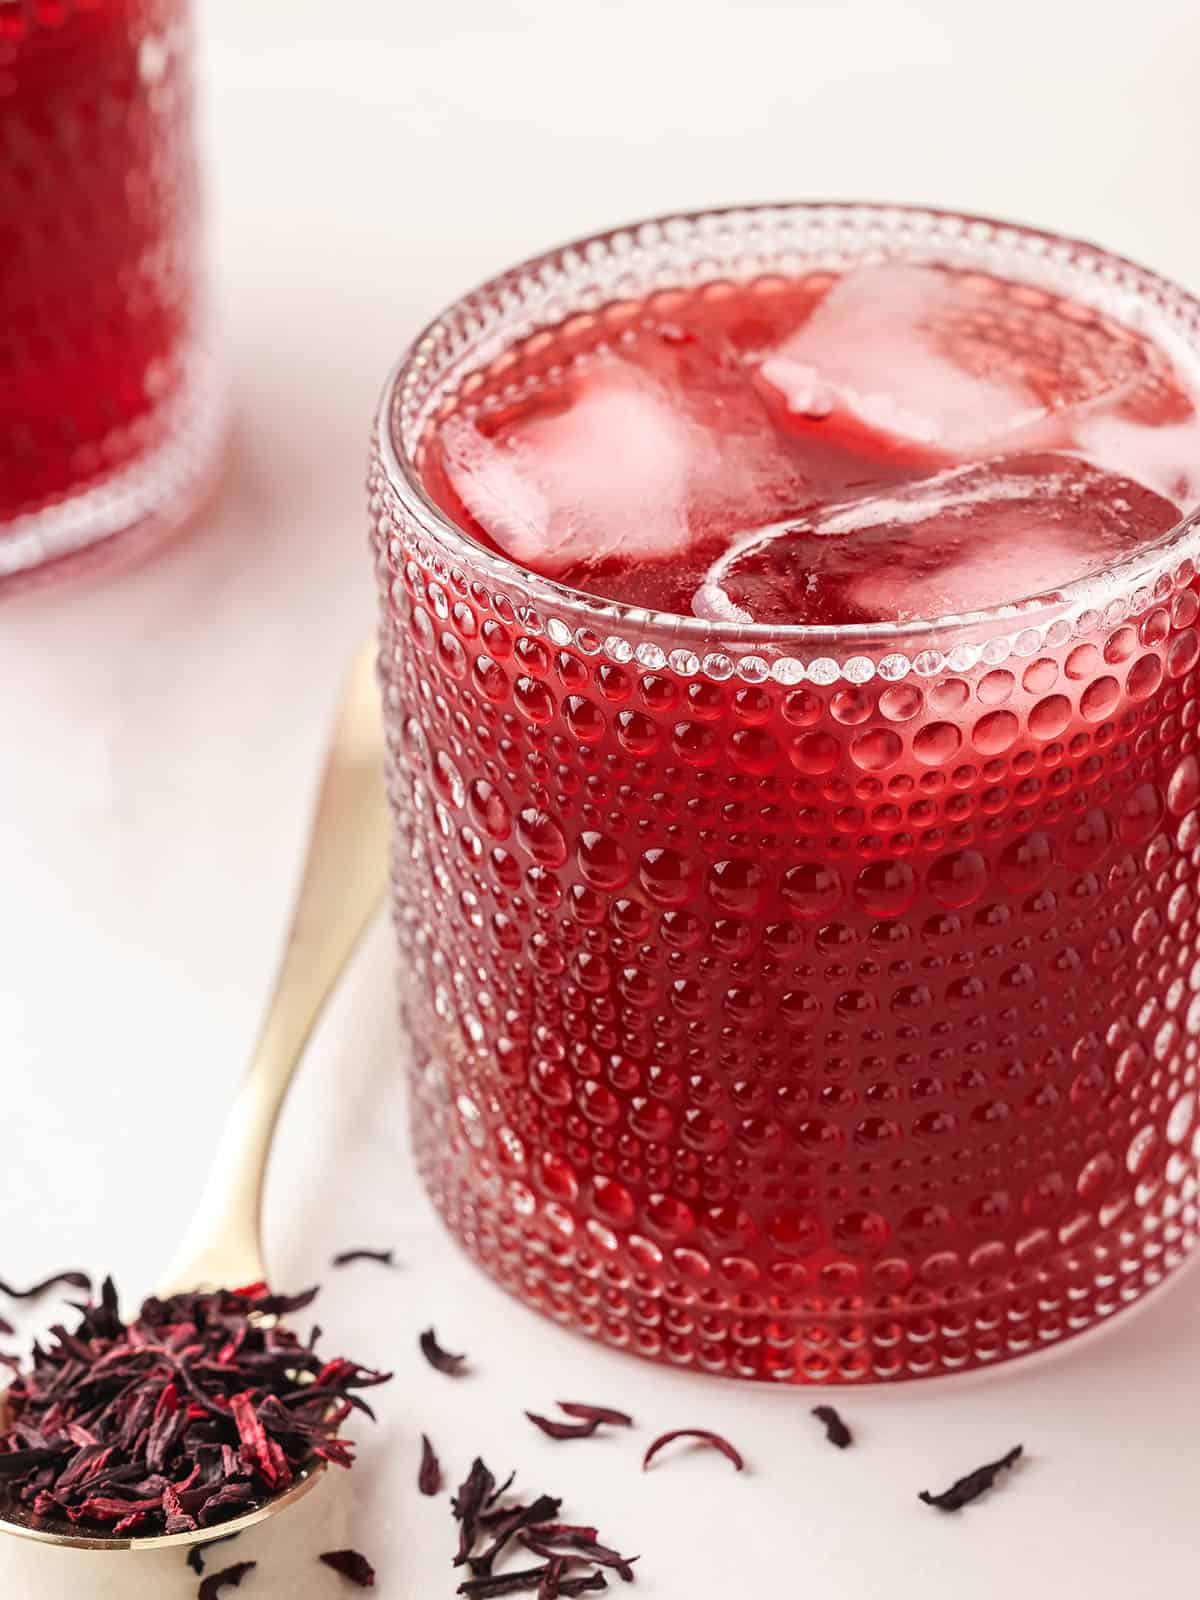
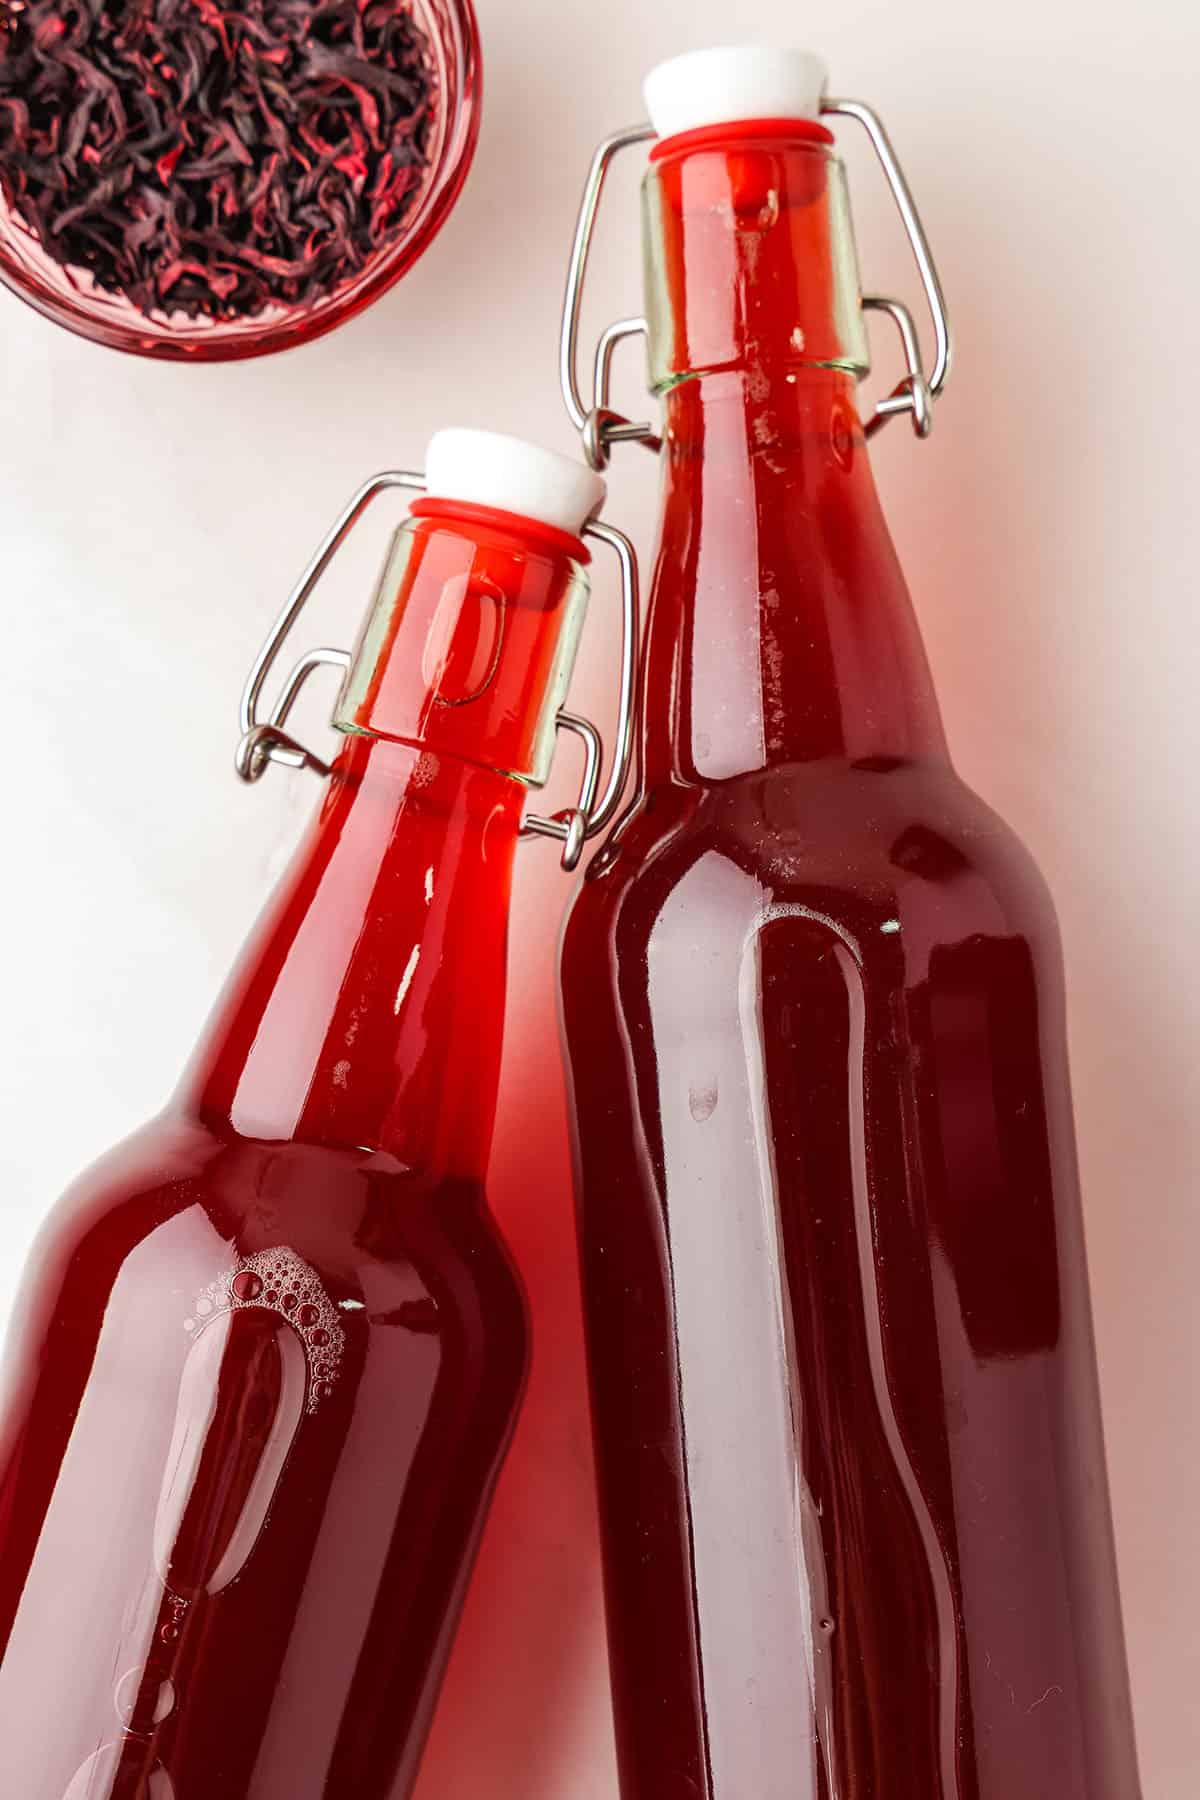
I find this delicious kombucha is best served chilled on a warm summer day. Its tart, floral, bright flavor is perfect for a summertime refresher.
This kombucha can also be chilled and enjoyed right away if you prefer to skip the second fermentation process, it will not have quite the same flavor or fermented qualities though.
A cold glass of this hibiscus kombucha on a hot day really hits the spot, that’s for sure!
Best Kombucha Flavors
- Blueberry Kombucha
- Dandelion Kombucha
- Ginger Kombucha
- Lavender Kombucha
- Rose Kombucha
- Strawberry Kombucha
- Watermelon Kombucha
- Blackberry Kombucha
- Elderberry Kombucha
- Apple Ginger Kombucha
- Pumpkin Kombucha
- Cranberry Kombucha
Hibiscus Kombucha
Ingredients
- 6 tablespoons dried hibiscus flowers
- 6 cups water
- 1/2 cup sugar
- 6 cups fermented kombucha
Instructions
- Put the dried hibiscus flowers and water into a pot and bring to a boil, then remove the pot from the heat.
- Add the sugar to the hibiscus tea and stir to dissolve.
- Let the tea cool completely to room temperature, then strain out the hibiscus flowers with a fine mesh sieve.
- Gently swirl the fermented kombucha (from the first fermentation process) before you pour it into the bottles to evenly distribute the yeast, then pour one cup of brewed kombucha into each bottle.
- Then pour about one cup of hibiscus tea into each bottle, leaving about 1-2 inches in the neck of the bottles for headspace.
- Seal the bottles and shake them gently to mix.
- Place the bottles in a room that is out of direct sunlight, and where you will remember to check on them daily.
- As the fermentation process occurs, you will notice little bubbles forming at the top and the yeasts will float. Check the bottles daily and “burp” them at least once daily to release pressure. If there is built up pressure and bubbles race to the top, then move the bottles to the refrigerator. Depending on the ambient air temperature, this can take anywhere from 2 to 5 days or so.
- Best served chilled on a warm summer day.
Notes
- More or less sugar can be used based on your preference.
- Hibiscus kombucha can be made with black tea or green tea fermented kombucha.
- I like the balance of using half kombucha and half hibiscus tea per bottle, but this can also be adjusted to your liking.
- Hibiscus kombucha will not get as fizzy as fruit kombuchas.
- This kombucha can be chilled and enjoyed right away if you prefer to skip the 2 fermentation process.
- When you burp the bottles to release the pressure, check to see how quickly the bubbles race to the top. If you only see a few bubbles and they are slow to make their way to the top, you can replace the lid and check the next day. If the pressure release is loud and bubbles race to the top, then you know it is time to move that bottle to refrigeration!
- In cooler weather, kombucha takes longer to ferment. In warmer weather, the process goes much faster. I recommend checking your bottles daily until you get familiar with the process and about how long it takes in your situation. Refrigeration slows the process, which will keep the kombucha from exploding under pressure.
Nutrition

Do I need to use flip top bottles, or can I use a gallon jar? I’ve fermented a few beverages, haven’t done kombucha yet.
Flip top bottles are built to withstand pressure build up within the bottle, so no, I wouldn’t use a gallon jar to bottle the kombucha.
I used to make my own kombucha a few years ago but fell out of the practice. I recently refinished my cabinets and now that my kitchen reno is done, I’m feeling so inspired to cook again. Starting with making kombucha! This recipe was so easy to follow and turned out so yummy! Thank you for sharing!
You’re welcome, Sage. Enjoy!
Can a SCOBY from an apple cider vinegar ferment be used to start making kombucha, or does the SCOBY need to come from kombucha?
Hi, Julie. Yes, you can use a fruit vinegar scoby to ferment tea into kombucha. I haven’t done it myself, but it looks like there are plenty of instructions online!
My favorite is frozen raspberries on the second fermentation part. I seem to be having a hard time though with getting it to be more carbonated. my first process I do a week and then I add the flavor and I let it sit for two to three more days… I’m looking forward to try and hibiscus
You may have too much space between the lid and the liquid. The gases need to be pushed back into the kombucha.
You can also add a couple raisins to your second fermentation – I use 2-4 in 16 oz Swing top bottles. The sugars in the raisins feed the yeast and add carbonation but don’t effect the flavor of Kombucha. FYI don’t eat the rehydrated rasins… they don’t taste good :D I leave my second fermentation for 3 days and don’t burp the bottles because I like it really bubbly. However if you add TOO many raisins you could have an explosion on your hands if you don’t burp the bottles.
Do you add sugar to your hibiscus tea for second ferment?
I do not add any more sugar to the second ferment.
I only add sugar for the first ferment Ginger goes very well in the second
Many have asked how much Hibiscus tea to add to second ferment, however, I can’t see the answer. Please advise. Thank you!
It’s really a personal preference and the amount doesn’t matter. I added enough hibiscus tea to equal a full gallon, but you can experiment with more or less to your liking :)
I just make hibiscus tea and don’t add any black tea
Do you ferment on your counter top? I was fermenting in a cupboard underneath my sink but I think it was too cold. What places do you recommend?
Yes, usually just right on my counter top, in an out of the way place :)
I would like to know what amount of kombucha to hisbicus tea you use is second ferment.
Looks like you said you made a follow of kombucha tea, less the two cups you must save for next batch.
Then you said to add hibiscus tea to kombucha and bottle. You don’t say how much hibiscus tea to use, and what ratio it should be to kombucha tea. Can you please let me know?
It’s really a personal preference and the amount doesn’t matter. I added enough hibiscus tea to equal a full gallon, but you can experiment with more or less to your liking :)
I am still not sure how much hibiscus tea you are adding to the black tea! Do you mean that you make the amount of liquid back up to one gallon – making up the amount left with scoby for next time?
Yes. After removing two cups of kombucha from your first ferment, fill the rest of the gallon of kombucha with hibiscus tea.
How much hibiscus did you use to make a gallon of kombucha? It’s my first time so I’m brewing 5 bags into 1 litter of water! Then I’m thinking of add a little bit to each bottle! Did you sweetened your tea before adding to the second fermentation? Thx in advance
Hay i used a few cloves and cardamon in a bottle as second fermenting. Wooooaash. The fragrance isawesome as well as the bubbly flavor… trying cinnamonsticks and staranise soon!
I am curious what sort of flavor hibiscus has during a ferment.I’ve tried hibiscus tea before but never in kombucha. This looks so interesting! What is your favorite flavor of Kombucha?
I use a cardboard carton over my glass kombucha vessel while its brewing. I need to leave it in the sun as its cold here now and I still want my Kombucha to brew without slowing down too much, so it’s sitting in the winter sun with a carton over it. It’s brewing even better than it did it more suitable weather :) As a bonus, I guess the cardboard would help curtail any flying glass :-o
I have only ever done the first stage brew, and just let it get to the fizzy stage and then bottle and fridge, and it’s scrumptious, but I’d like to check something, please, Colleen.
I use just enough black tea to keep feeding the scoby and use more rosella, or hibiscus, leaves as my primary flavouring, adding a little ginger and/or turmeric in the FIRST stage brew. Is there a problem doing it that way? I know that long term I have to increase the % of black tea, as the scoby needs that, but is there an advantage to the second stage brewing/ferment that I’m missing out on doing it my way?
My scoby is growing beautifully and the brew is very delicious and clean.
many thanks for all your sharing.
Will 12 oz canning jars be ok for the 2nd fermenting process?
I’ve only ever used fresh herbs for the second ferment. Could you give me an idea as to how much dried hibiscus you would use for a one gallon batch
Do you have to burp after you put in fridge too or just when in warm place while fermenting process
I have read that you can use wine bottles and corks for second ferment. Has anyone tried this? I would think that wine bottles that contained sparkling wines or champagne would be safe.
I have done this when bottling mead, and it does make it somewhat safer. But if there is a lot of pressure there is still the (very small) chance of bottle explosion.
I had actually done this with a used wine bottle. I used a cork that was purchased to use after a bottle of wine has been opened as to save it. It worked great! The pressure actually built up enough to pop the temporary cork out- but I would prefer that to an exploding bottle. Since that time I have purchased some flip top bottles used in beer making that is supposed to withstand pressure – but I still burp my second ferments daily until I feel it’s done.
I place the bottled kombucha for second ferment inside a plastic cooler. That way, if it does explode, it’s inside a container and it will control the flying glass. I also leave a towel laying over the bottles and carefully release the caps to “burp” them, while keeping the towel intact. Safety! Plus the juice that sometimes erupts will absorb into the towel, so it keeps the mess down. Haven’t had an exploding bottle yet, but I’m still pretty new at this. Got to give credit to my son for the cooler trick.
This is a great idea! i will be getting ready for my second ferment in a couple of days and was freaking out a bit when I heard about explosions, so this will be helpful!
Okay….the thing about exploding….should never happen if you leave enough head space in your bottles! Carbonation needs room! I’d never ever do a second ferment in a narrow bottle or the bottle you intend to store in your fridge either. Do it in the original large jars…gallon preferred or several quart jars and leave 1-3 inches headspace and all will be happy. Too funny…
Exploding bottles can still occur even when adding enough headspace… ask me how I know :)
After the first ferment, I fill a 1 quart jar with kombucha. I add 1/4 c crushed raspberries, 1/2 teaspoon of sugar, and 1 teaspoon of powdered chocolate to get it going again, and leave it on the counter for 4-5 days. Yum..
I learned the hard way too. Make sure to use good quality glass bottles, round, not square, that can hold pressure. If it’s hot, only ferment a couple days. I also use a plastic water bottle with some secondary kombucha as an indicator. When the bottle gets fat, the carbonation is building, so time for the fridge or to burp. I was using a cheap TJ Maxx square swing top bottle when mine exploded in the pantry. I like carbonation so I try not to burp and let it out, but in the fridge it quiets down.
burp your 2nd ferment bottles people??? what does this mean ? how to burp the bottles?
Burping the bottles means to briefly open them every day or so to let the gasses escape. In some cases, if the bottles aren’t burped they may explode because of built up carbon dioxide. I’ve never had this happen, but it is a possibility if there is a lot of residual sugars left when bottling.
only had an exploding bottle once and that was enough!
Please burp your 2nd ferment bottles people!
I can’t stress that enough. Lately my kombucha has been super strong and scaring me haha. So be careful. Some fruit like pineapple need to be burped and can cause huge explosions.
Listen to Jay!! I had a glass bottle blow up into daggers that stuck into the ceiling and walls of my pantry from a bottle sitting on the floor. It sounded like a bomb went off in my kitchen.. had I not been fermenting in a closed pantry I would have been severely injured. You can also use one plastic bottle as a control to test the level of carbonation by squeezing it. Be VERY careful with second ferments!
How often should they be burped?
Once daily should probably work just fine.
I’ve made kombucha with lemon balm (on the 2nd ferment). Actually, lemon balm and St Johnswort (I live in the North and like to have some St Johnswort when the days are especially short, and the window of natural light is very nearly non existent) I usually add a bit of ginger, turmeric root and pear or elderberry juice to make it taste better, and make the kombucha from a green/oolong blend.. In Spring, sometimes I do a burdock, dandelion root, licorice sarsaparilla decoction, sweetened a bit with some juice like black cherry, grape, bilberry or cranberry, and with a bit of turmeric root added to each bottle . For this I’ll use a kombucha made from an oolong/puerh blend. Summertime, I use a very strong tea of cornsilk, damiana, and horsetail or nettles, with added ginger and whatever berry juice I can get my hands on. In summer I prepare kombucha from a green/white tea mixture. Any real tea will work, as long as it is only tea and nothing else, no flavorings or herbs in the initial kombucha ferment. I’ve even made an apple pie 2nd ferment from calendula, ginger, cinnamon bark, nutmeg and apple juice – but never made anything with hibiscus. Looking forward to trying that. I love the flavour of kombucha on its own, and will keep a few bottles unflavoured, but its so much fun to play around with the 2nd ferment . Fairly new to other aspects of fermenting, like pickles and sourdough, and I really enjoy your site.
How do you ferment with the herbs if it isn’t in the 1st ferment? Do you make another tea from them and add to the second ferment? Just add the herbs straight? Would love to know! Thank you!
Most likely just adds the herbs/fruits to the 2nd ferment. There’s no need for more tea at that point and if there’s enough sugar left from the first ferment, the kombucha will carbonate regardless.
Remember to burp your bottles, fruit like pineapple can cause massive bubbles and explosions, so be careful.
What volume of hibiscus tea do you add to the 1 gallon kombucha tea? Thanks for posting, this looks delicious!
I added enough hibiscus tea to equal a full gallon when combined with the kombucha, but you can experiment with more or less to your liking :)
I notice you use a metal pot and a metal strainer. The instructions that I have say NOT to do that because the metal can kill the kombucha. So I have been boiling my water in a glass crockpot–which is not the most convenient thing to do because it has wide lips and the water tends to spill over. Don’t you have any problems??
It has always been my understanding that it’s ok to boil the water and steep the tea in a stainless steel pot, but that the actual ferment should take place in glass. That’s what I’ve been doing for many years without a problem!
I have been using stainless steel pots for brewing the tea and my scobys are growing like crazy. Just make sure you ferment in glass.