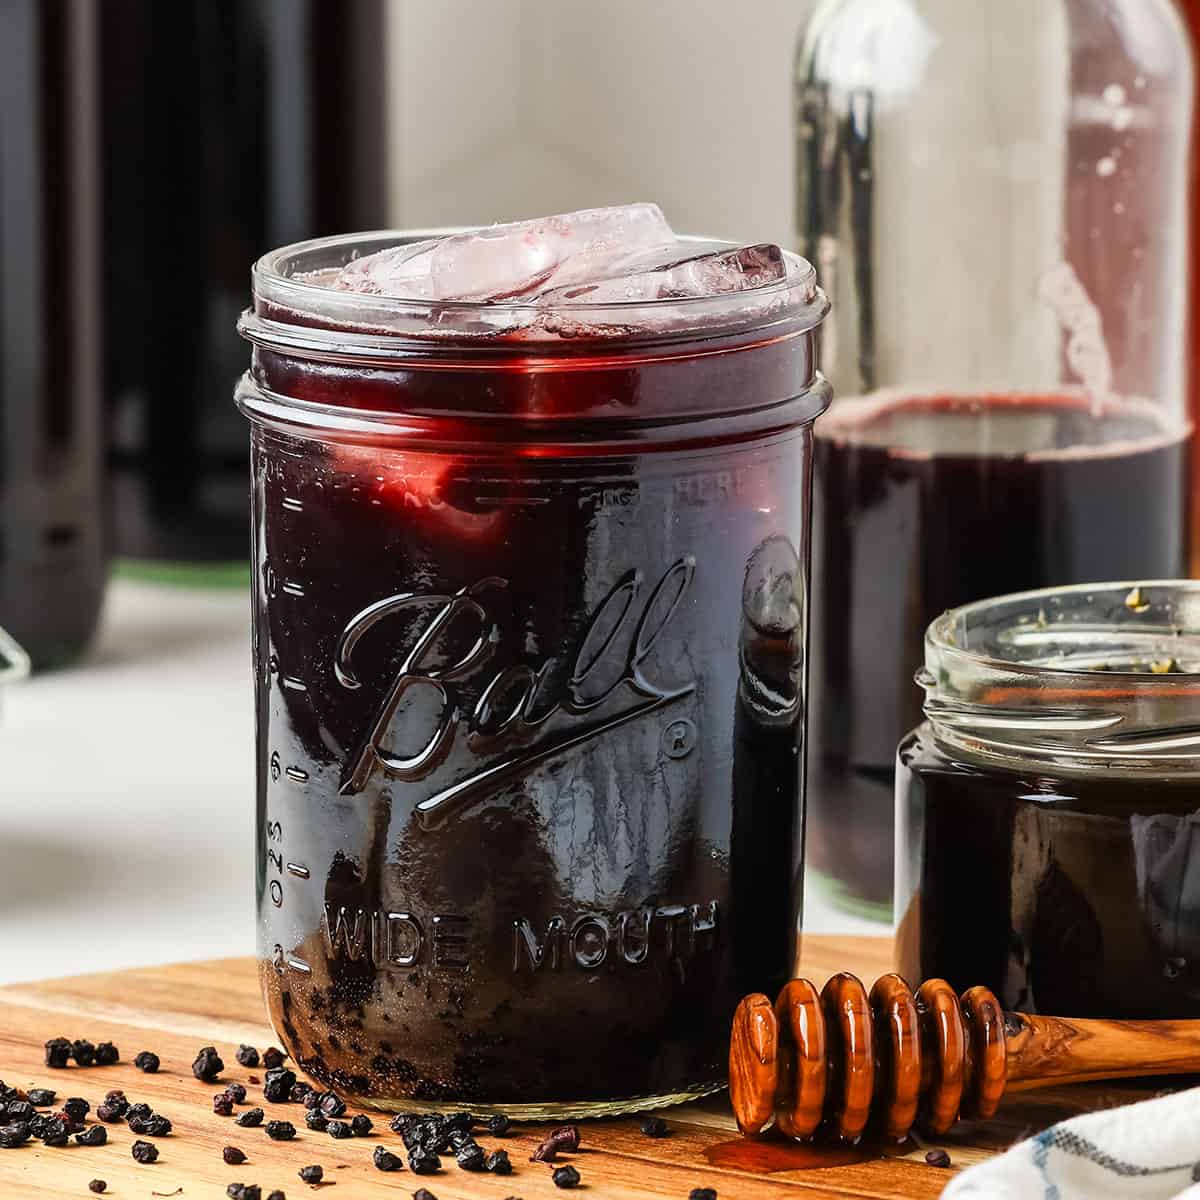
Elderberry kombucha is a super delicious, fizzy second ferment with herbal properties. Made with elderberry syrup and added to basic kombucha, this drink is rich in probiotics and has wellness-supportive elements, too!
Want to save this post for later?
Homemade Kombucha
I love kombucha and all of the probiotic benefits it provides. There is increasing evidence to support claims that probiotics can help improve intestinal health, enhance immune response, and potentially benefit certain skin conditions, such as atopic dermatitis and eczema.
Rather than spend my life savings at the store buying kombucha, I prefer to make my own. It’s easy, simple, versatile, and delicious! I make kombucha at home with both black tea and green tea.
Both basic black tea and green tea kombucha recipes are really simple. They require a SCOBY (Symbiotic Culture of Bacteria and Yeast), which can be easily acquired online at Kombucha Kamp.
Kombucha novices should know that SCOBYs are kinda weird looking, like a slimy pancake. But they are the whole glob of goodness that makes kombucha the probiotic-rich drink it’s known to be!
Once you have a basic batch of fermented kombucha (and a new baby SCOBY, but that’s beside the point), the world of flavoring kombucha opens up! Now is where the real fun begins.
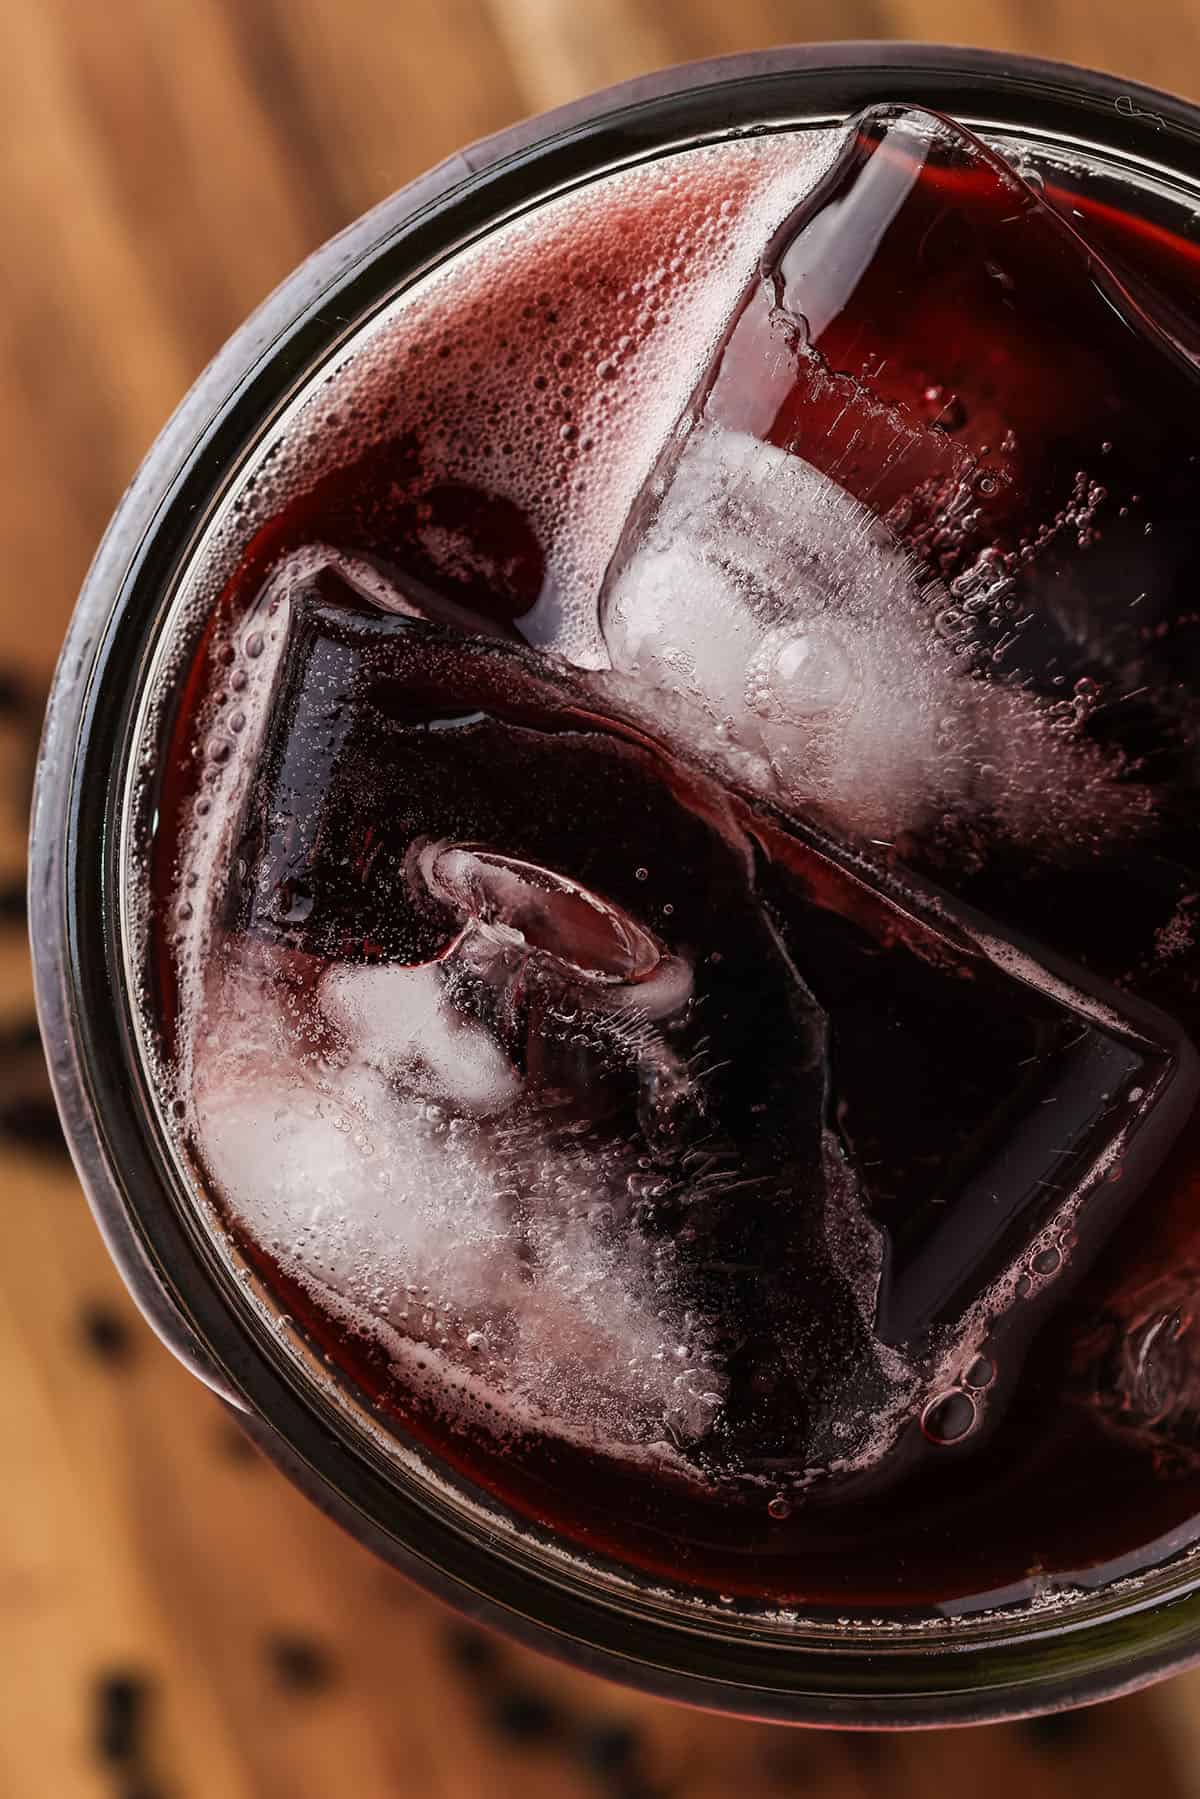
There is no need for a SCOBY with kombucha for second fermentation since the starter kombucha will already have the fermented elements necessary to make it bubble and taste delicious!
Elderberry as Herbal Support
Studies have shown that elderberries have a significant effect on reducing the duration of colds and their associated symptoms.
To access the support of elderberries, I often make elderberry gummies, fermented elderberry honey, elderberry mead, fermented elderberry soda, and elderberry popsicles. These are all simple ways to use this herbal powerhouse.
Elderberries contain polyphenols and lectins, which have been shown to give them the ability to inhibit coronaviruses. Although further studies are needed, the antiviral properties of elderberries have also been linked to reducing the duration of influenza.
The great thing about elderberry kombucha is that it adds herbal support to the probiotic goodness of this kombucha recipe. This is one of the best kombucha recipes!
It starts with making elderberry syrup, which is simple to make using either fresh or dried elderberries.
Elderberry Kombucha Recipe
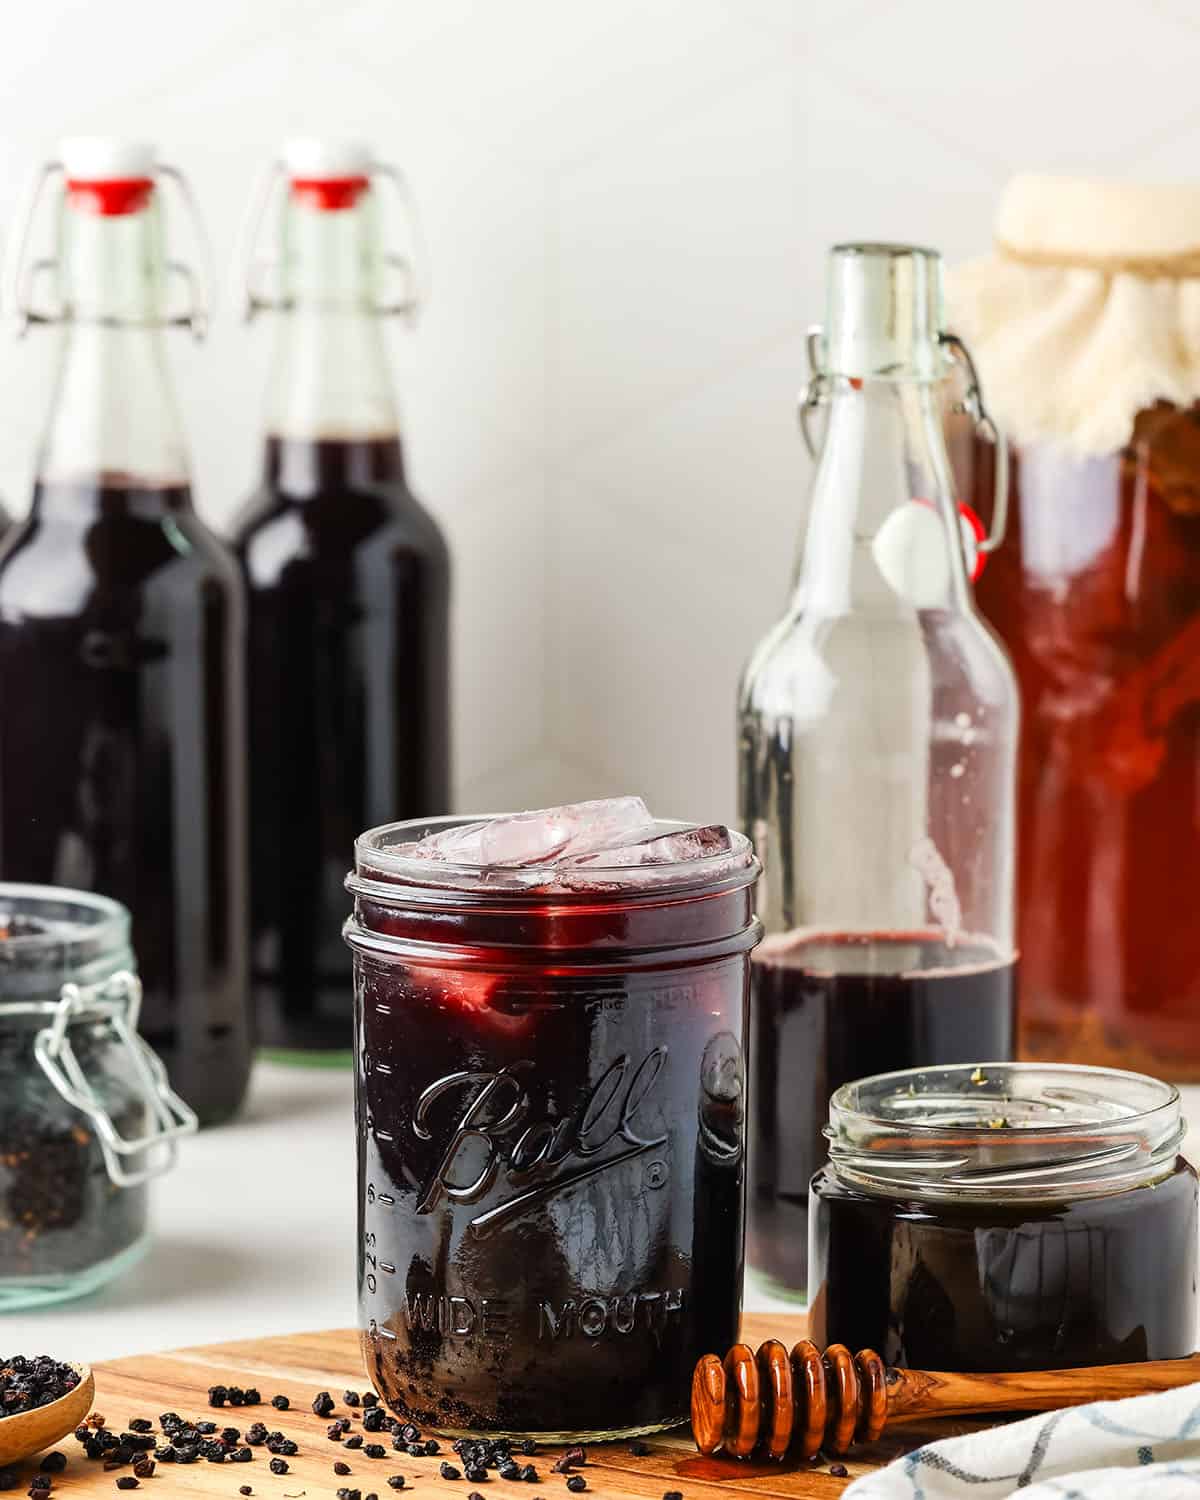
You only need flip-top bottles, a funnel, and whatever herbs, fruit, or berries you want to flavor the original kombucha. In this case, elderberry syrup. And, of course, time!
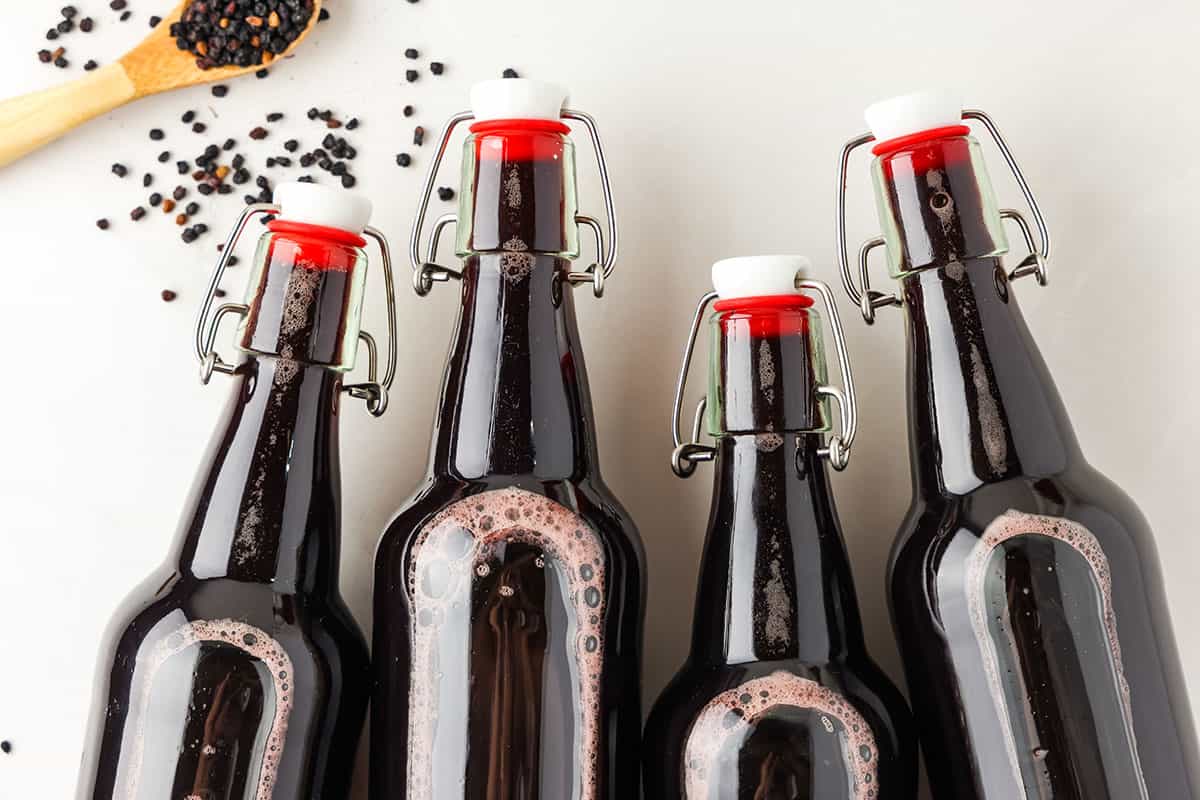
When bottling this kombucha, be sure to mark the date so that you can keep track of how long it’s been fermenting. This will help prevent any bottle explosions due to built-up pressure.
Ingredients
Dried elderberries: If you have fresh homegrown or foraged elderberries, they work great. Otherwise, using dried elderberries like I did when I made this recipe works just as well!
Lemon: Juice it!
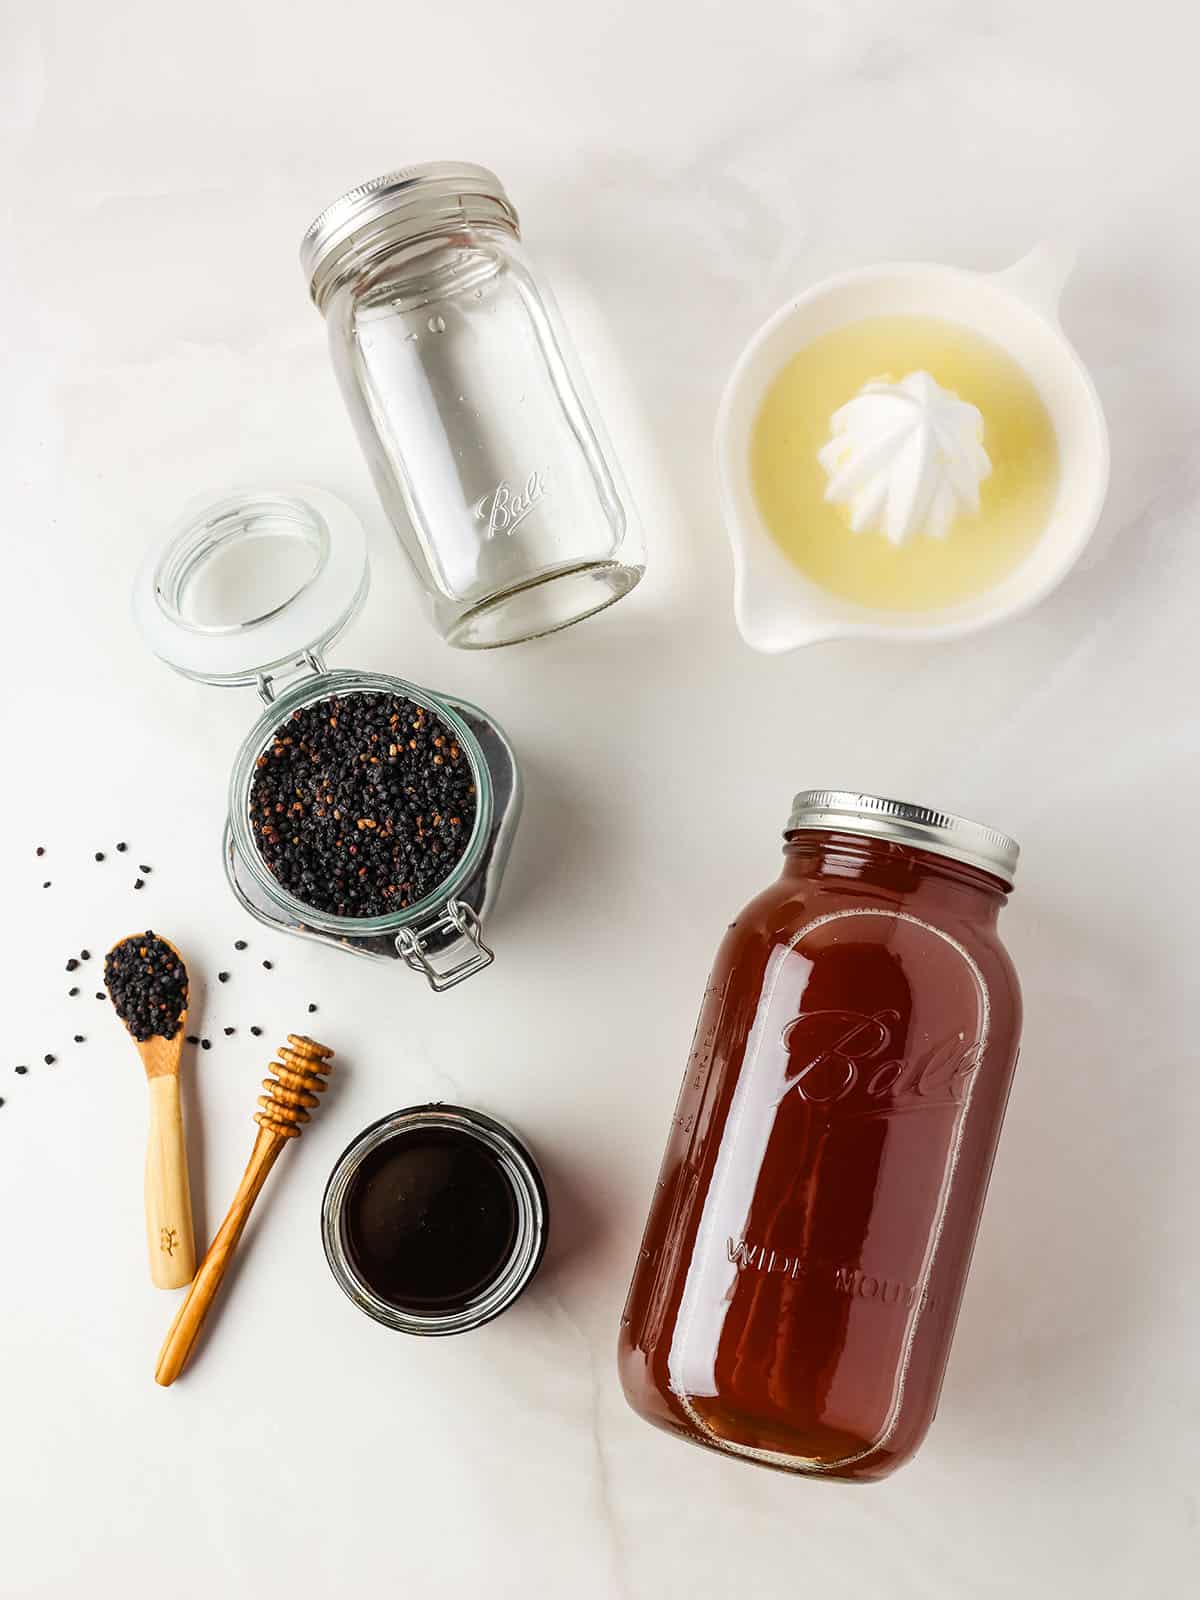
Raw honey: I usually use local raw honey from my natural food store or farmer’s market, but if you don’t have access to that you can buy organic raw honey online.
Fermented kombucha: I use my basic kombucha brew in this recipe since I think black tea goes really well with the flavor of elderberries. If you have green tea kombucha on hand, it’s okay to use that, too!
How to Make Elderberry Syrup
The first step is to make this quick and easy elderberry syrup.
Combine the elderberries, water, and lemon juice in a medium pot, and bring it to a boil with the lid off. Let the mixture boil for 25 minutes.
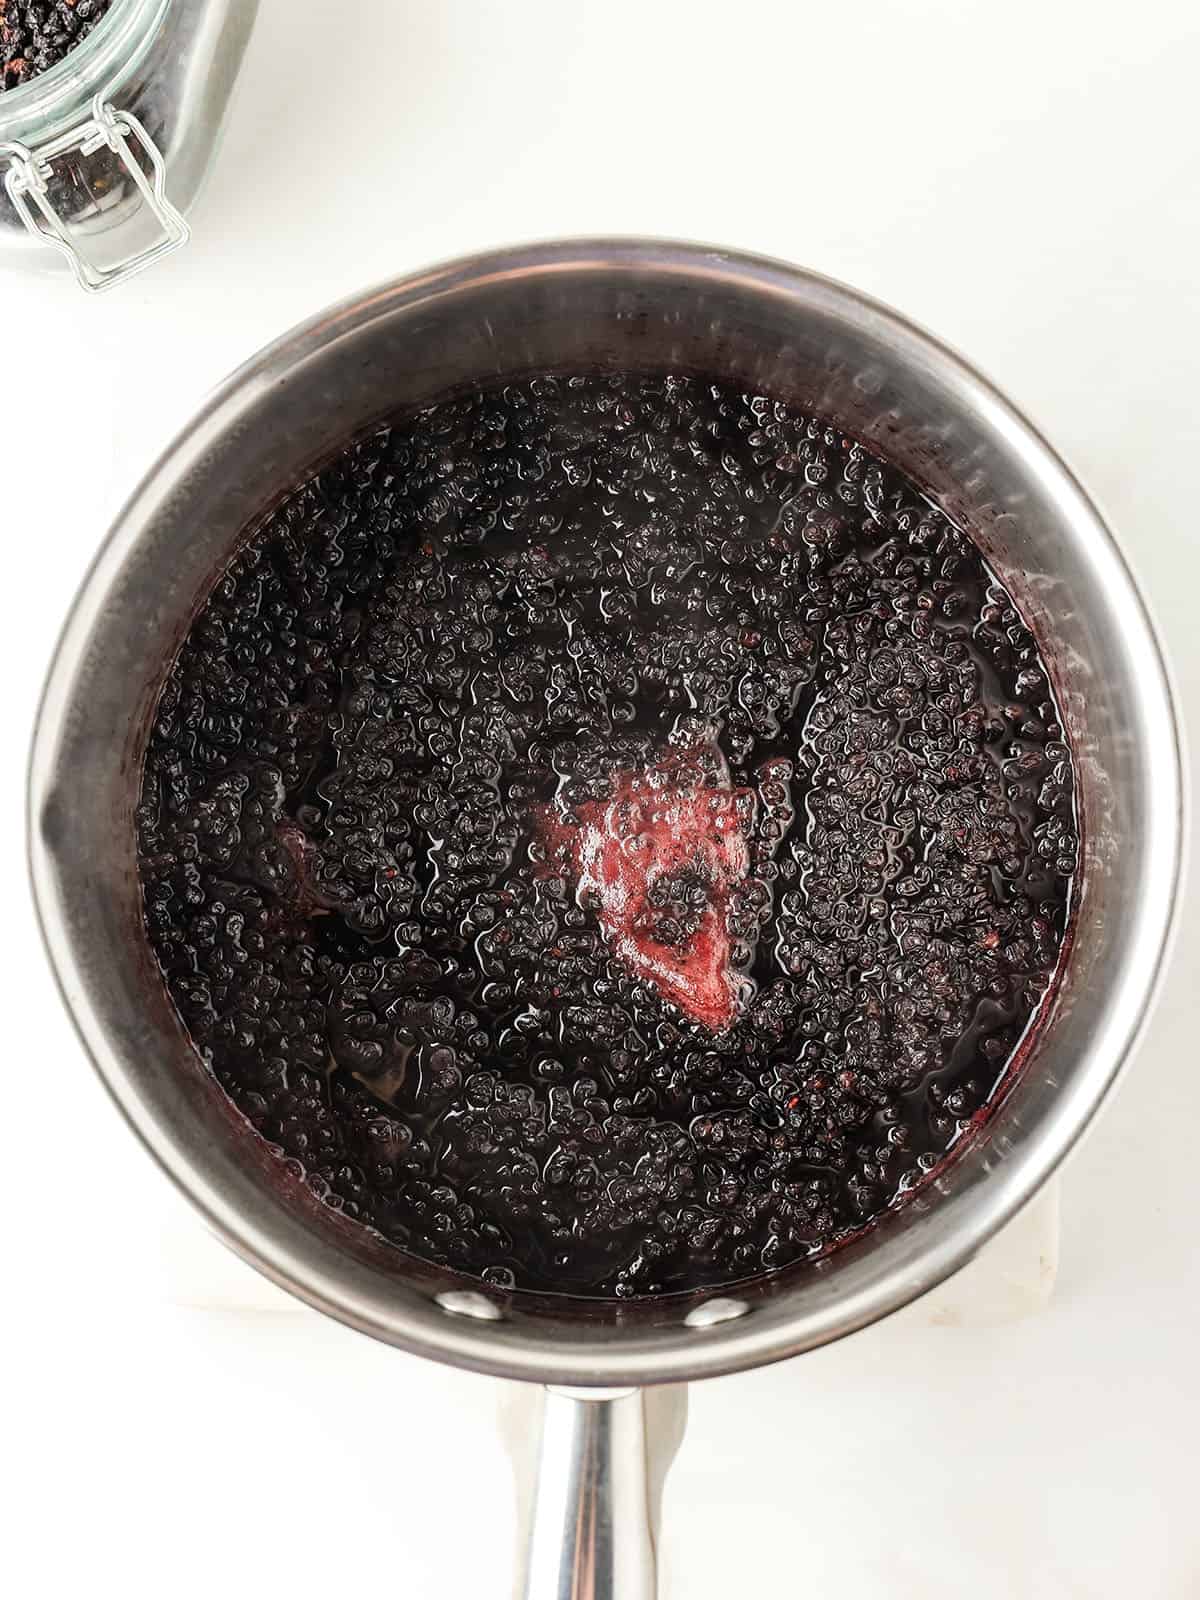
Then remove the pot from heat and set it aside to cool to room temperature.
Once the elderberry mixture has completely cooled, strain it into a jar using a fine mesh sieve and funnel.
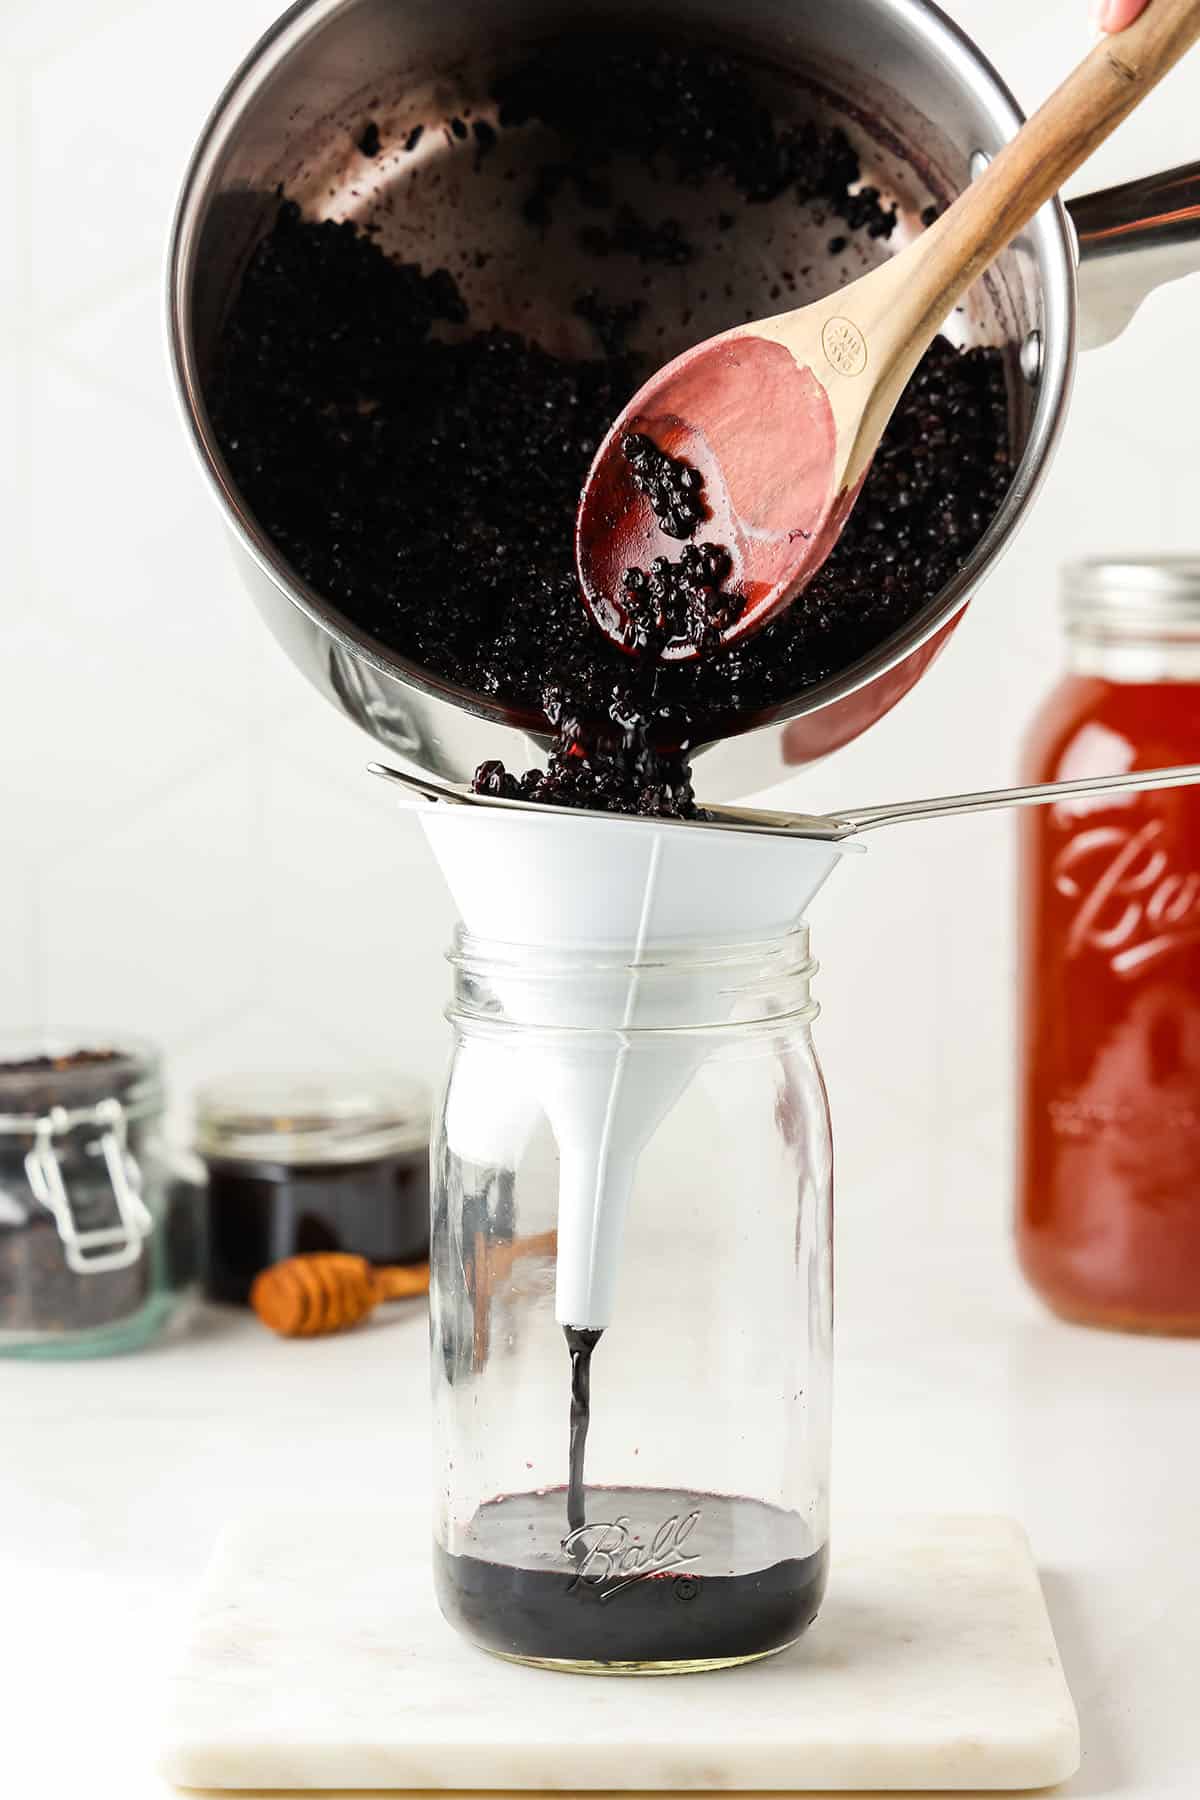
Then, mash the elderberry pulp with the back of a spoon to squeeze out the extra juice. You want all the goodness you can get out of them! There should be about 1 ½ cups of elderberry tea after this process.
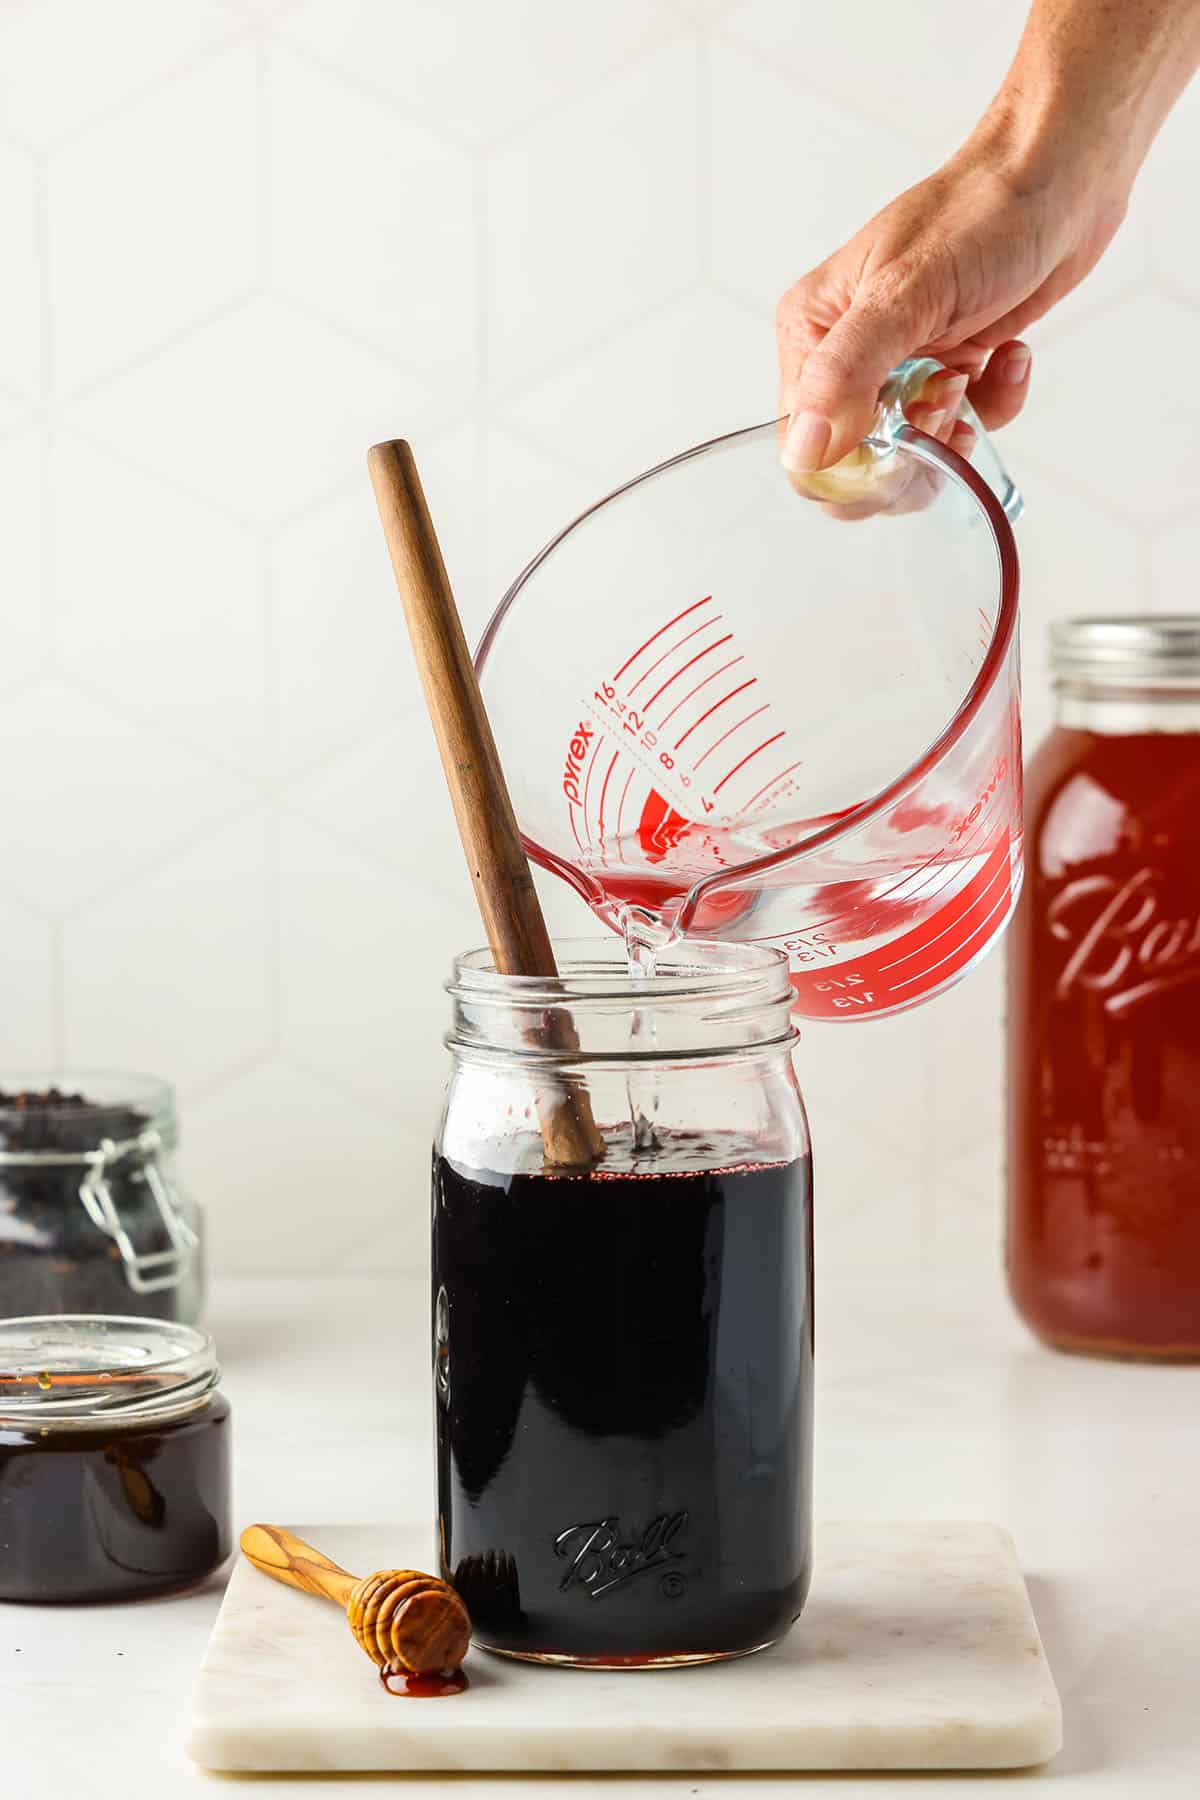
Now, stir the honey into the elderberry tea until combined, making a lovely light syrup.
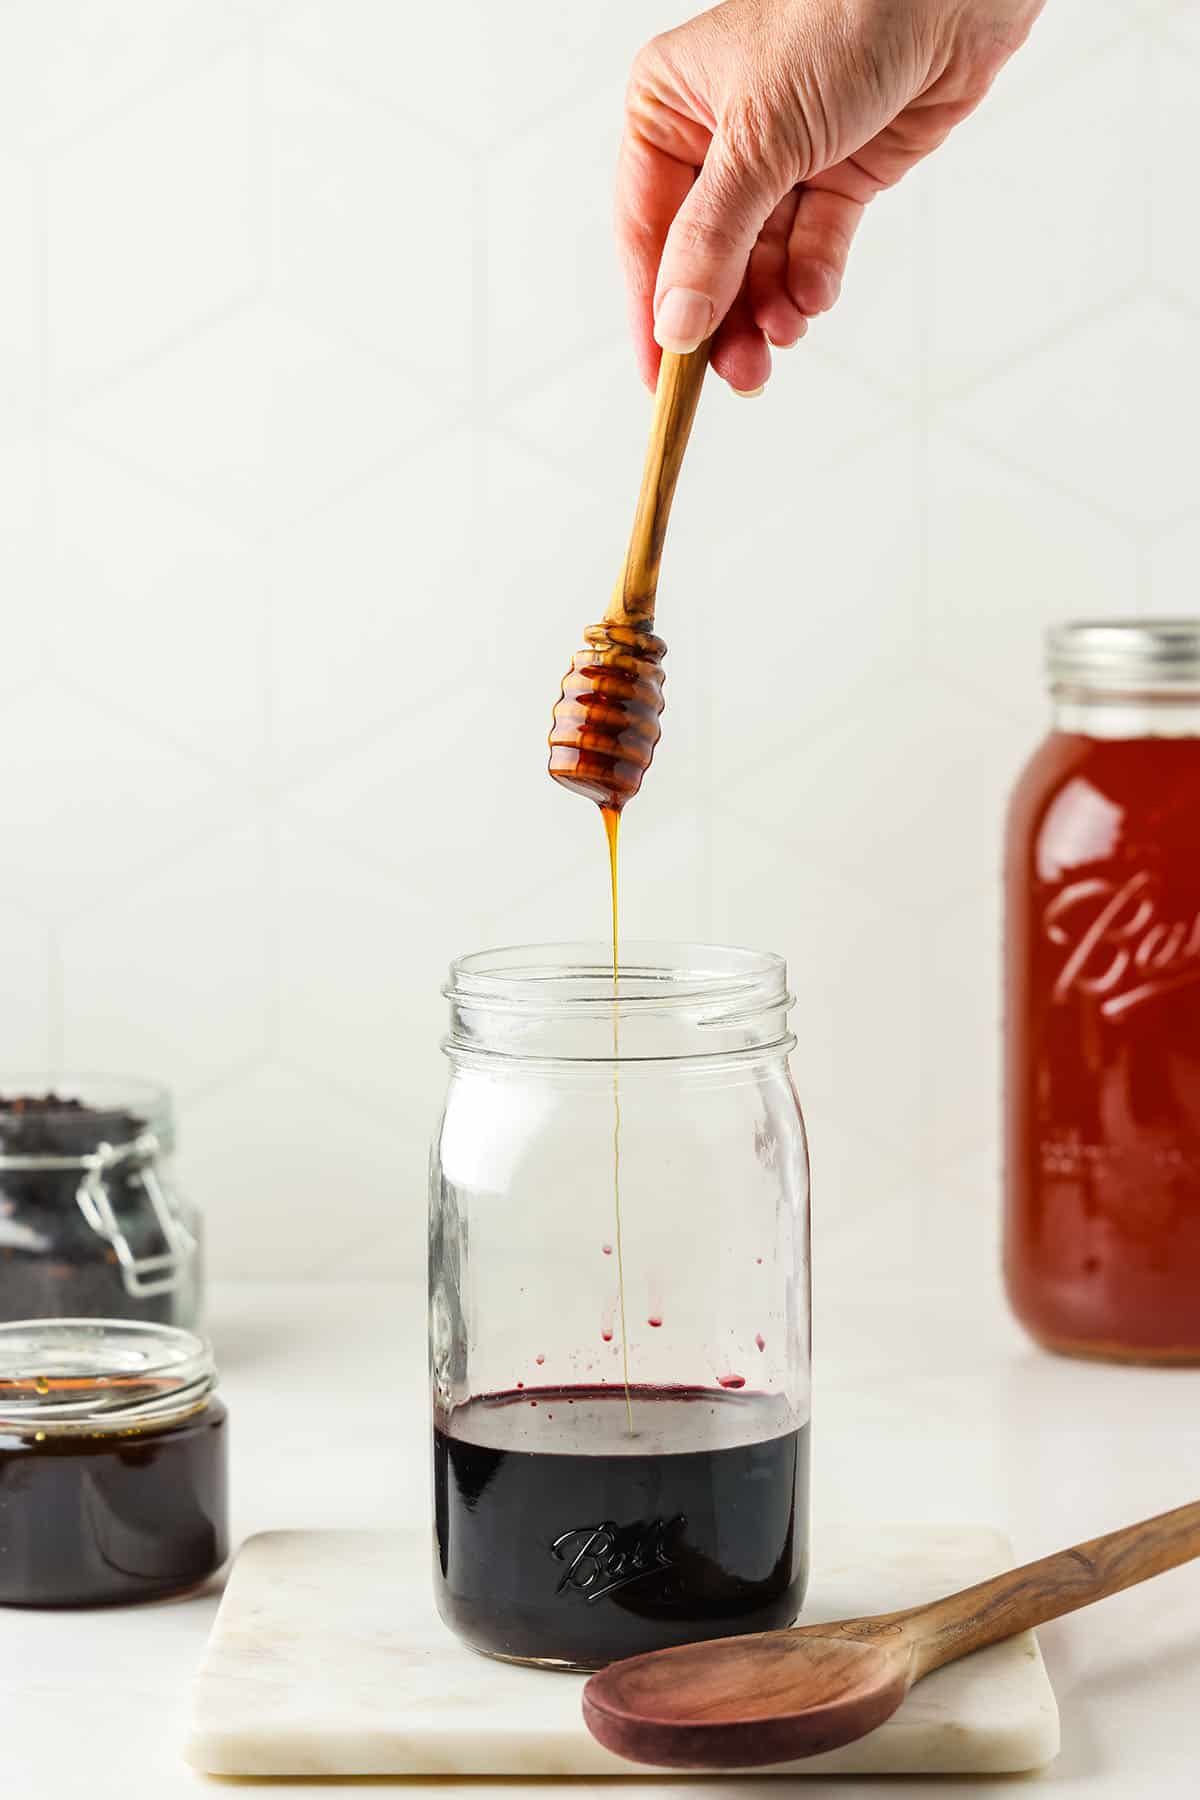
Note: Keep in mind that sugar is necessary to drive the ferment, and that is the function the honey serves in this recipe. It’s okay to use more or less honey if desired, but don’t omit it altogether.
Before using the elderberry syrup to flavor the kombucha, add 1 ½ cups water to the syrup to thin it out a bit.
Flavoring Kombucha
To flavor the kombucha, gently swirl the fermented kombucha from the first fermentation process before you pour it into the bottles to distribute the yeast evenly.
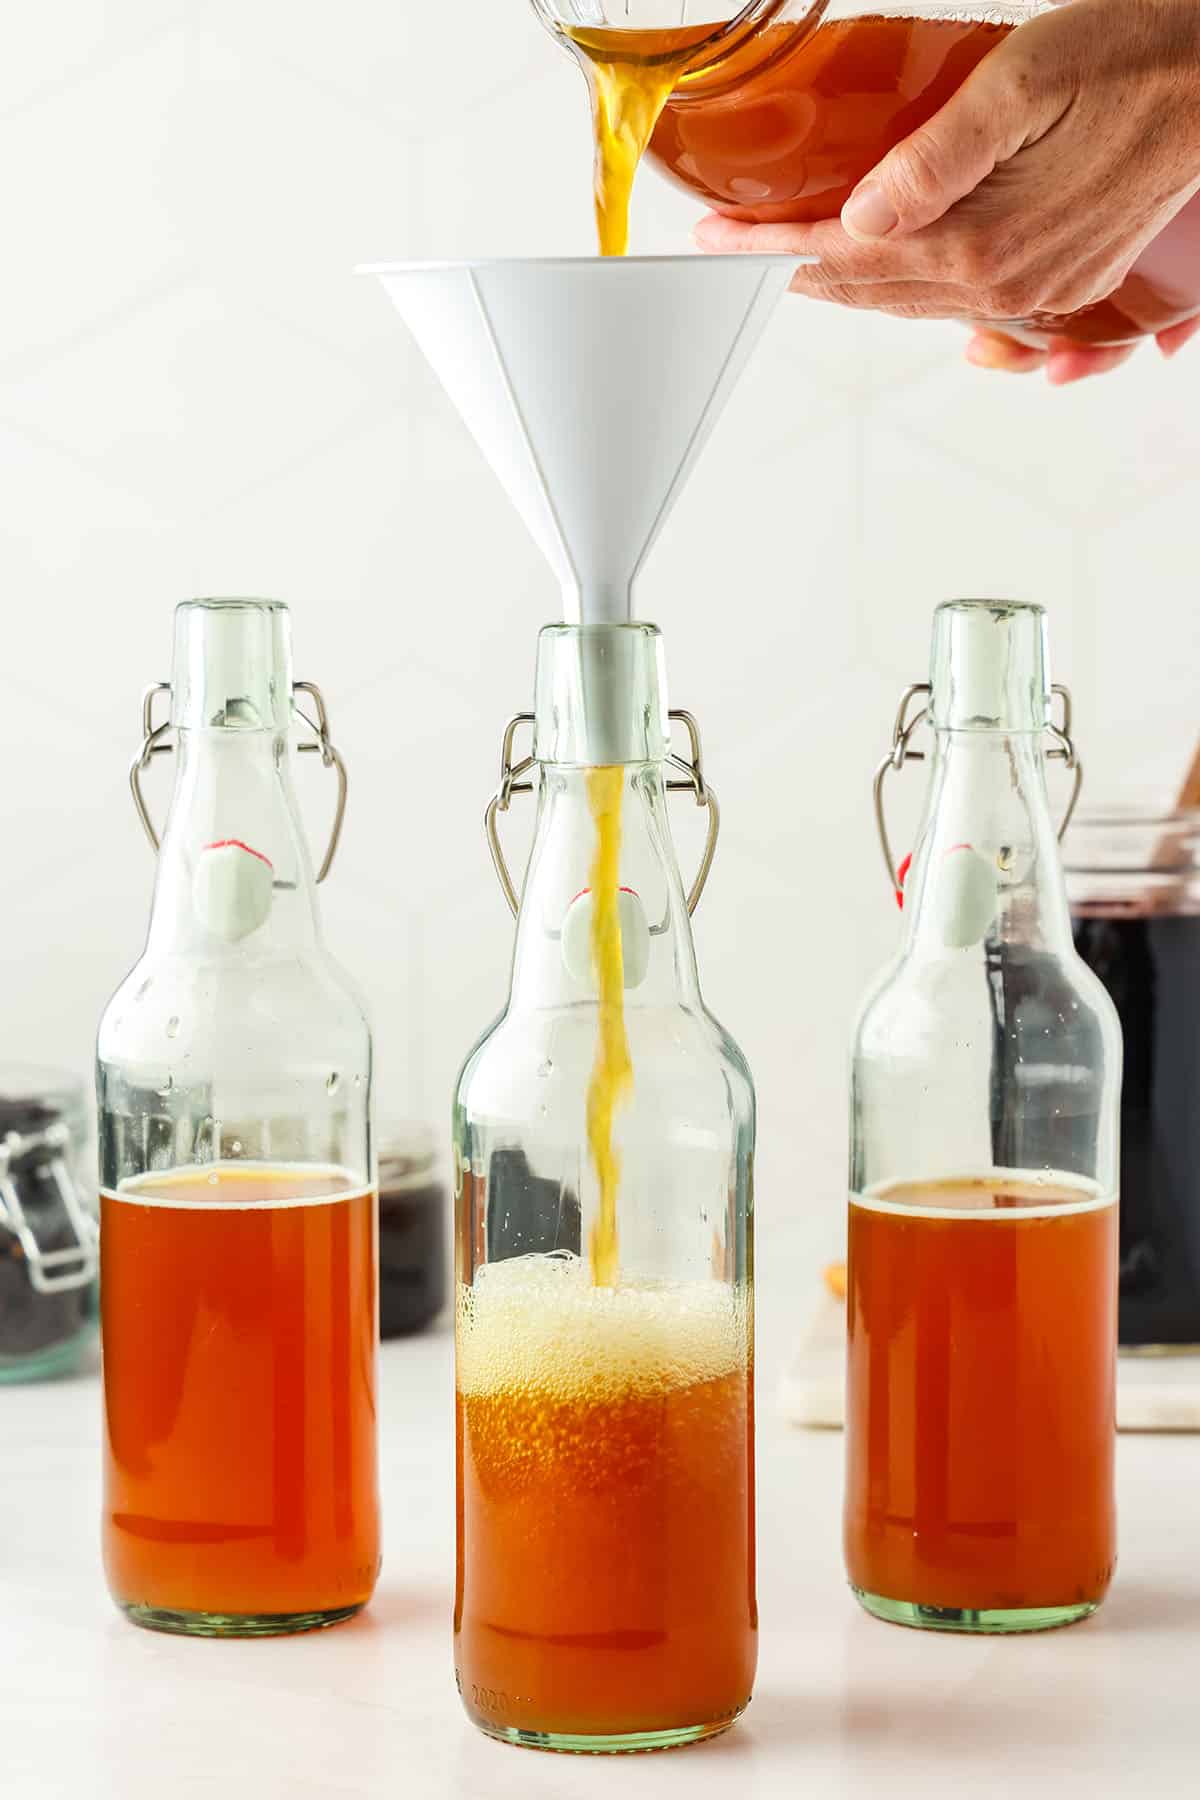
Use a funnel to pour the fermented kombucha into swing-top bottles or any bottle with a tight-fitting lid to a little over halfway full, about 1 ¼ cup per 16-oz bottle.
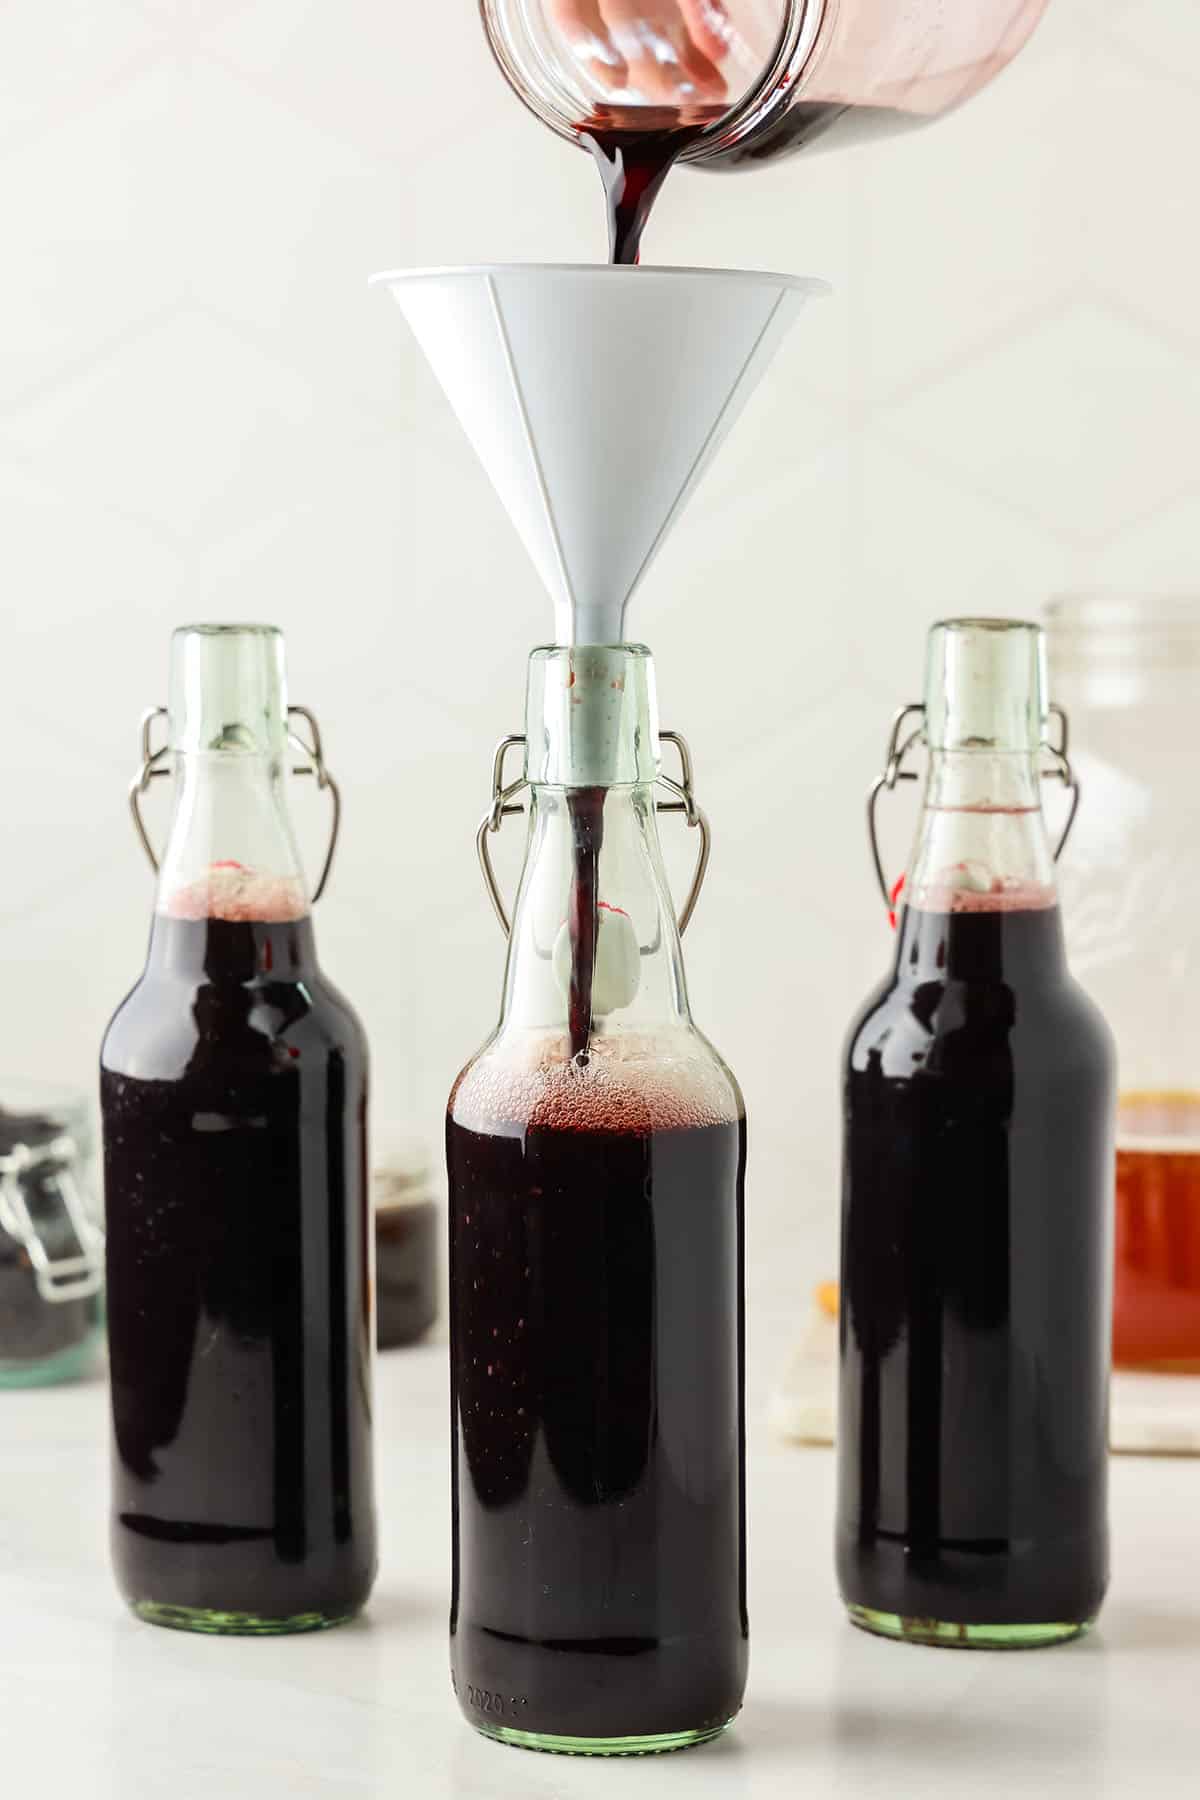
Add the elderberry syrup mixture to each bottle, about ¾ cup. Leave about an inch or so of headspace at the top of the bottle.
Then seal the bottles tightly and store them at room temperature, away from direct sunlight.
As the fermentation process occurs, you will notice little bubbles forming at the top, and the yeasts will float. Make sure to check the bottles daily and “burp” them to release pressure.
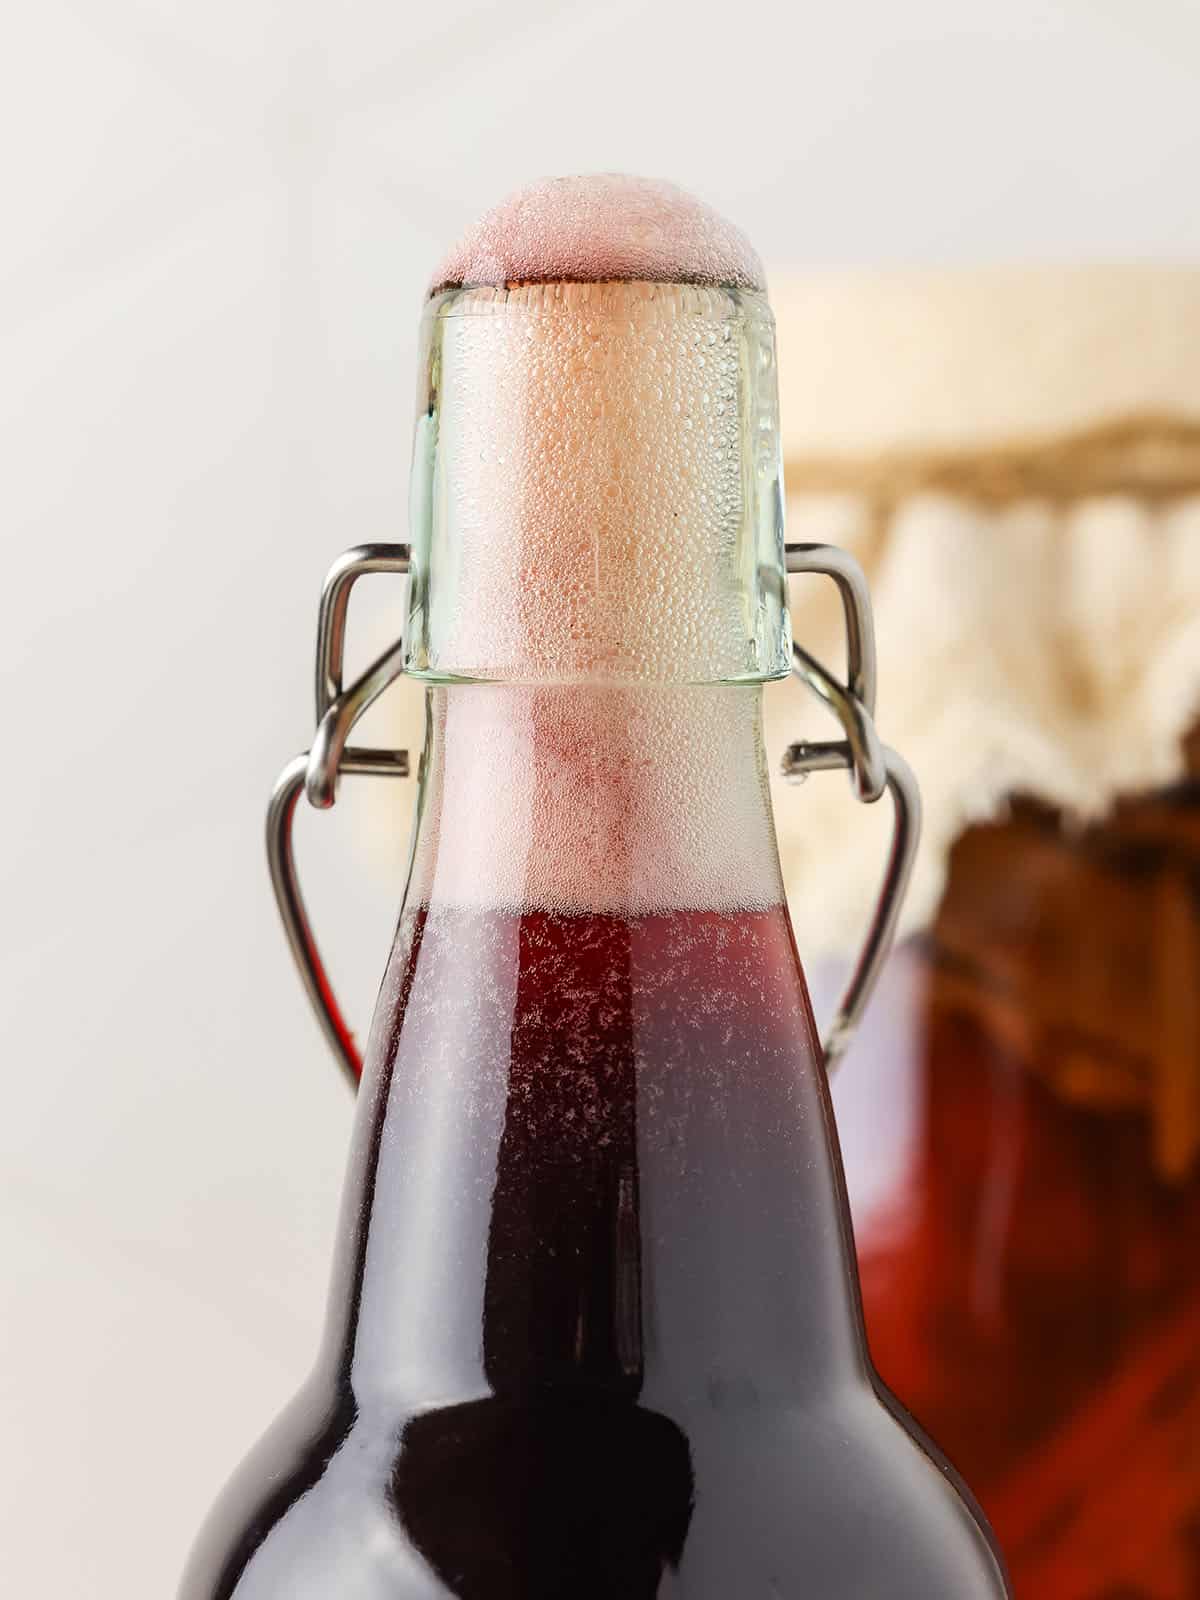
If there is built-up pressure and bubbles race to the top, then move that bottle to the refrigerator. The second fermentation process can take anywhere from 5-10 days.
The timing of the ferment depends on the ambient temperature, with warmer temps fermenting faster.
Serving Elderberry Kombucha
Chill the bottles in the refrigerator to stop the fermentation, and serve them right from the refrigerator! This kombucha is lovely to drink anytime but is especially beneficial during cold and flu season.
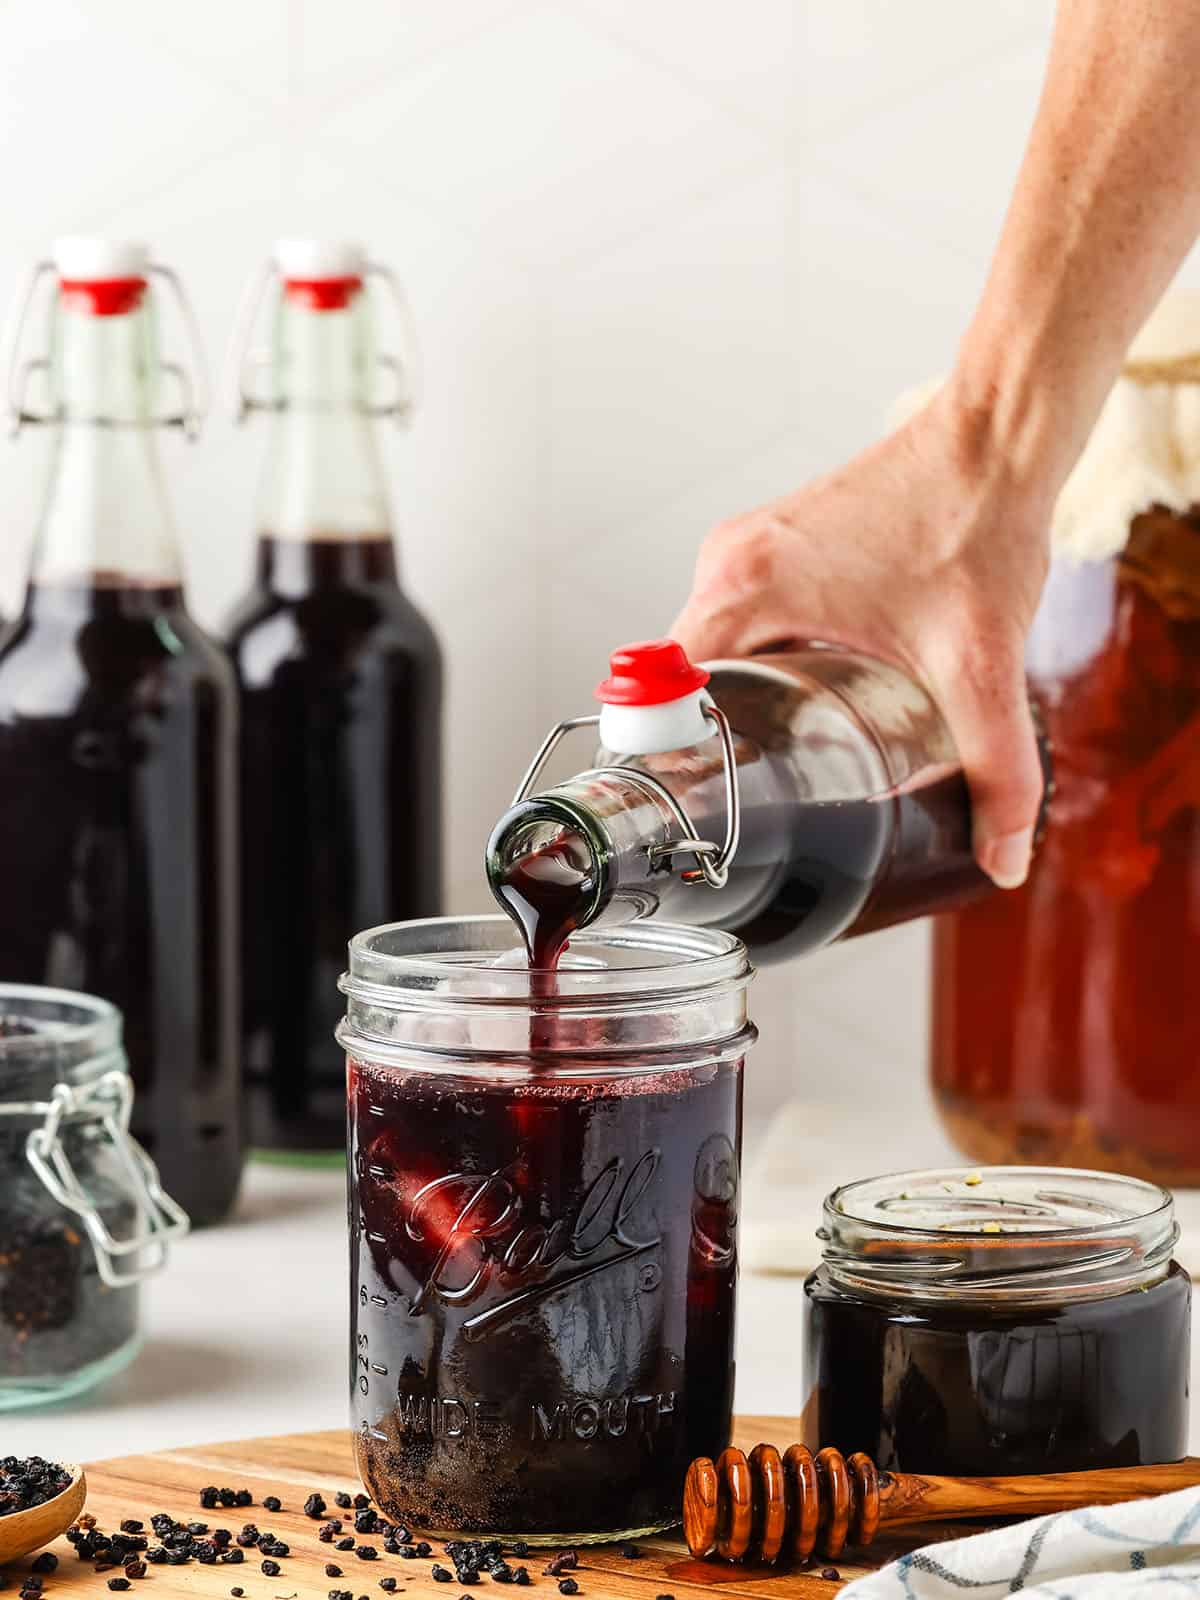
This bubbly probiotic kombucha pairs perfectly with other seasonal snacks like Queen Anne’s lace fritters or toast with fig honey butter.
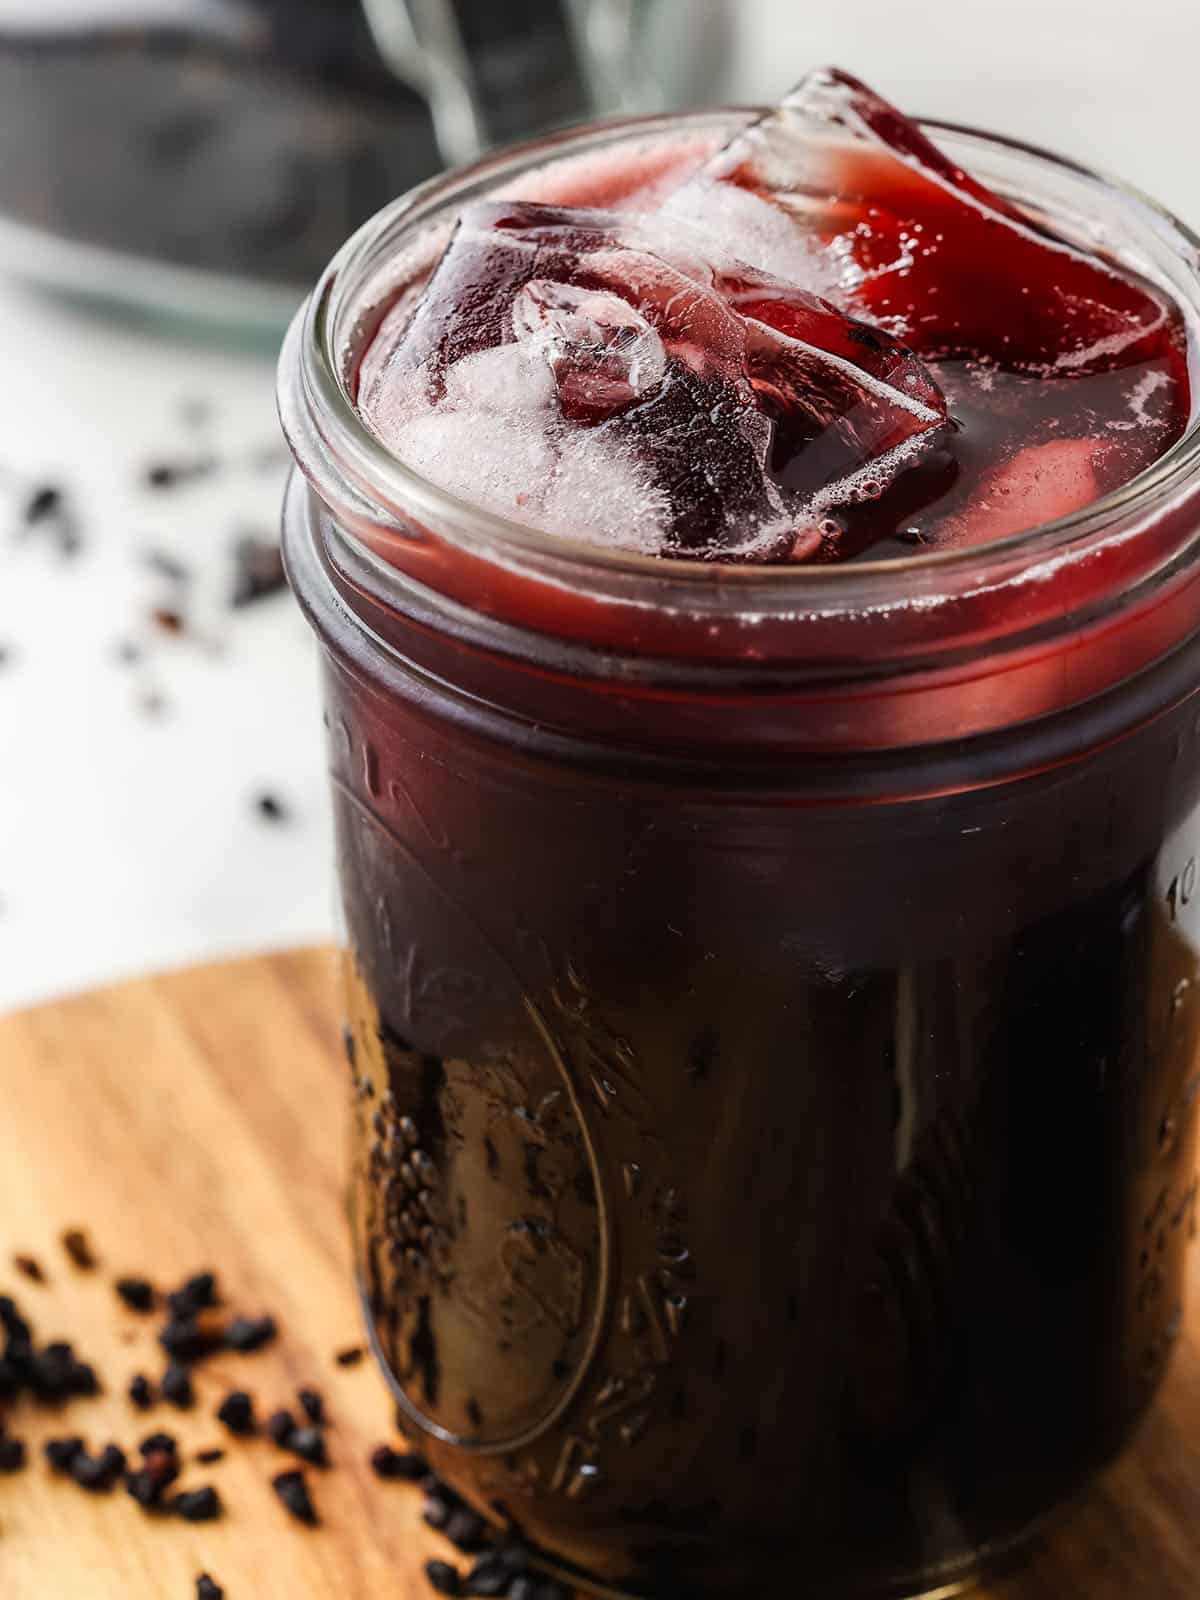
It’s perfect for herbal support in late summer and early fall!
More Kombucha Flavors
- Blackberry Kombucha
- Blueberry Kombucha
- Rose Kombucha
- Dandelion Kombucha
- Strawberry Kombucha
- Ginger Kombucha
- Hibiscus Kombucha
- Watermelon Kombucha
- Lavender Kombucha
- Apple Ginger Kombucha
- Pumpkin Kombucha
- Cranberry Kombucha
Elderberry Kombucha
Ingredients
Elderberry Syrup
- 1 ½ cups dried elderberries
- 3 ½ cups water
- 1 lemon juiced
- ½ cup raw honey
Elderberry Kombucha
- 2 cups elderberry syrup
- 1 ½ cups water
- 5 cups fermented kombucha
Instructions
- Combine the elderberries, water, and lemon juice in a medium pot. Bring to a boil uncovered and boil for 25 minutes. Remove from heat and set aside to cool to room temperature.
- Once the elderberry mixture has completely cooled, strain it into a jar using a fine mesh sieve and funnel. Mash the elderberry pulp with the back of a spoon to squeeze out the extra juice. There should be about 1 ½ cups of elderberry tea after this process.
- Stir the honey into the elderberry tea until combined, then add 1 ½ cups water to the syrup.
- Gently swirl the fermented kombucha (from the first fermentation process) before you pour it into the bottles to evenly distribute the yeast.
- Use a funnel to pour the fermented kombucha into swing-top bottles, or any bottle that has a tight-fitting lid, to a little over halfway full (about 1 ¼ cup per 16oz bottle).
- Add the elderberry syrup mixture to each bottle (about ¾ cup per 16oz bottle), leaving about an inch or so of headspace at the top of the bottle.
- Seal the bottles tightly and store them at room temperature out of direct sunlight.
- As the fermentation process occurs, you will notice little bubbles forming at the top and the yeasts will float. Check the bottles daily and “burp” them at least once daily to release pressure. If there is built up pressure and bubbles race to the top, then move the bottles to the refrigerator. The 2 fermentation process can take anywhere from 5-10 days depending on the ambient temperature (warmer temps will ferment faster).
Notes
- You can add more or less honey to the elderberry syrup. Adding more honey may make the finished kombucha fizzier.
- The ratio of kombucha to elderberry syrup in the bottles can be adjusted to your liking. I like a little more kombucha than elderberry syrup, but you can change it to how you prefer it.
- It is important to check this kombucha daily for carbonation and burp the bottles as needed.
- If you prefer, the bottles can go right into the refrigerator for the second ferment, but this will slow down fermentation.
- Be sure to mark the date that you bottled it so that you can keep track of how long it’s been to help prevent any bottle explosions due to built-up pressure.

If you want to still have the health benefits from the elder berries then only bring them to a simmer when making the elderberry mixture. Boiling them kills all the good stuff.