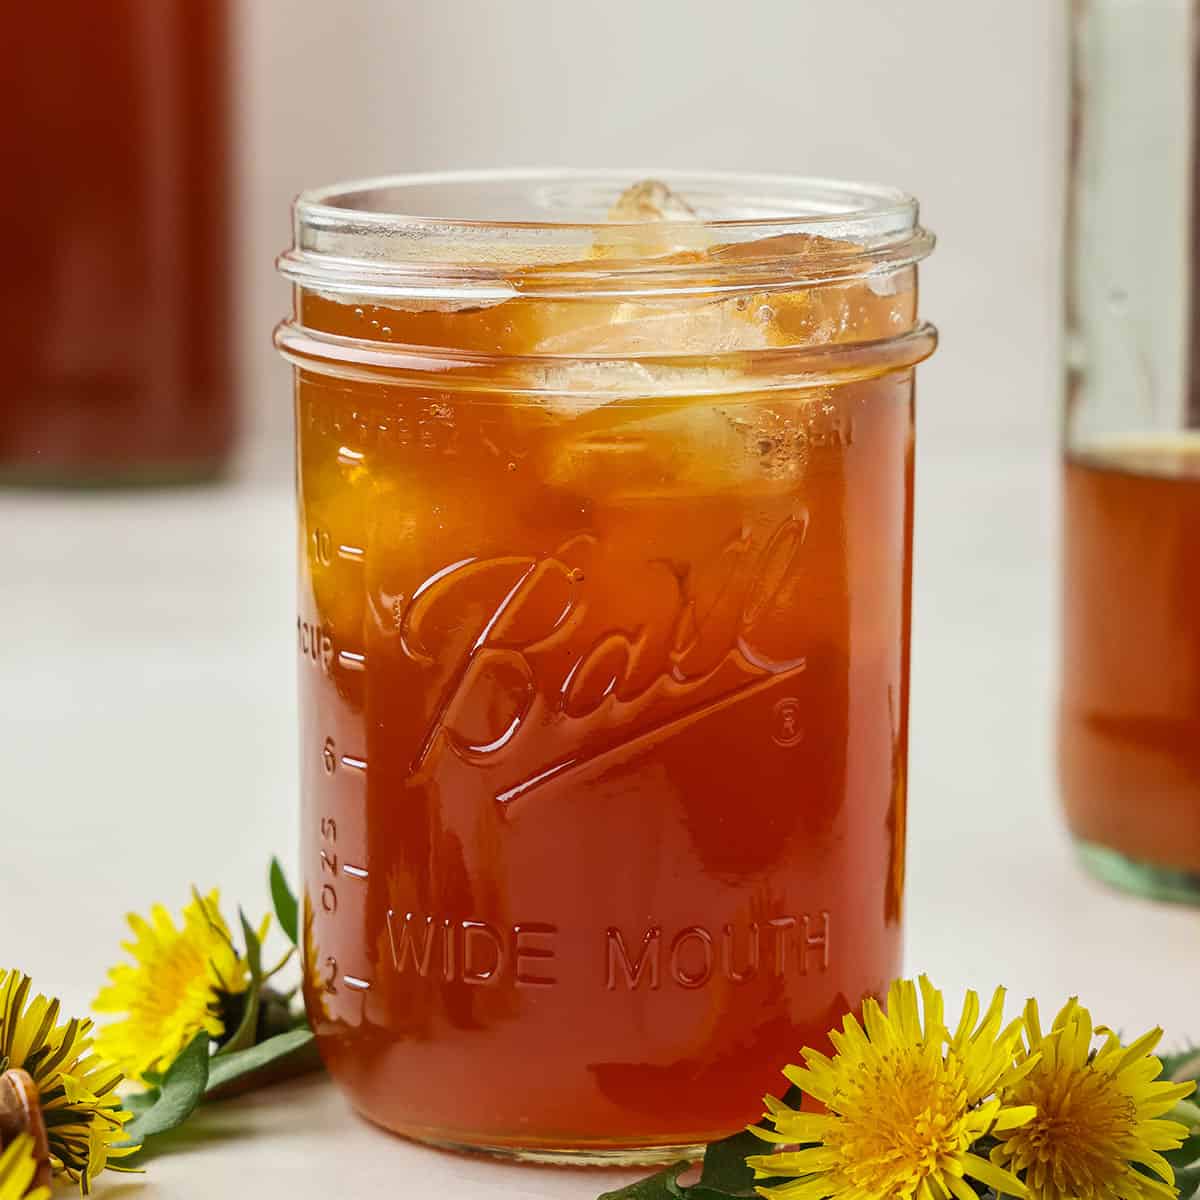
Dandelion kombucha is the best kombucha flavor for spring! This second fermentation is made with dandelion tea, creating a bubbly and refreshing drink fueled with flower power.
Want to save this post for later?
Kombucha Second Fermentation for Spring
Flavoring kombucha with a second fermentation process is easy, and the results are delicious, full of bubbles and probiotics. It begins with a basic kombucha recipe made with a SCOBY (Symbiotic Colony of Bacteria and Yeast).
Once the first batch of kombucha is brewed, you’re ready for a second fermentation. Options await! You can make a variety of kombucha flavors, like rose, ginger, strawberry, hibiscus, or cherry almond.
The best part of flavoring kombucha is the herbal benefits you get along with the probiotic benefits. I love to make natural seasonal flavors, so of course, I had to make dandelion kombucha!
Related: 50+ Dandelion Recipes
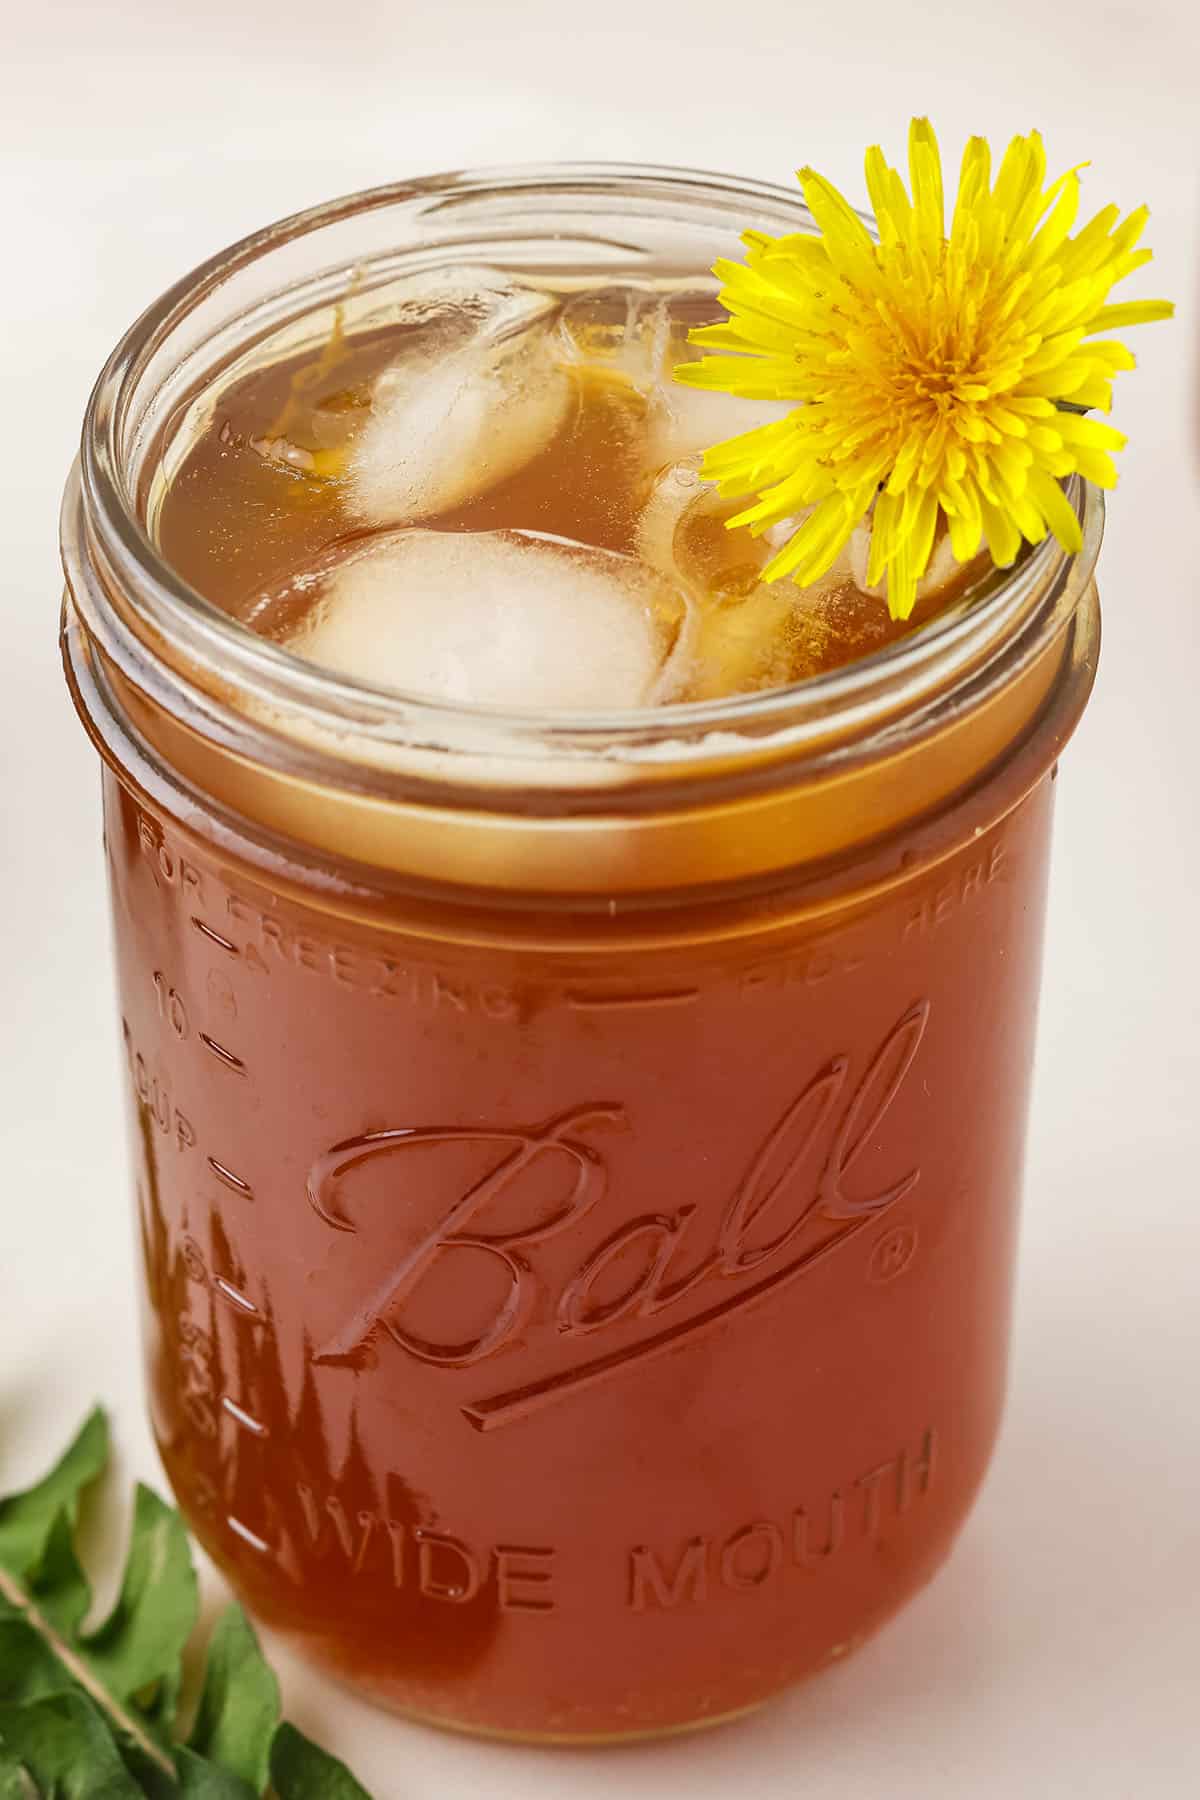
This recipe uses dandelion tea, which is a super simple way to access the flower power of these humble, sunny-faced weeds.
When preparing to make the tea, be sure to forage for dandelions in an area free of herbicides, heavy foot traffic, pet waste, and road runoff.
Get recipes for food, drinks, infusions, and self-care using dandelion flowers, leaves, and roots in my ebook, Dandelion Recipes From Flower To Root!
Dandelion Kombucha Benefits
Besides the amazing spring flavor, dandelion kombucha has many health benefits. It provides probiotics that are healthy for your gut and has antibacterial properties similar to dandelion vinegar.
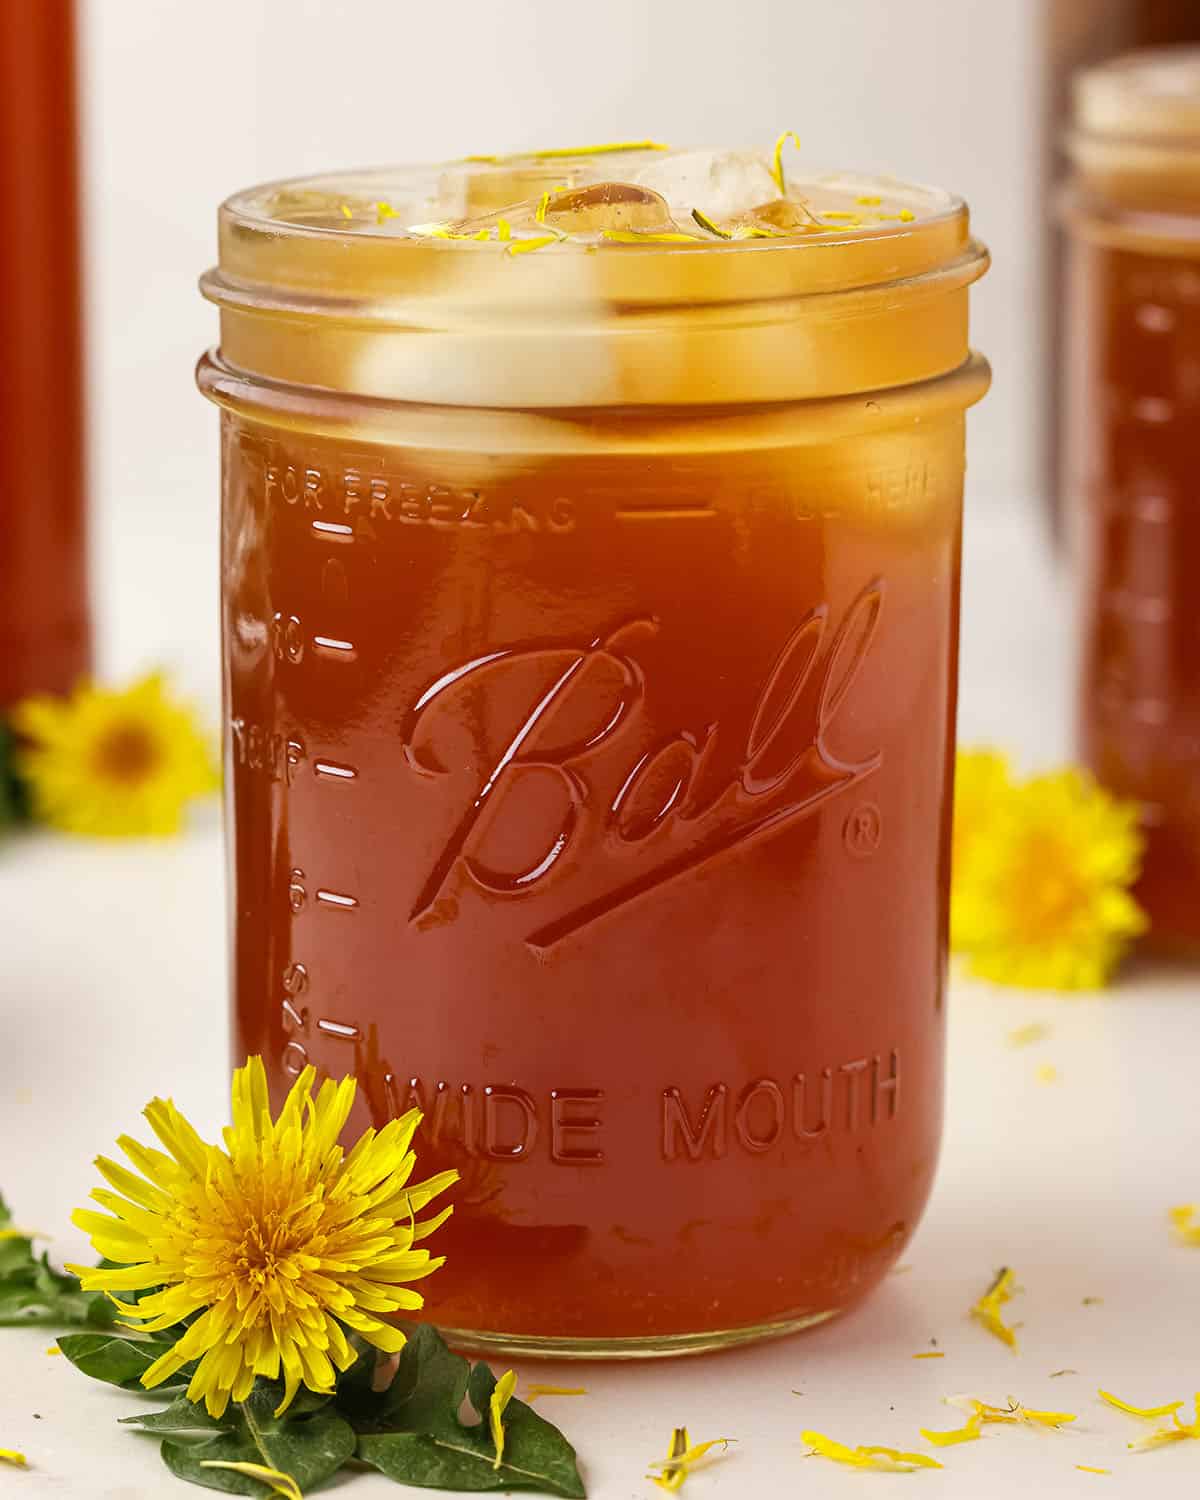
Dandelion tea is beneficial for digestion and liver and kidney function and is also a natural diuretic.
Dandelion flowers, stems, and leaves are high in potassium and vitamins A, C, K, and E. They are also a source of folate, iron, and calcium. They’re wonderful and a nutritious ingredient to add to many recipes!
Dandelion Kombucha Second Fermentation Recipe
I prefer to use just the flower heads for the dandelion tea. It’s okay to use the stems and leaves in the tea; they give the dandelion kombucha an earthy flavor, whereas the flowers have a sweeter taste.
Ingredients
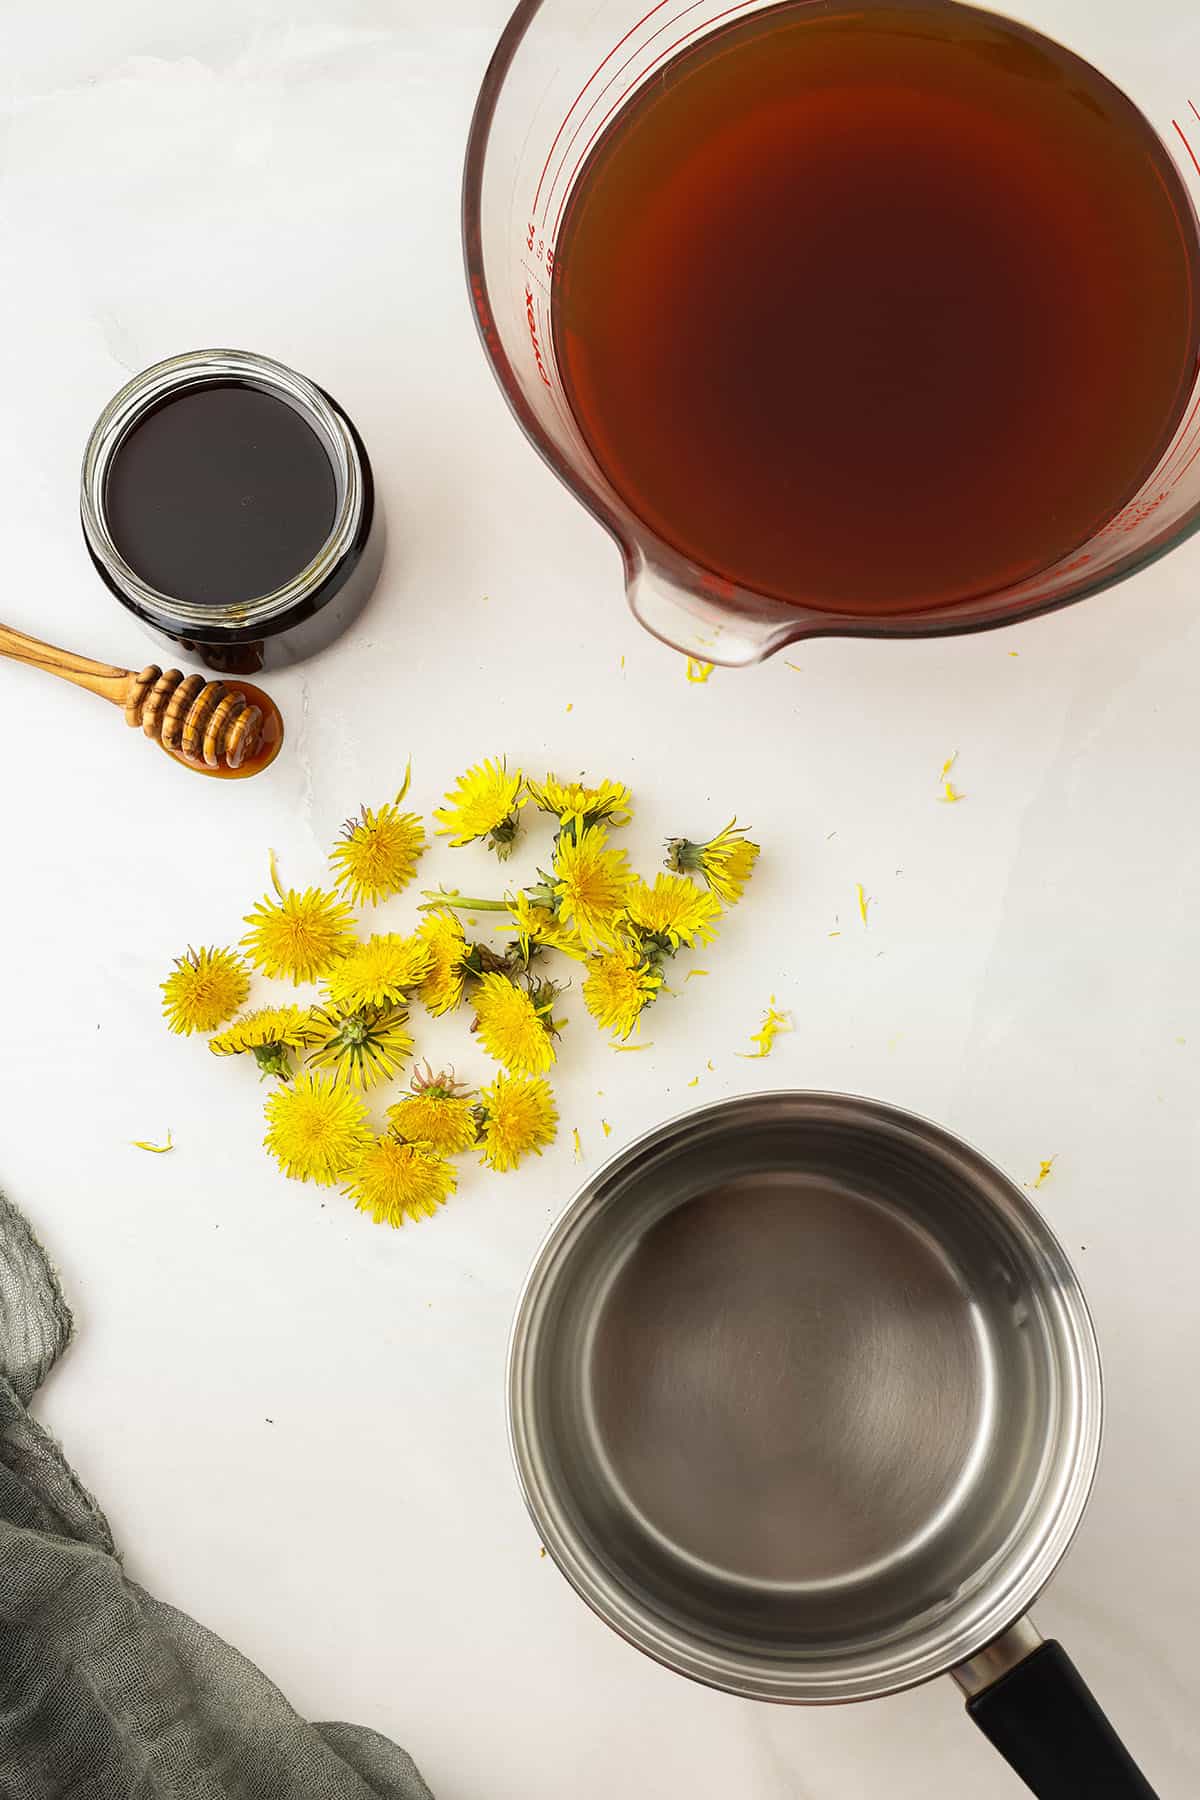
Dandelion blossoms: I prefer to use only the dandelion flower heads, but if you want an earthy flavor, you can include some stems. You could also forage for the leaves and use them to make the tea.
Raw honey: The sugar in raw honey fuels fermentation. However, you can use more or less to taste.
Fermented kombucha: To make flavored kombucha with a second ferment, have a batch of basic kombucha brewed and ready first. It’s easy!
How to Make Dandelion Kombucha
This recipe makes about four 16oz bottles of dandelion kombucha. Feel free to choose the sizes that work for you, though.
Make Dandelion Tea
First, put the dandelion flowers and water into a pot and bring it to a boil.
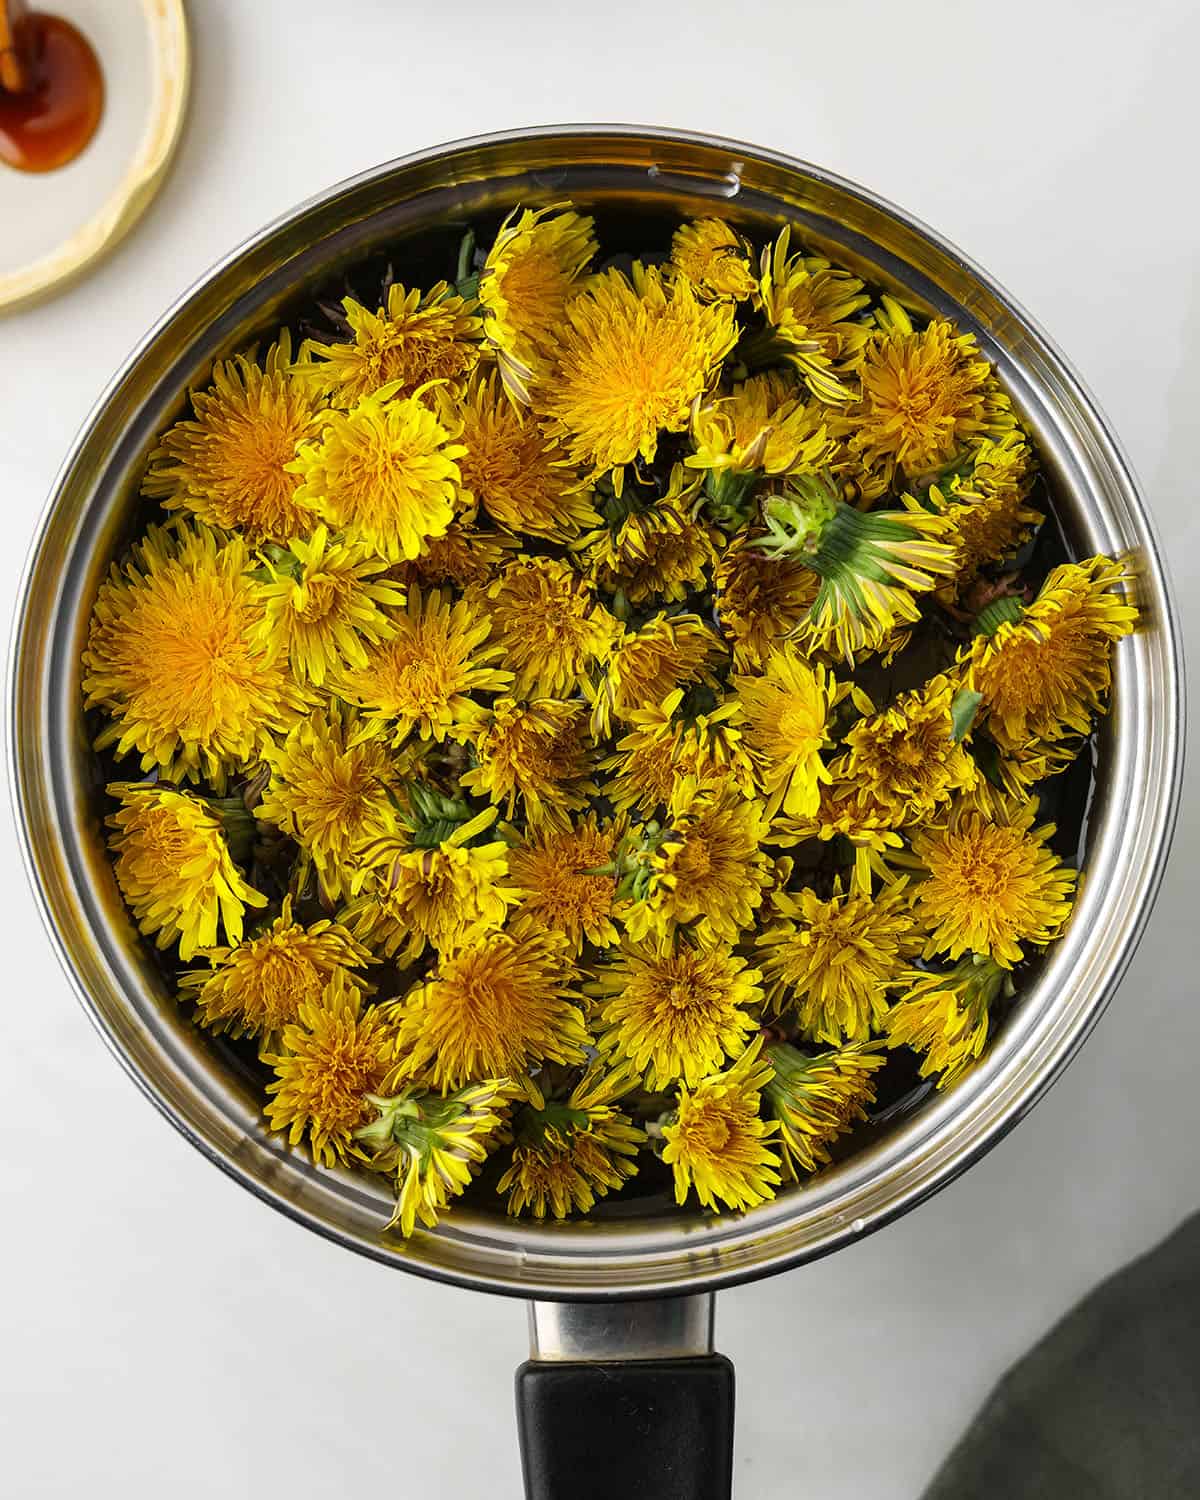
Then reduce the heat and let it simmer for 5 minutes, then turn off the heat.
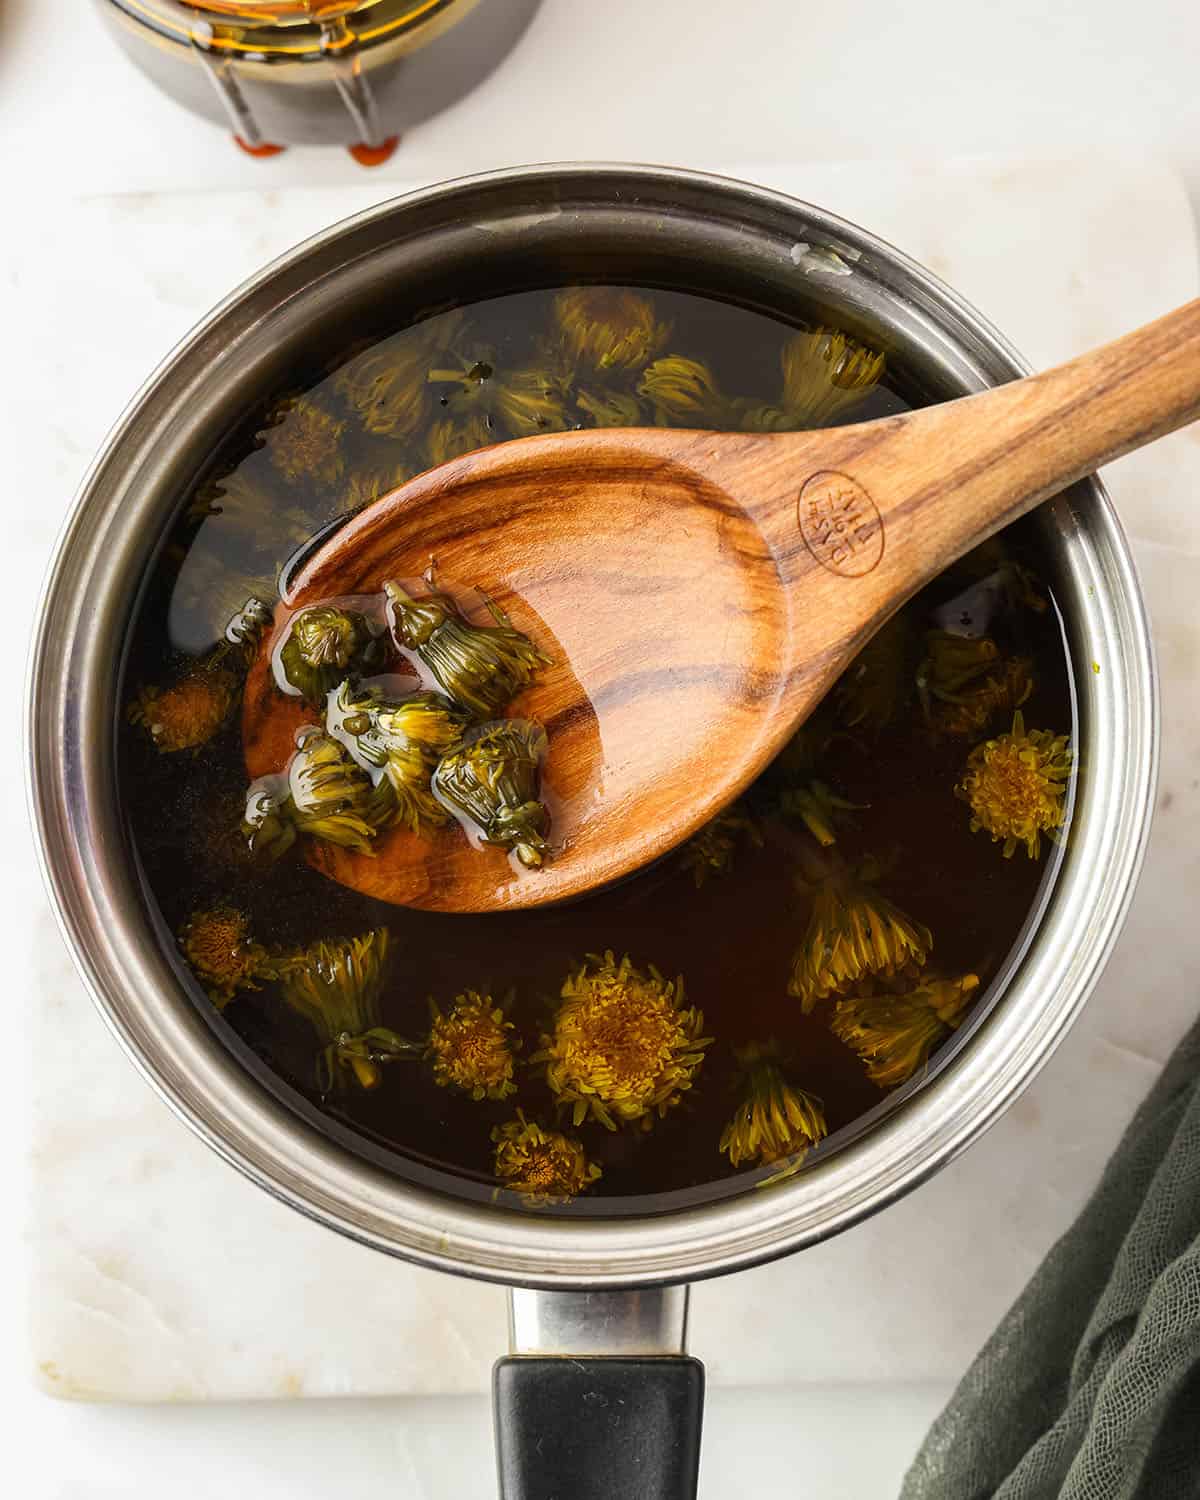
Now, let the dandelion tea cool a bit, and then add the honey so it will dissolve in the warm water.
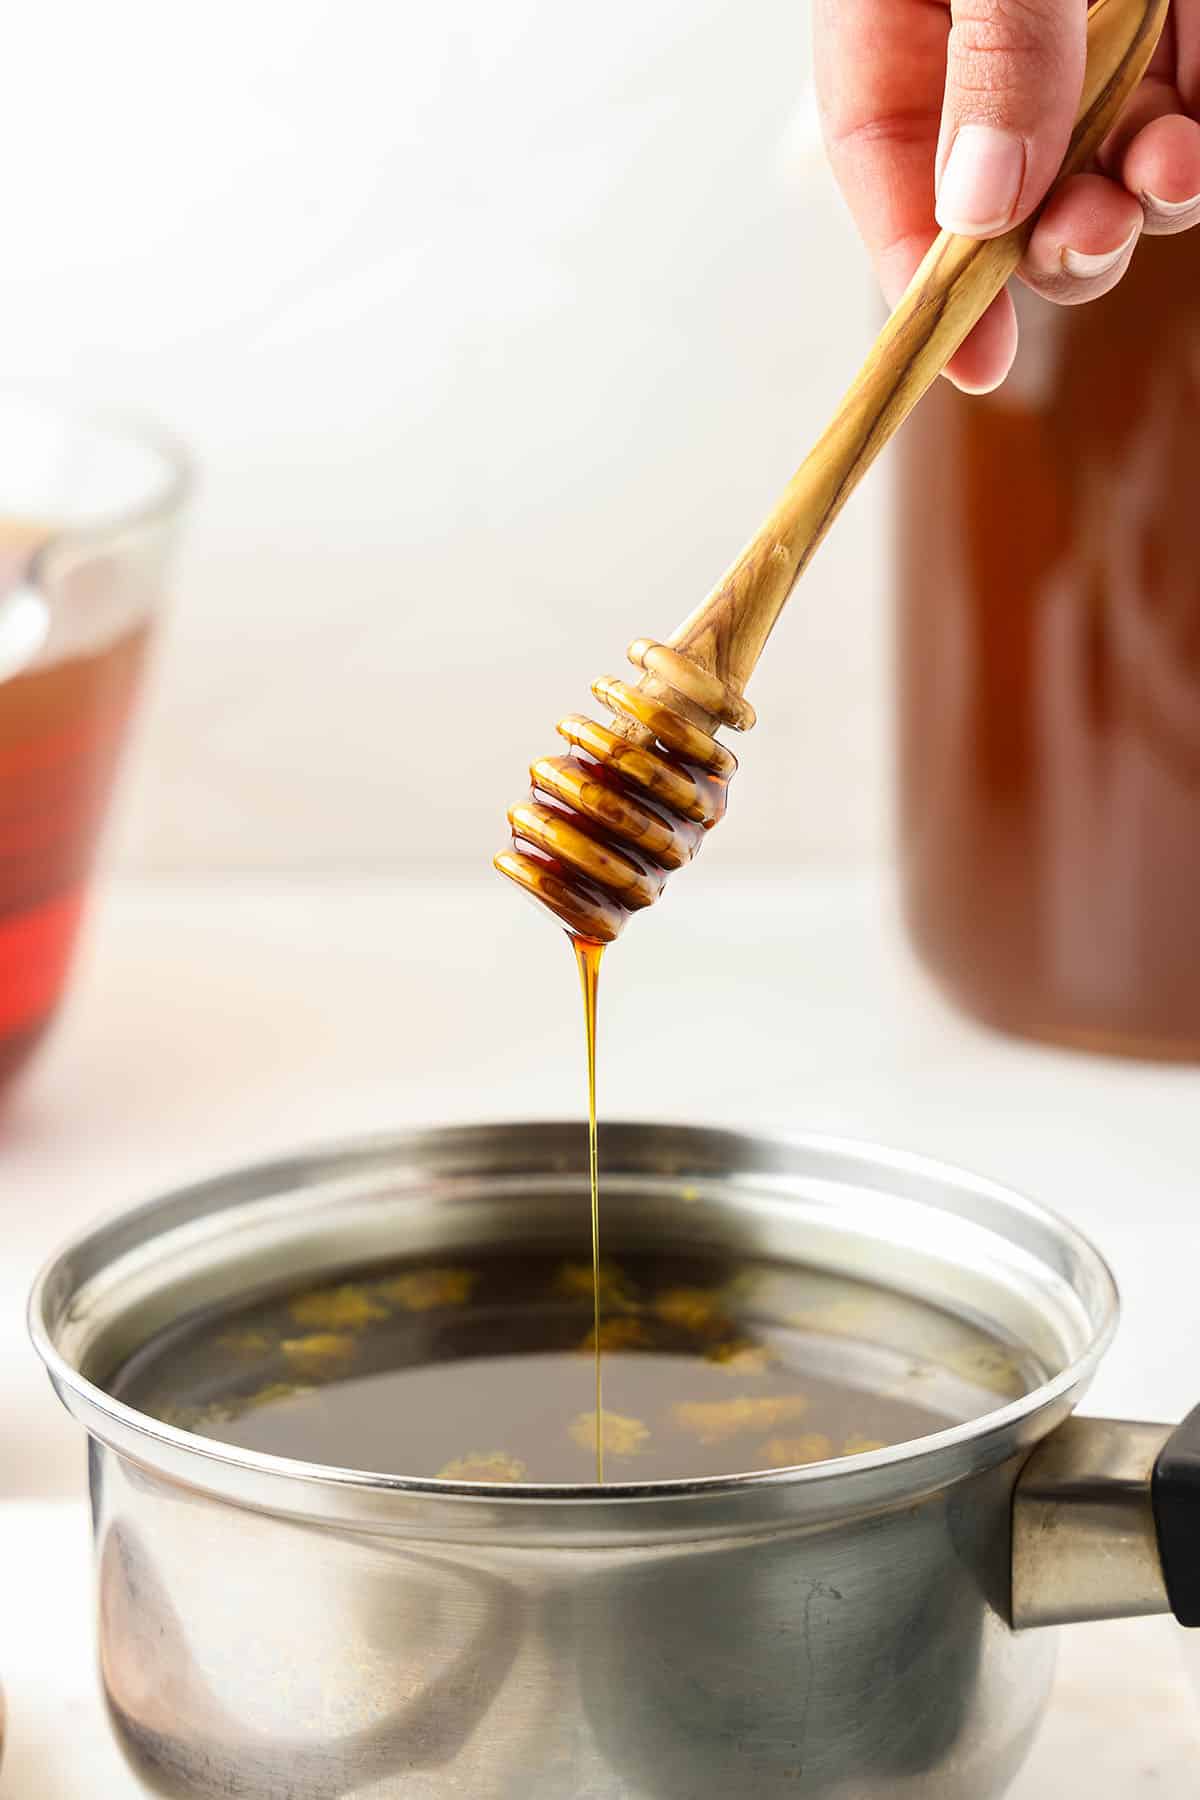
Note: More or less honey can be used based on your preference. For me, this was the perfect amount to balance any bitter flavor from the dandelions but feel free to adjust it to your taste.
Then, strain out the dandelion flowers (and/or stems and leaves) and let the tea cool completely to room temperature.
Kombucha Second Fermentation
Gently swirl the first batch of basic fermented kombucha before you pour it into the bottles to evenly distribute the yeast. Then pour one cup of the brewed kombucha into each bottle.
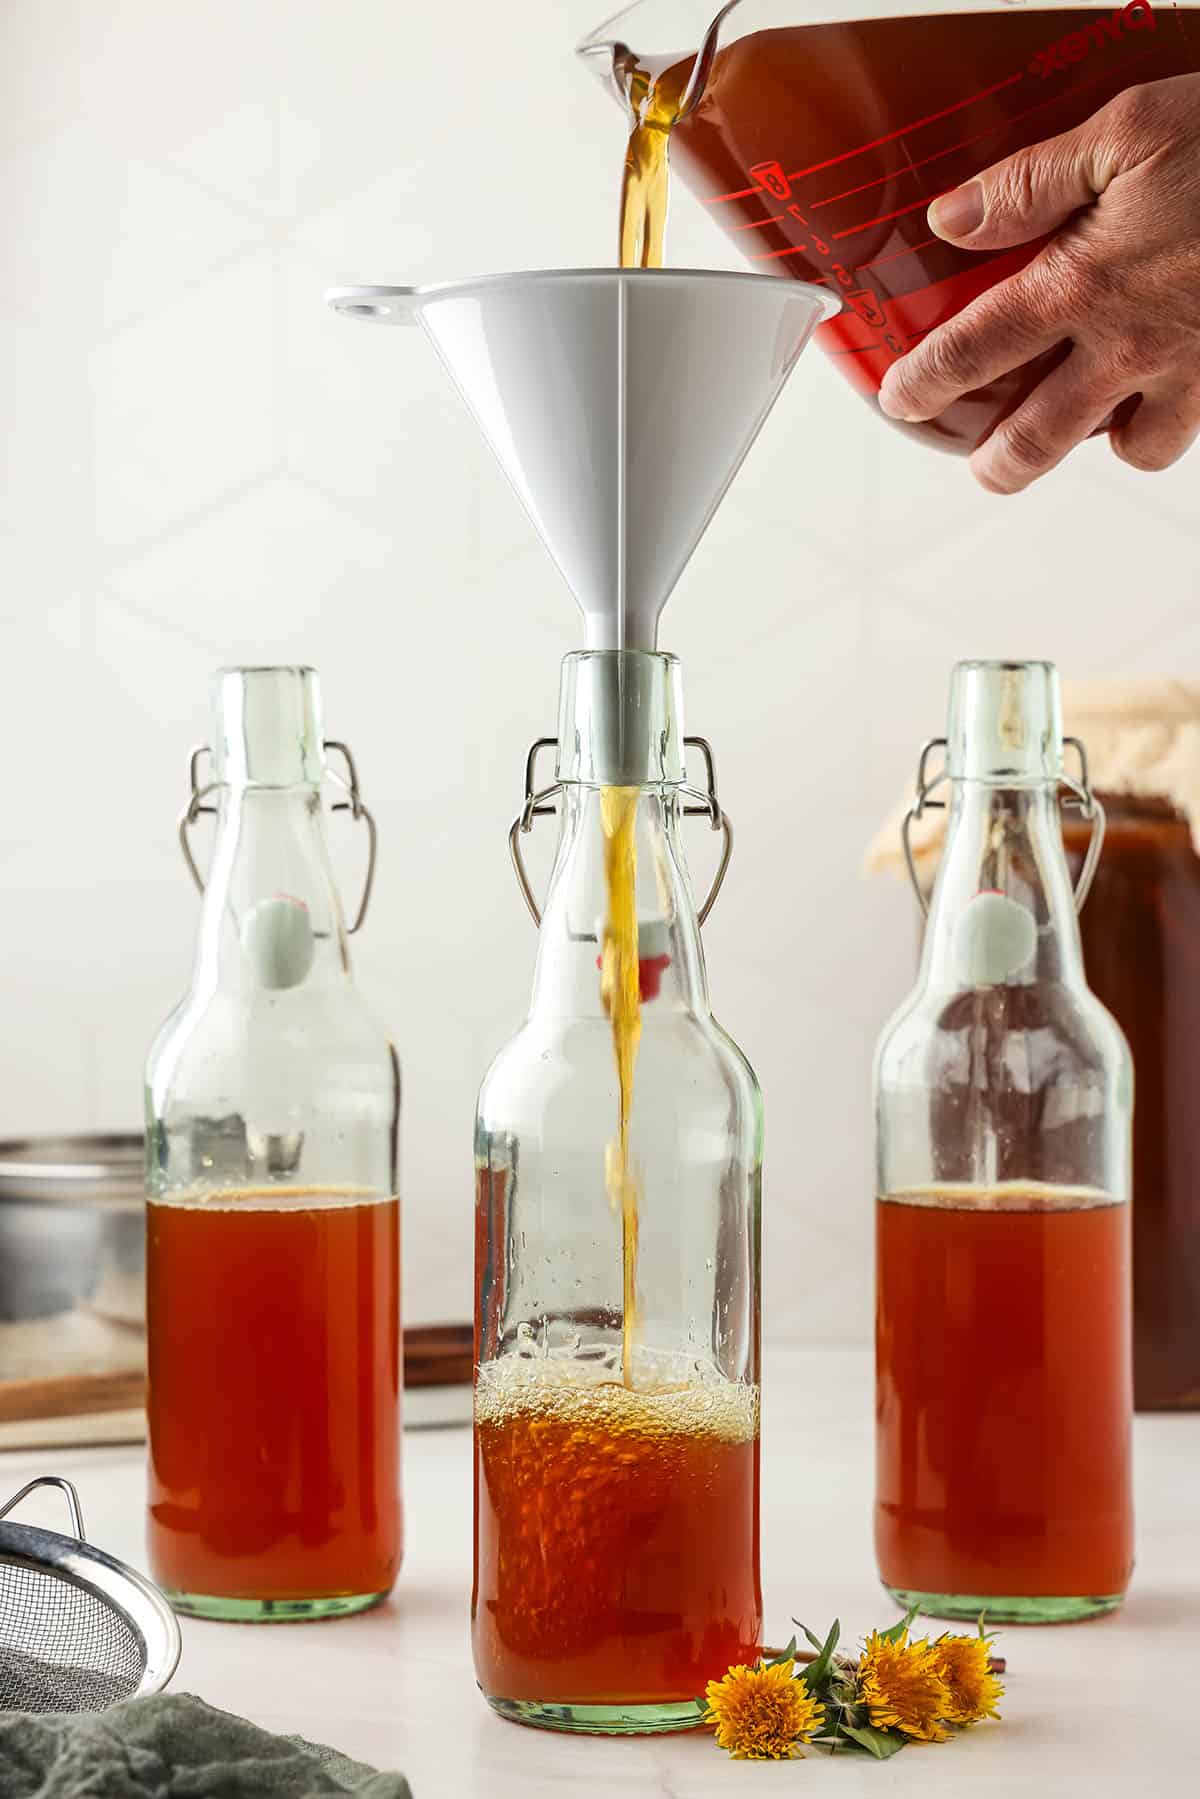
Now, pour about one cup of the cooled dandelion tea into each bottle. Make sure to leave about 1-2 inches in the neck of the bottles for headspace so there is room for pressure to build.
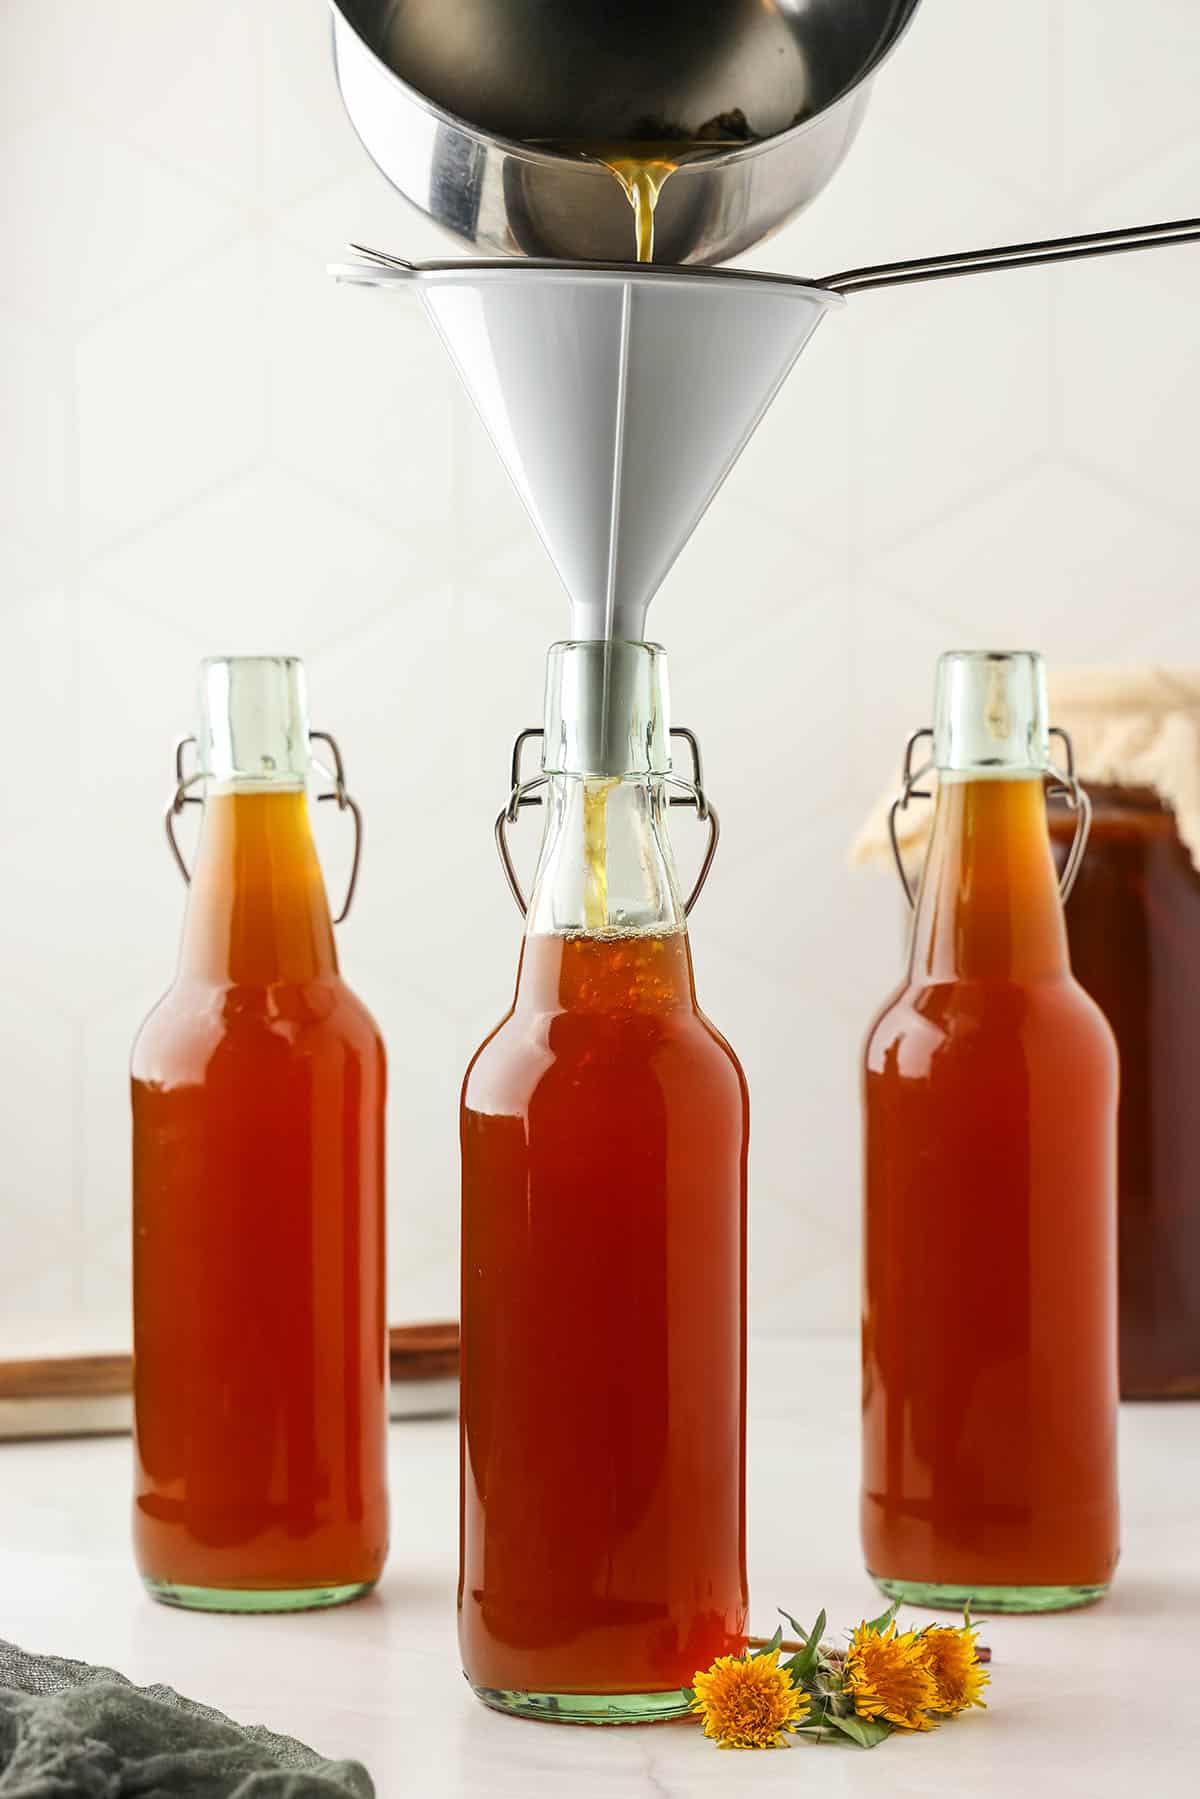
Note: I like the balance of using half kombucha and half dandelion tea per bottle, but this can also be adjusted to your liking.
Then, seal the bottles and shake them gently to mix the liquids and the kombucha yeast.
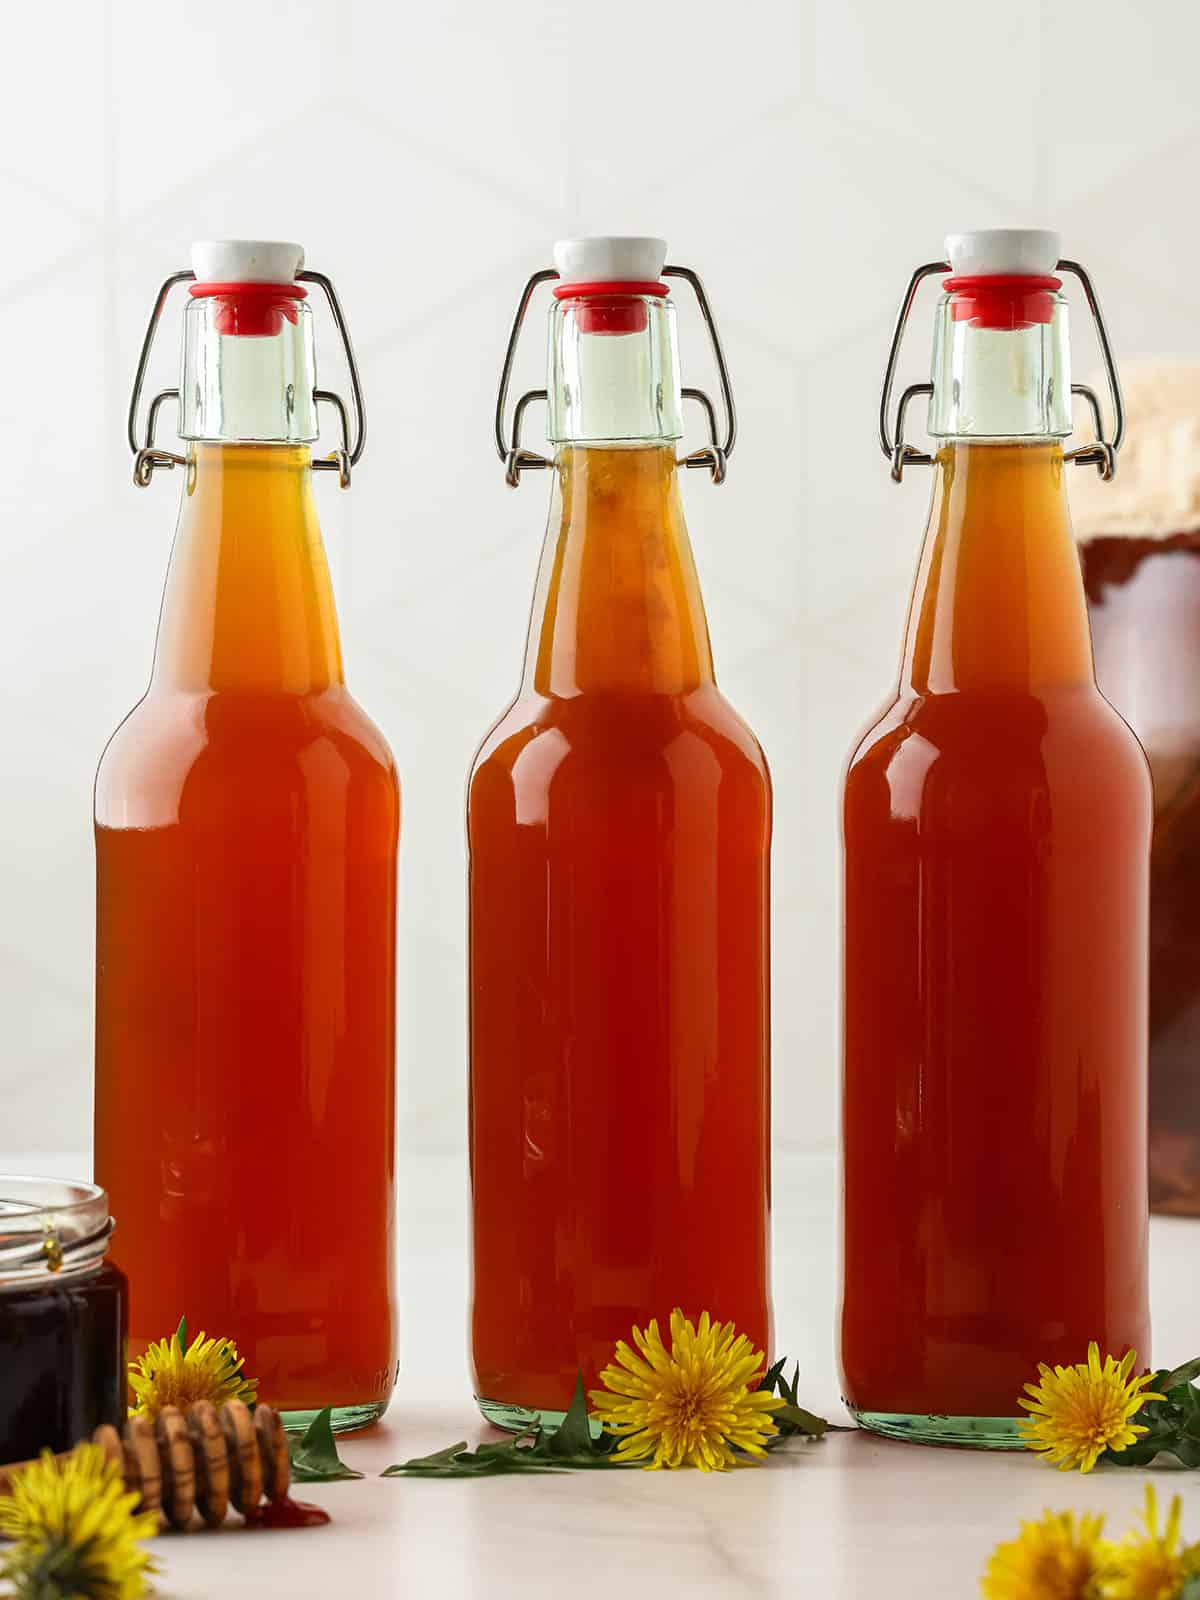
Find a spot to place the bottles in a room out of direct sunlight, where you will remember to check on them daily. If they’re out of sight and out of mind, set a daily reminder.
As fermentation occurs, you will notice little bubbles forming at the top, and the yeasts will float. This is a good sign that things are moving along smoothly!
Make sure to check the bottles daily and “burp” them at least once per day to release pressure. If pressure builds up and bubbles race to the top, move the bottles to the refrigerator.
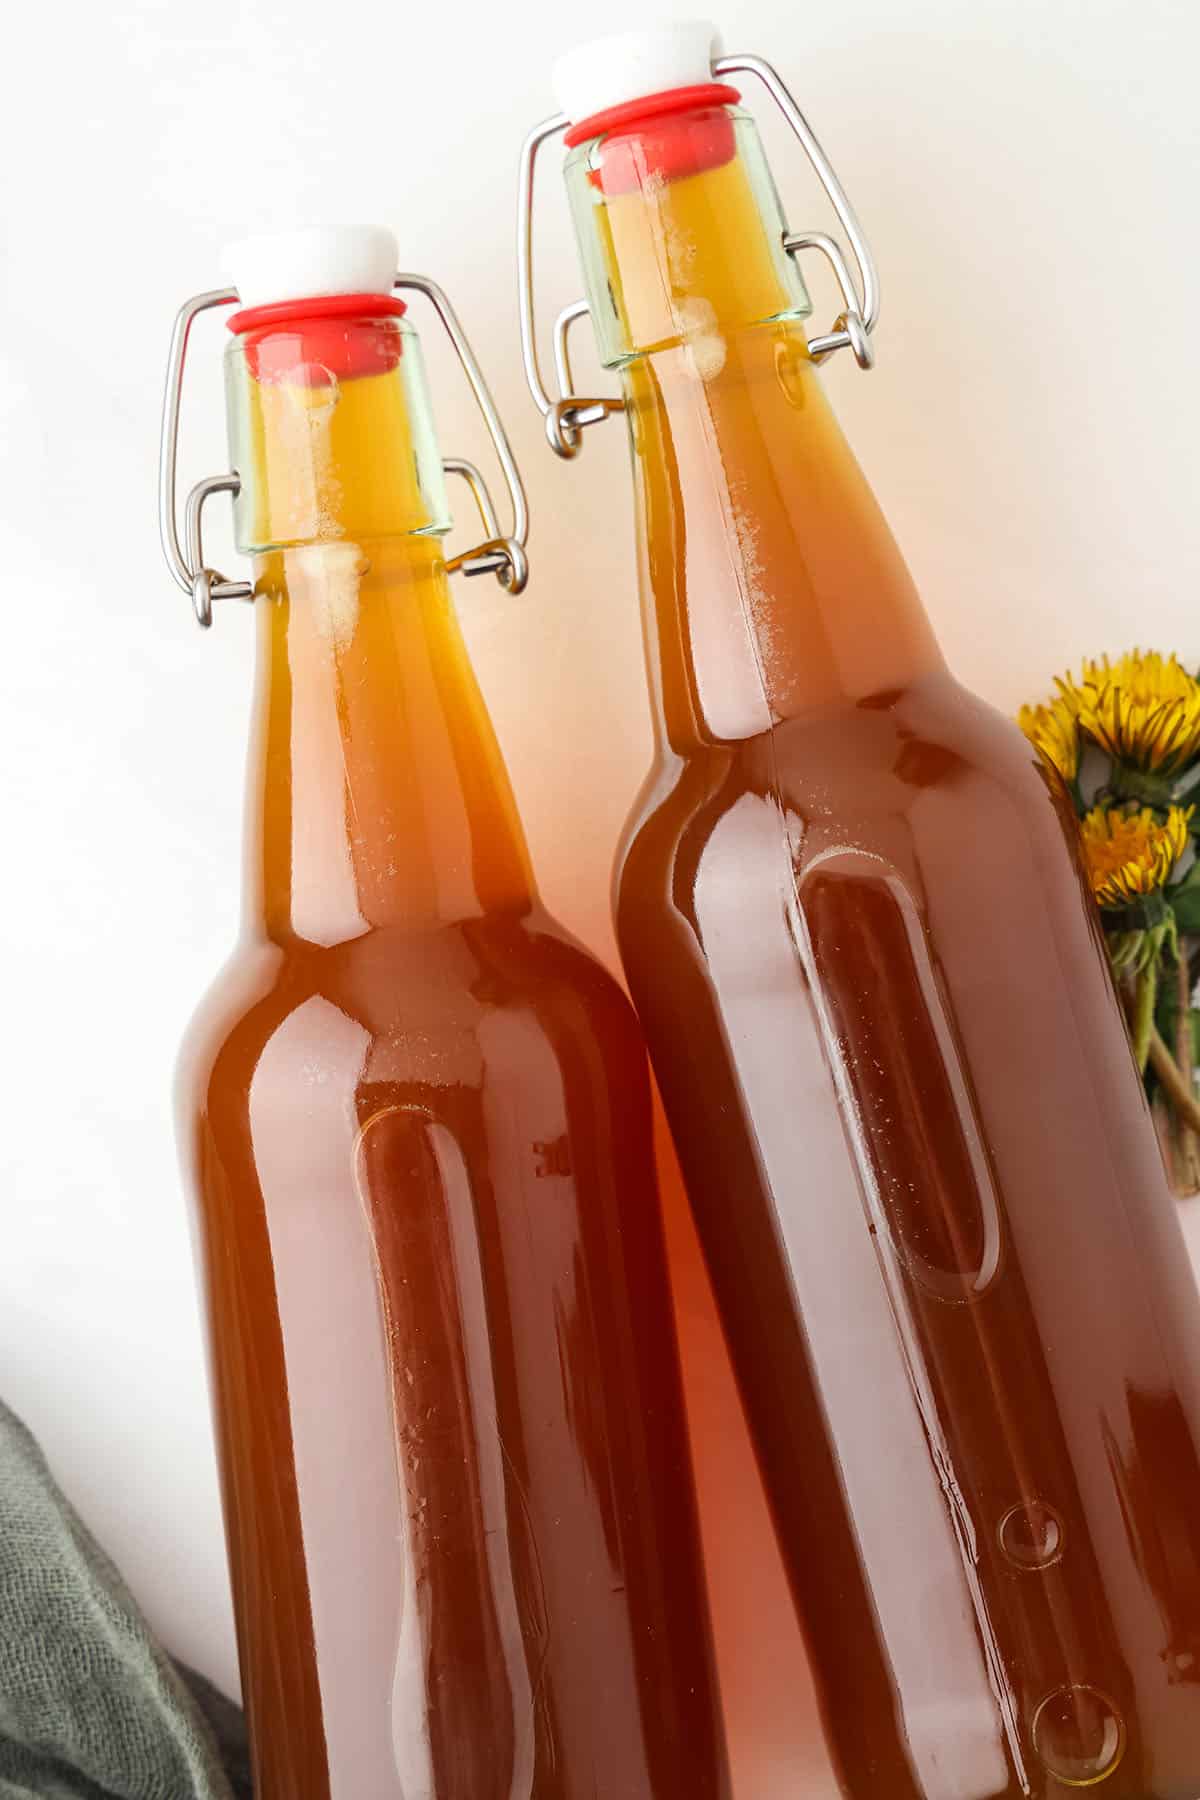
When you burp the bottles, check how quickly the bubbles race to the top. If you only see a few bubbles and they are slow to make their way to the top, you can replace the lid and check the next day.
If the pressure release is loud and bubbles race to the top, you know it is time to move that bottle to the refrigerator! This slows the process, keeping the kombucha from exploding under pressure.
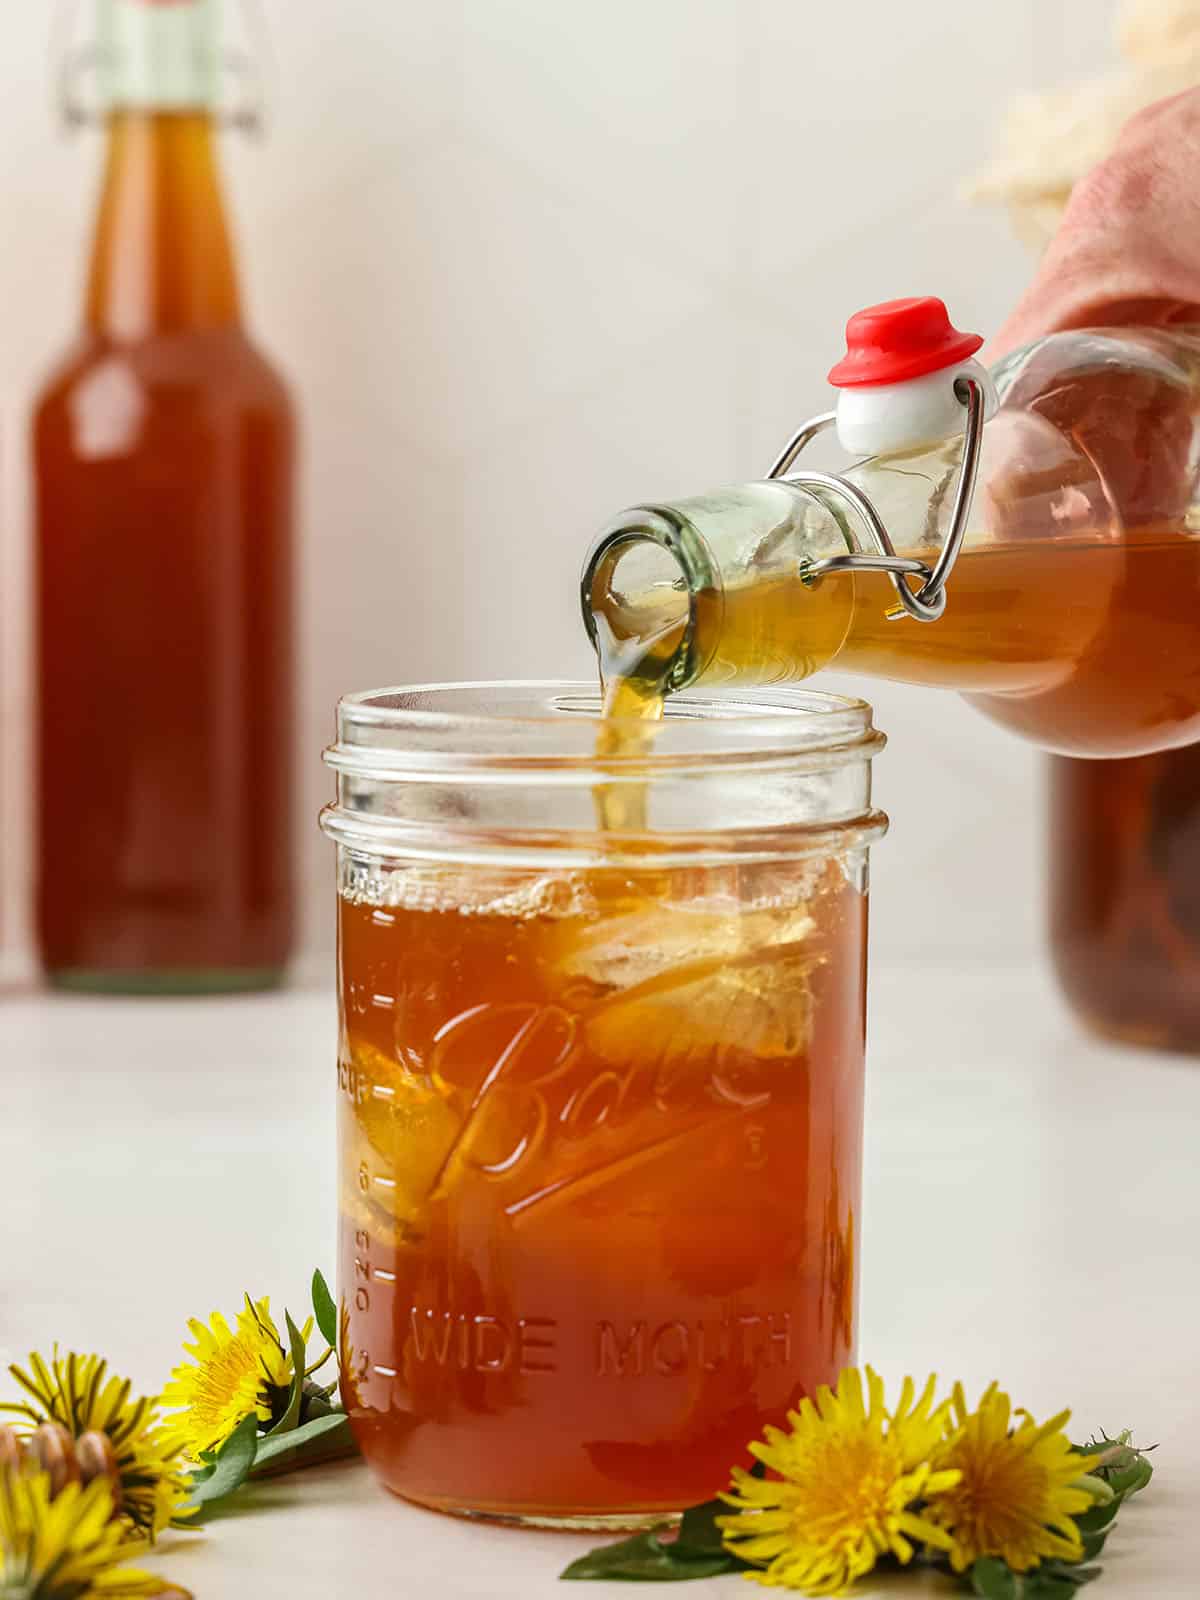
Depending on the ambient air temperature, this dandelion kombucha second fermentation can take 2 to 14 days. There is a wide range of time, so it’s best to keep an eye on it!
In cooler weather, kombucha takes longer to ferment. In warmer weather, the process goes much faster. Check your bottles daily until you get familiar with the process and how long it takes in your situation.
How to Serve Dandelion Kombucha
Dandelion kombucha is delicious and best served chilled on a warm spring or summer day! It’s a perfect way to get the benefits of fresh spring flowers with a good dose of probiotic goodness.
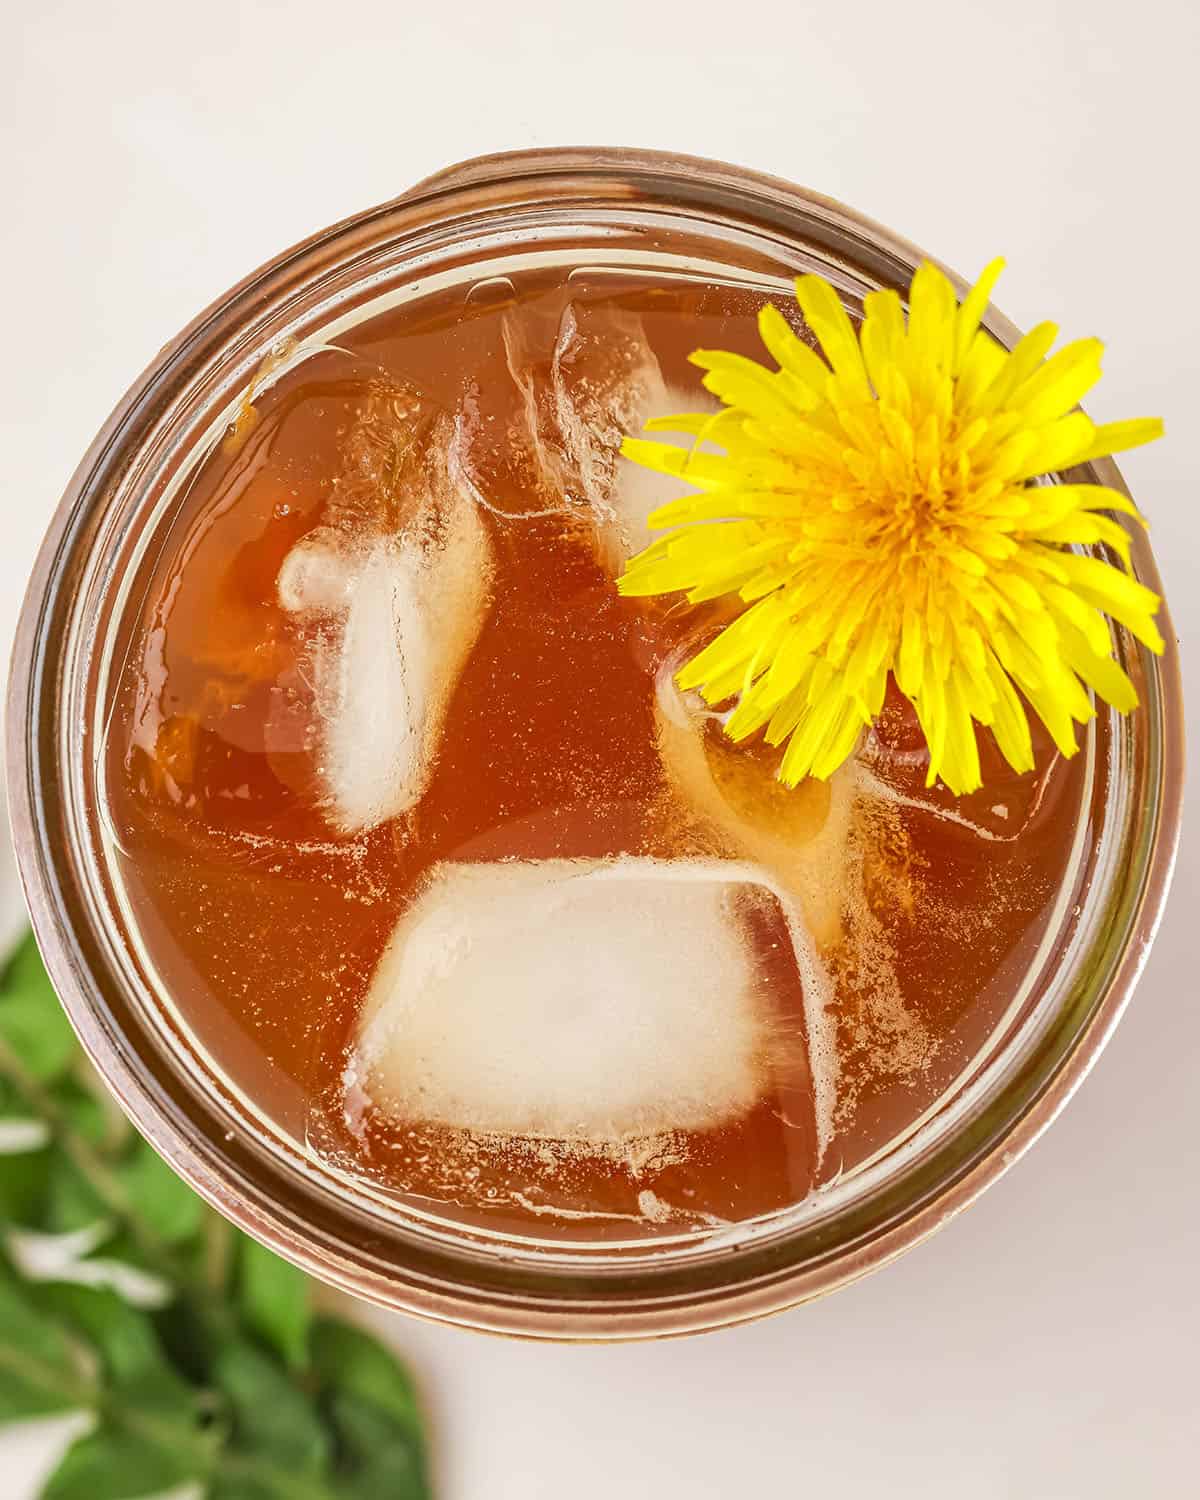
Or, this dandelion kombucha can be chilled and enjoyed immediately if you prefer to skip the second fermentation process.
More Dandelion Recipes
- Dandelion Jelly
- Dandelion Mead
- How to Make Dandelion Tea
- Dandelion Cupcakes
- Infused Dandelion Vinegar
- How to Make Dandelion Salve
- Dandelion Lotion Bars
- Whole Plant Dandelion Soap
- Dandelion Mead Recipe
- Dandelion Pesto
- Dandelion Salad
- Dandelion Fritters
- Dandelion Syrup
Best Kombucha Flavors
- Blueberry Kombucha
- Ginger Kombucha
- Hibiscus Kombucha
- Lavender Kombucha
- Rose Kombucha
- Strawberry Kombucha
- Watermelon Kombucha
- Blackberry Kombucha
- Green Tea Kombucha
- Elderberry Kombucha
- Apple Ginger Kombucha
- Pumpkin Kombucha
- Cranberry Kombucha
Dandelion Kombucha
Ingredients
- 40-50 dandelion blossoms
- 4 cups water
- ½ cup raw honey more or less to taste
- 4 cups fermented kombucha
Instructions
- Put the dandelion flowers and water into a pot and bring to a boil. Reduce the heat and simmer for 5 minutes, then turn off the heat.
- Let the dandelion tea cool a bit, then add the honey.
- Strain out the dandelion flowers and let the tea cool to room temperature.
- Gently swirl the fermented kombucha (from the first fermentation process) before you pour it into the bottles to evenly distribute the yeast, then pour one cup of brewed kombucha into each bottle.
- Then, pour about one cup of dandelion tea into each bottle, leaving about 1-2 inches in the neck of the bottles for headspace.
- Seal the bottles and shake them gently to mix.
- Place the bottles in a room that is out of direct sunlight, and where you will remember to check on them daily.
- As the fermentation process occurs, you will notice little bubbles forming at the top and the yeasts will float. Check the bottles daily and “burp” them at least once daily to release pressure. If there is built up pressure and bubbles race to the top, then move the bottles to the refrigerator. Depending on the ambient air temperature, this can take anywhere from 2 to 14 days or so.
- Best served chilled on a warm spring or summer day.
Notes
- Be sure to forage for dandelions in an area free of herbicides, heavy foot traffic, pet waste, and road runoff. See my post on foraging dandelions for more info.
- I prefer to use only the dandelion flower heads for making the tea, but if you want an earthy flavor, you can include some stems. You could also forage for the leaves and use them to make the tea.
- Use more or less honey based on your preference. I felt this was the perfect amount to balance the bitter flavor of the dandelions but feel free to adjust it according to personal taste.
- I like the balance of using half kombucha and half dandelion tea per bottle, but this can also be adjusted to your liking.
- This kombucha can be chilled and enjoyed right away if you prefer to skip the 2 fermentation process.
- When you burp the bottles to release the pressure, check how quickly the bubbles race to the top. If you only see a few bubbles and they are slow to make their way to the top, you can replace the lid and check the next day. If the pressure release is loud and bubbles race to the top, you know it is time to move that bottle to refrigeration!
- In cooler weather, kombucha takes longer to ferment. In warmer weather, the process goes much faster. I recommend checking your bottles daily until you get familiar with the process and how long it takes in your climate. Refrigeration slows the process, keeping the kombucha from exploding under pressure.



Hey, if you’re vegan what can you use instead of honey?
Maple syrup.