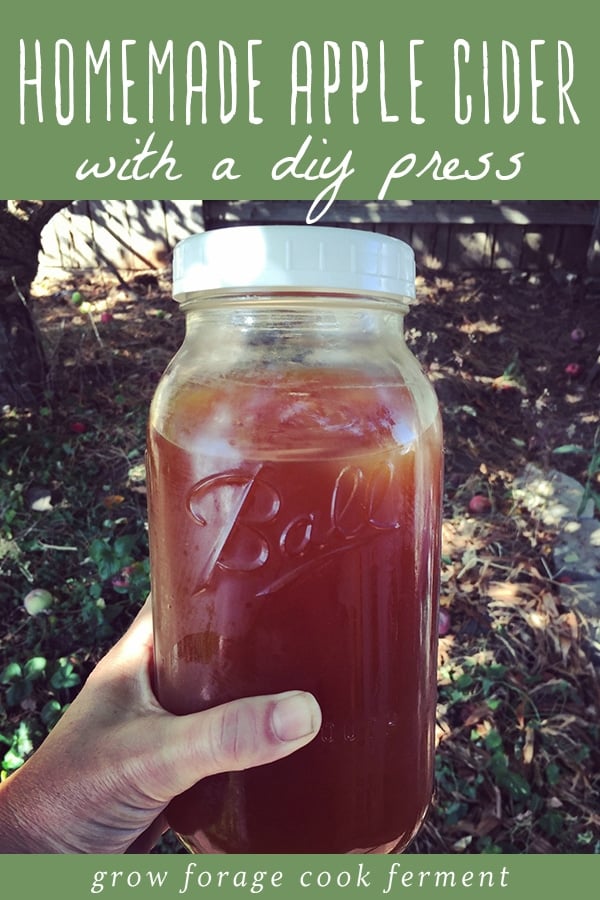
Learn how to make apple cider from scratch with apples from your tree! Homemade apple cider with a DIY cider press is easier to make than you might think.
Pressing Homegrown Apples
When we moved into our new house, one of the most exciting things for us was the apple tree in the backyard.
While our yard is much smaller than we would like, this apple tree is the centerpiece that ties it all together and really makes it feel like a mini homestead. Well, that and the chicken coop, of course!
Since our house had been unoccupied for several months before we moved in, the tree was in serious need of some pruning, but it was the wrong time of year for that. So, we just let it go, thinning the apples as much as we could to hopefully avoid disaster.
Combine that with a good amount of rain this past winter (finally!), and we got an apple tree that was absolutely loaded with fruit!
The amount of downed apples we had was piling up, and we could only compost so many, so Joel found some easy plans for a DIY cider press.
The next step was to learn how to make apple cider with the press, and it turns out it’s pretty easy… and makes the best apple cider I’ve ever tasted!
Homemade Apple Cider Press
I am not going to go over the building of the press here, because we literally followed the instructions on the Quarto Knows site exactly.
They have since taken down the post, unfortunately, but the design is originally from the book Practical Projects for Self-Sufficiency by Chris Peterson.
There are great diagrams in the book that I can’t really copy here, so I urge you to purchase the book if you’d like to build this same press. It was cheap and relatively easy to make.
That said, you can use my instructions here for making apple cider with just about any homemade DIY cider press.
How to Make Apple Cider with a DIY Press
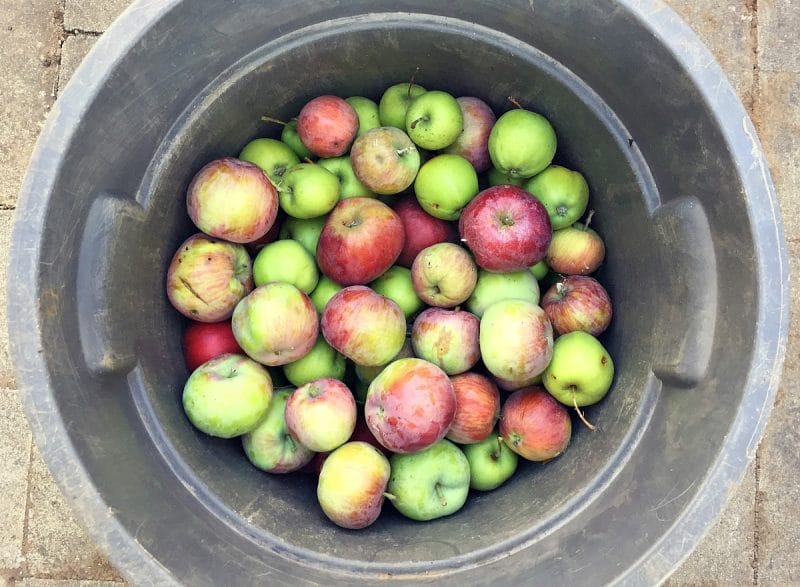
The first step is to collect a bunch of apples.
We usually collect and process a five gallon bucket worth of downed apples at a time.
It’s ok if the apples are bruised, as most of them will be if they have fallen, but you do want to make sure that they aren’t totally rotten. Send those ones to the compost bin.
We do not know the variety of our tree, but we have discovered that it has been grafted with two types, one red and one green.
The reds are sweeter and the greens more tart, which I think makes a nice balance of flavors. But honestly, any fresh pressed juice from most varieties will be amazing!
The very first thing that you want to do is make sure that every item that will be touching your apples and juice is cleaned very thoroughly. You may even want to use some kind of sanitizer for this.
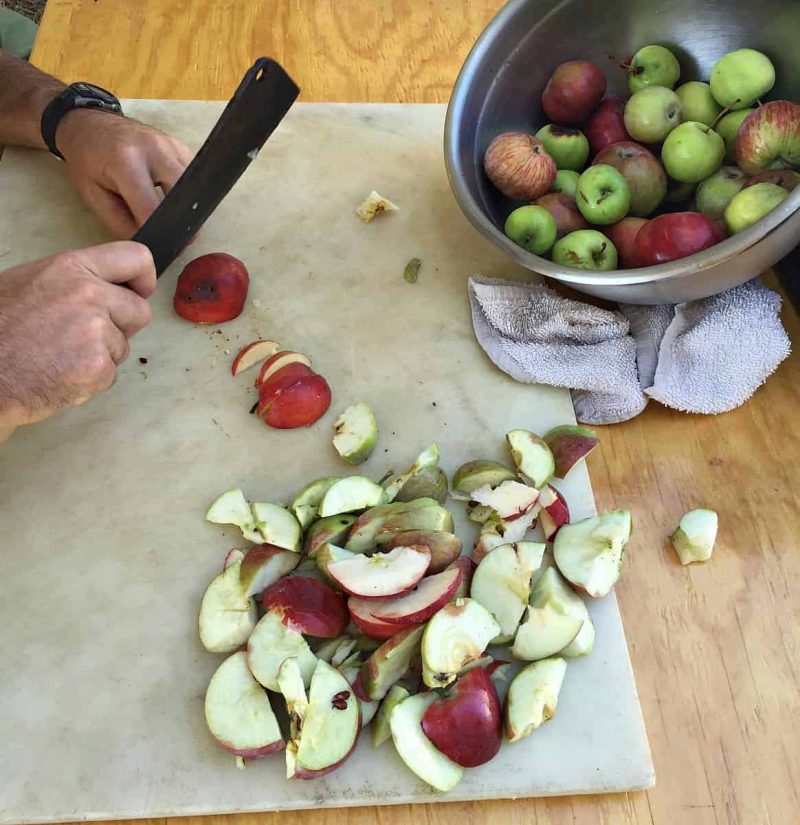
Give your apples a good rinse, then roughly chop them. Joel uses a cleaver because he’s cool like that, but any big knife will do.
Don’t worry about seeds or stems. If they are really rotten on the inside throw them in the compost, and if they are really wormy give them to the chickens.
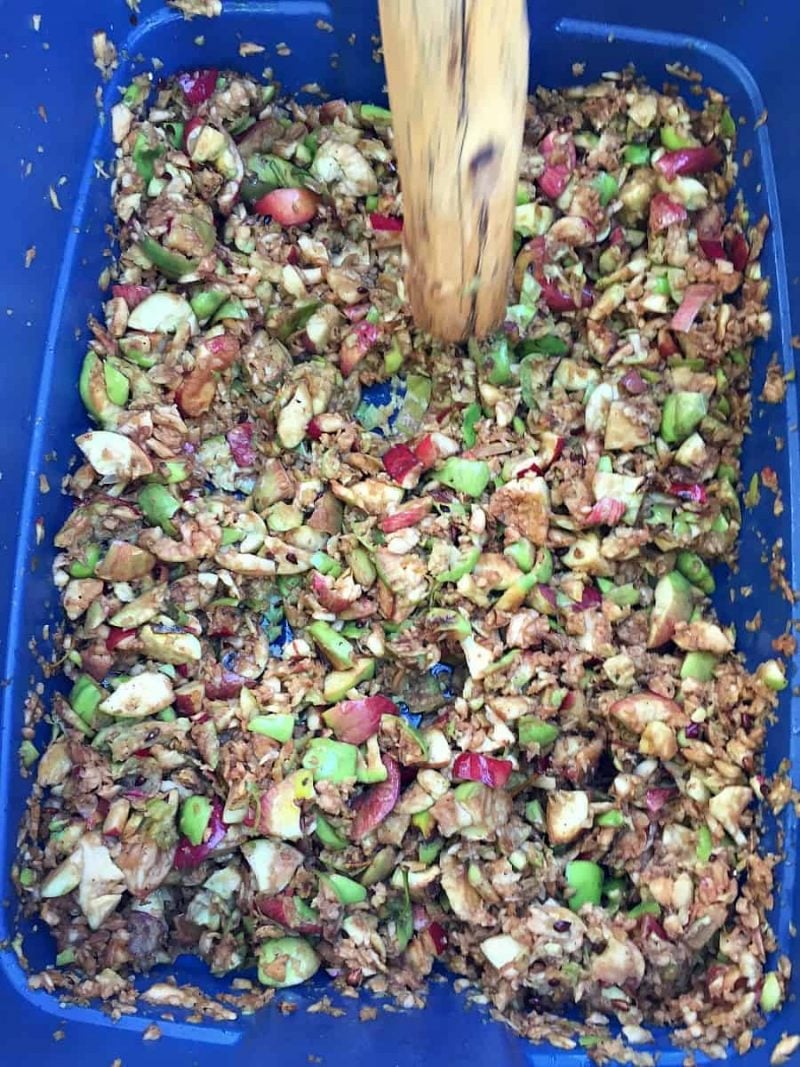
Then, put the chopped apples into a bucket or bin of some sort and give them a good mashing with a wide pole or post. The wider the better. It worked better for us to do this in smaller batches.
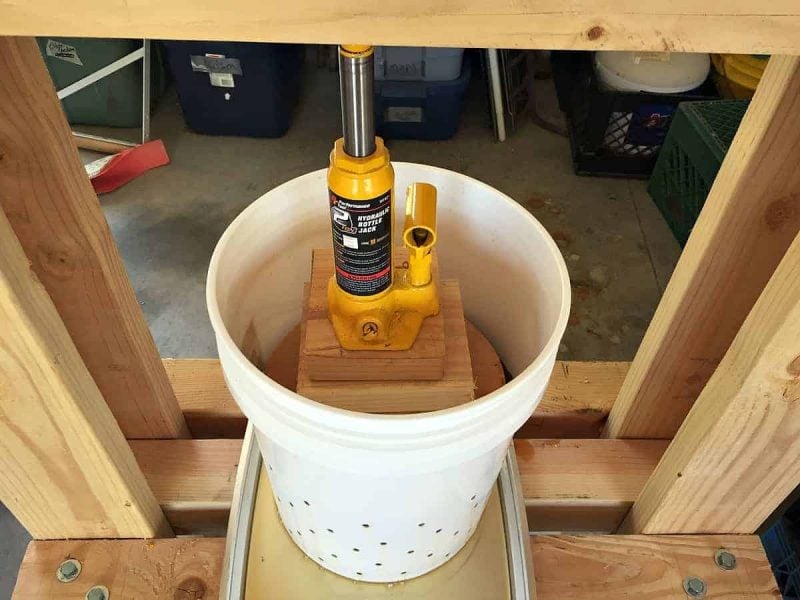
Once they are good and smashed, put them into the holey bucket (or equivalent part on your press) lined with something to strain out all the smaller stuff. We used a clean pillowcase.
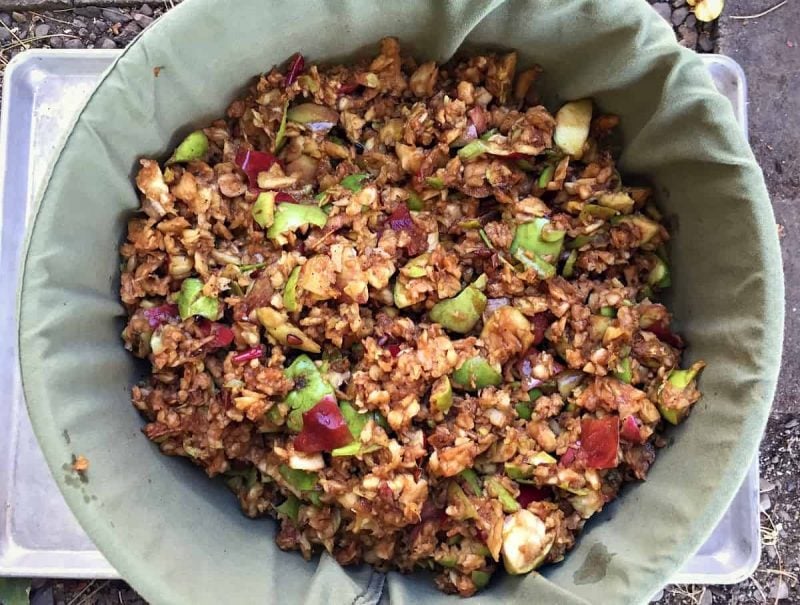
Put that bucket on a metal pan that has holes drilled into it, and put that whole thing onto the base of your press.
Put the other 5 gallon bucket under the holes in the pan. Fold the pillowcase over the apple mash and put the round wooden piece on top.
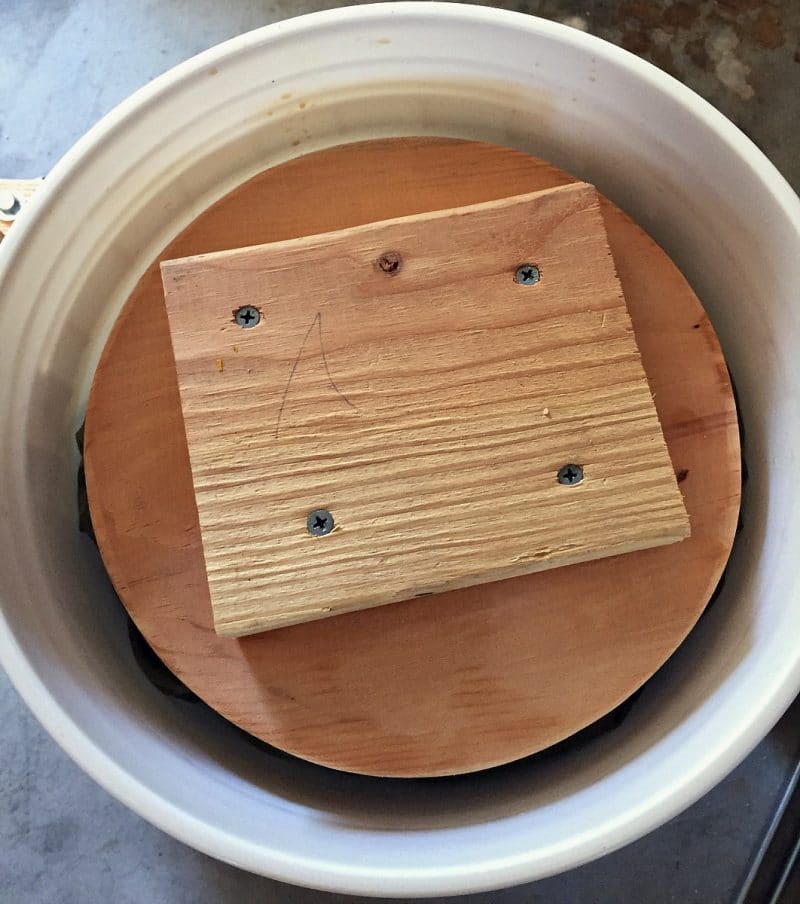
Fit the jack between the wooden block and the top of the press frame, adding more wooden blocks as necessary.
It’s helpful to put a strong piece of metal in between the jack and the press frame so that it doesn’t indent the frame.
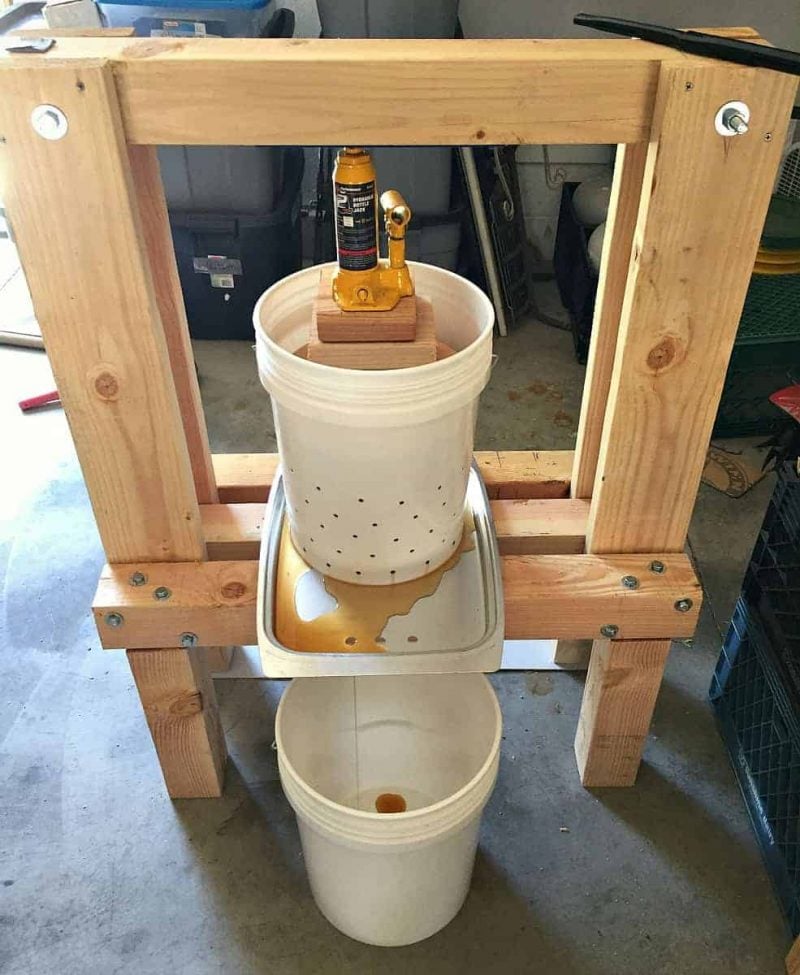
Then pump the jack and watch the cider really start to flow! You can see a video of this in action on my Instagram page.
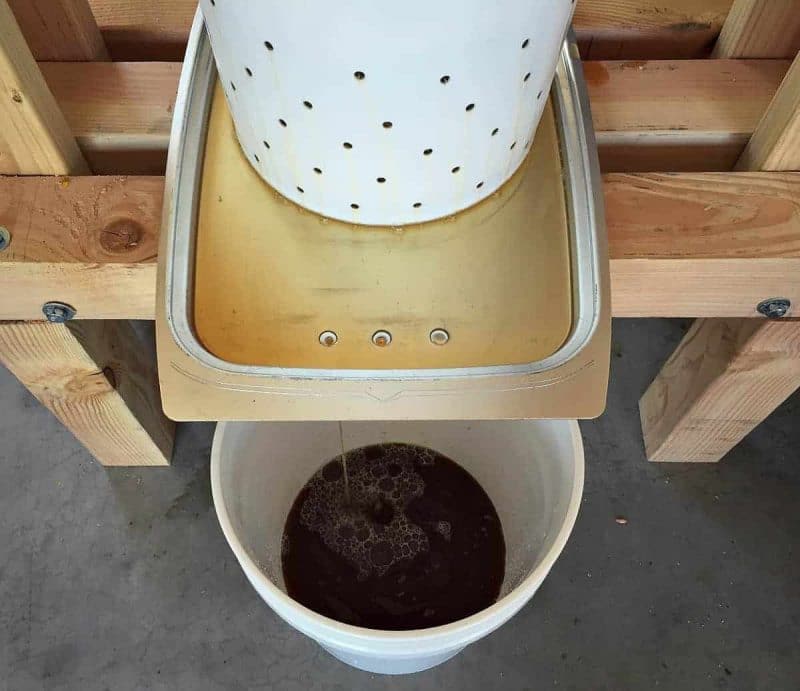
Once the jack is maxed out, add more blocks underneath it and repeat the process.
You may have to let it sit for a while as it slowly presses out the last of the juice.
This homemade apple press works so awesome! We got a little more than 1 gallon of juice from 5 gallons of apples.
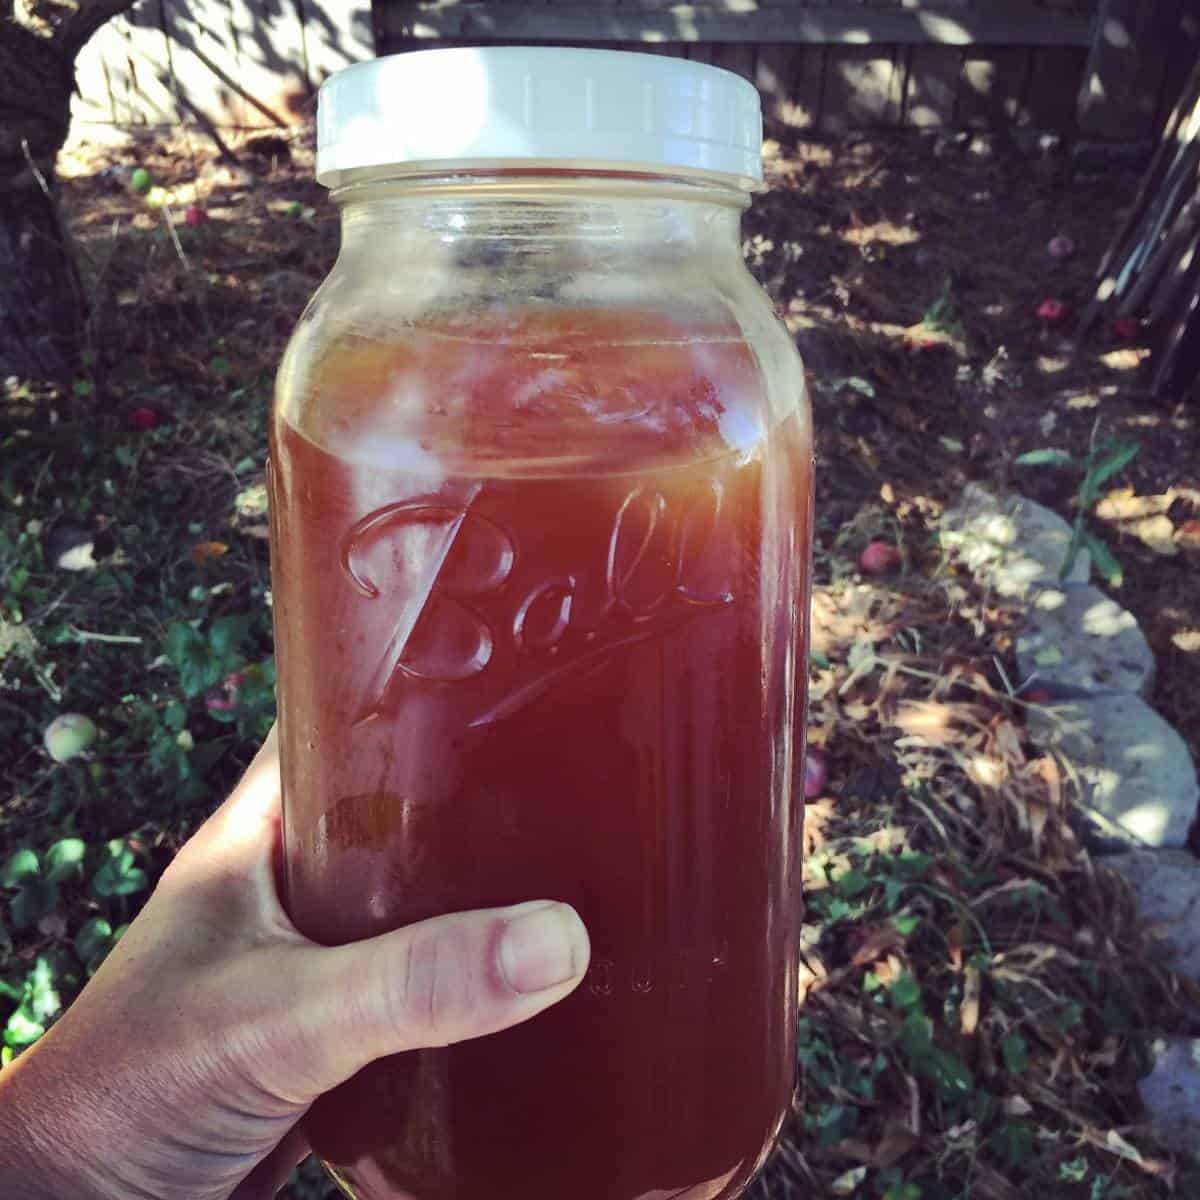
This is by far the best tasting apple cider that I have ever had! I am so proud of us for being creative and using our resources to decrease food waste and create something delicious.
Now, it’s time to start thinking about making some hard cider, wild hard cider, apple cider jelly, no sugar apple jelly, or mulled cider with this fresh juice! I will keep you updated on that process.
Check out my post on preserving apples for more ideas on how to use apples!
Have you ever pressed your own apple cider? What method did you use?

I was wondering if you could use a masticating juicer instead of a press? I really want to try my hand at the ginger apple soda :)
Sure, a juicer should work!
Last year I built a press based on your design. The main difference is that I mounted a scissor type car jack to the underside of the top cross-piece. This year, I added a motorized “scratter” or grinder which is built off the end. I adapted the rotating drum design with materials I had hanging around the house (including an old clothes dryer motor) The rotating drum is about the size of as a bakers rolling pin, with ss screws embedded. This sits at the bottom of a hopper and it dumps into the pressing bucket. This was a good year for apples, and I made a little over 10 gallons.
What are you guys using for the wood that the jack pushes on?
You can put the leftover mash in muffins, pancakes and breads! That’s what my mom does when she juices fruits and veggies.
Since you made the press, can you tell me what measurement you used for this part? The instructions posted say “Trace the bottom of the bucket on the press plates, then trace an inner line with a compass about ?” inside of”. Which isn’t so helpful.
Thanks!!
You trace the outside of the bucket and then, allowing for the thickness of the bucket, trace an inner line with a compass or similar object so that the resulting press plate will fit inside the bucket.
My bf has been known to make apple pie moonshine and id like to take it one step further by making our own cider and growing as many of the ingredients as possible. I wonder if this can be done with scraps? I sometimes volunteer at a charity apple pie making day where we make 500 apple pies in a day and a half completely from scratch. I’ve helped them by making apple sauce from the scraps. Maybe I could also make cider from the scraps. 500 pies makes a lot of scraps.
I really like that apple press, but the link is dead. Do you happen to have the plans as a pdf or know were I could find them
Hi Erik, I have updated the link to the DIY apple press, so it should work now! Thanks for letting me know.
Is there a new link now?
No, they no longer have the instructions on their website, but they were from the book Practical Projects for Self-Sufficiency
Do you cut all the bugs out of your apples? We have a huge crop of apples this year but they are always filled with bugs. My husband says you just leave them in but i am not so sure about that
My granddad and his cronies used to take the culls from the back of the fruit plants in the Walla Walla Valley where they farmed, and basically used this same method to make cider for the community and their families. By the time the apples came around to harvest, all the bugs (worms) had already vacated, leaving behind holes and some frass. What few bugs might have been on the apples departed upon being dunked in a vat of pure rinse water. Any remaining critters were picked out as they were subsequently seen, but there might have been some that got by. There’s little to no threat of disease (apple juice is very sweet, and therefore acidic) and any bugs remaining would be a microscopic share of the mash. Just don’t worry about it, and don’t let the “e-e-ew” factor spoil a millennia-old human activity.
I have the same set up. I wash my apples and put them whole into the chest freezer. After they are frozen solid, I thaw them out in a covered container for 2-3 days. At that point I can cut the apples in half with a serrated knife and throw them right into the press. They press beautifully (I can get at least 3 gallons from 1 bushel) and because of the minimal surface area (compared to mashing or grinding) the apples don’t oxidize as much.
Great post! We have a similar press, and use a new garbage disposal to grind the apples. With the press, and disposal ground apples, we can press all the juice out. The left over mash is about as dry as potting soil when the plant needs a little water. We ferment the juice, and also will run in through a water bath canner to make it shelf stable.
I really love this idea. We have some wild apple trees (go figure because we live in NY) right across the street. I didn’t want to buy a cider press that would cost me an arm and a leg!!!
This is brilliant! I have a bunch of pears I wanted to turn to cider in order to ferment, but didn’t want to buy or rent a press. Thanks for sharing!
This is a great idea, thanks for sharing. I’m just wondering how you would store the juice? Do you can it?
Well, we ferment it into hard cider, but I’m sure you could can it if you wanted to.
Herrick Kimball has a great way to prep his apples for mashing in the Part 1 Video.
Whizbang Cider Part 1—Grinding Apples To Mash
https://www.youtube.com/watch?v=HVvbjnf08xw
Whizbang Cider: Part 2—Pressing The Apple Mash
https://www.youtube.com/watch?v=bTxv6M9IuXY
Also the left over mash is GREAT for chickens and pigs!!!
We cheated and bought a an old (1970s) homemade applepress 6 years ago. It has a hand crank chopper attached….Anyway our favorite time of year is apple pressing day! It has grown from just us to about 10 families and we have gotten good at processing a lot of apples. Each family bring their own quart jars and lids and a box of apples (or more) As the kids and helpers juice and press some of us take the juice, bring it to a boil and waterbath can for 10 minutes. We used to just pour into jars and freeze but you have to think ahead if you want to use it and canning works well for us. When we are half or more the way through all the apples we start the cider for adults (apple pie) That does not need to be canned because of the Everclear, rum, vodka or whatever that is added. While that is cooking we have a potluck. It is such a fun day!
This design could be used as well to crush honeycombs to get most of the honey out of them for those that don’t use extractors. We have an extractor but I’m looking for something like this to crush my cappings so I can get as much honey out of the wax as possible.
That sounds like a great idea :)
you need an old wash machine wringer works great
Dreaming of a softer climate, apples growing in the yard, and making my own. Someday….
I am so amazed at the apple press and this whole process! Good job!
Thank you :)
i wonder if you can use the leftover mash to make ACV?
That sounds like a great idea, I might have to try that next time!
Yes. Yes you can. It’s called Apple scrap vinegar.