I have an exciting post for you guys today! Have you ever wanted to make cheese but were too intimidated by the complicated process? I have totally been there, and while I fully intend on conquering it someday (you know I will!), in the meantime this has become my saving grace in the homemade cheese world. I’m going to show you how to make milk kefir cheese, an easy to make, fermented and delicious soft cheese.
 You may have already read my tutorial on water kefir and how to make herbal water kefir soda. This process is very similar, but you use milk instead of water.
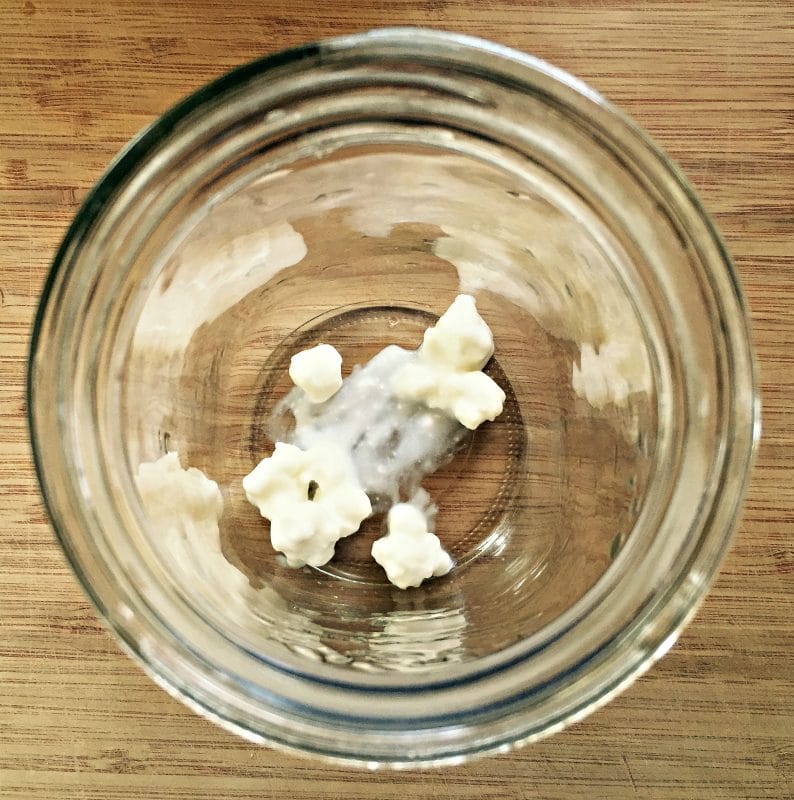
You also need to make sure to use milk kefir grains, which are a little different from water kefir grains. While they are actually not grains at all, they somewhat resemble grains in appearance.
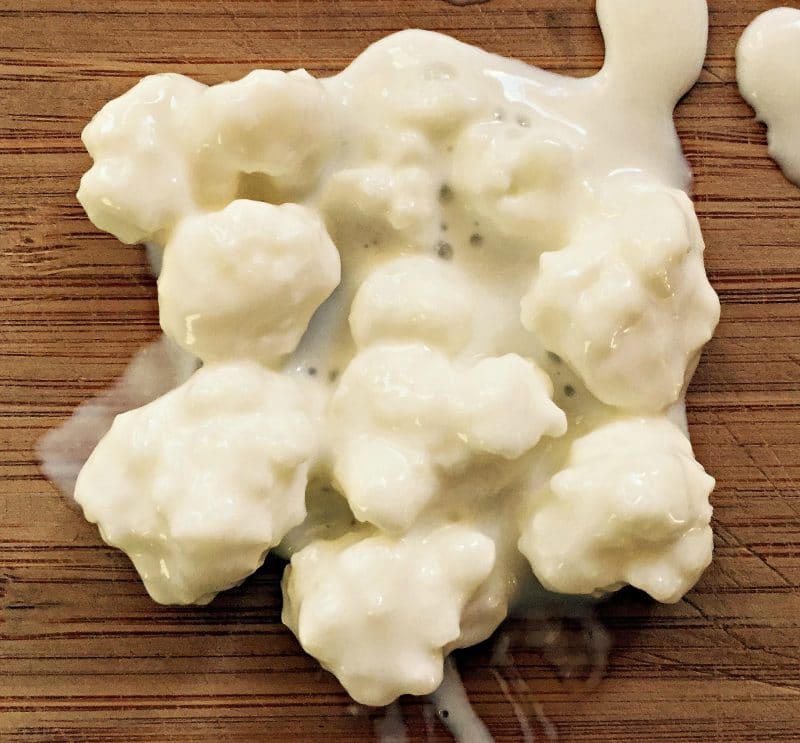
So, the first step to making kefir is finding yourself some of these kefir grains. If you have a friend that makes milk kefir you can take a small spoonful from them, as they are constantly multiplying. You can also buy them online from Amazon or Kombucha Kamp.
Once you have your grains, it’s time to make some kefir!
Milk Kefir Cheese Recipe
First put your grains into a quart jar. Then fill the jar with whole milk (organic preferred), leaving about an inch of head space at the top. The kefir needs a little space at the top because it will bubble up and expand a bit.
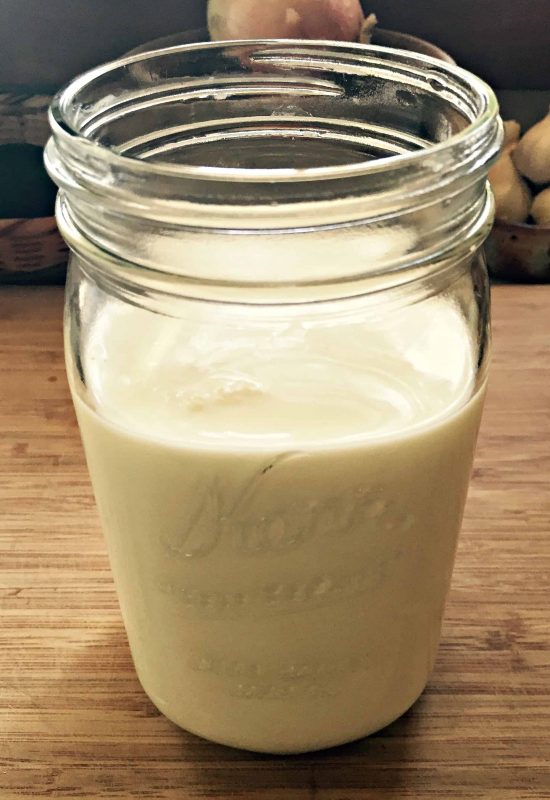
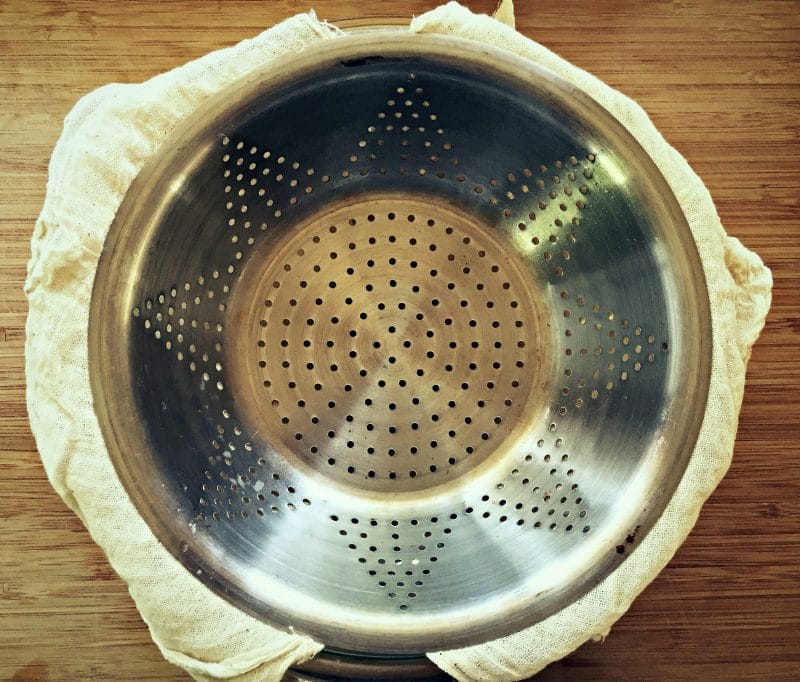
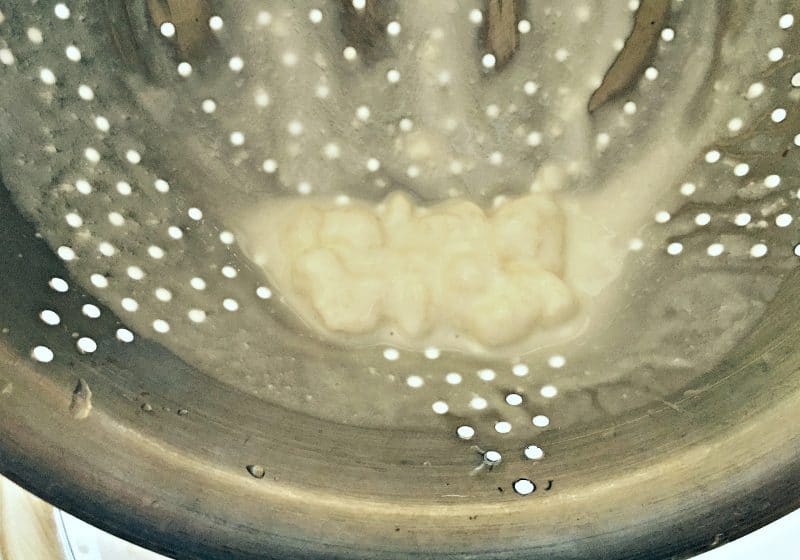
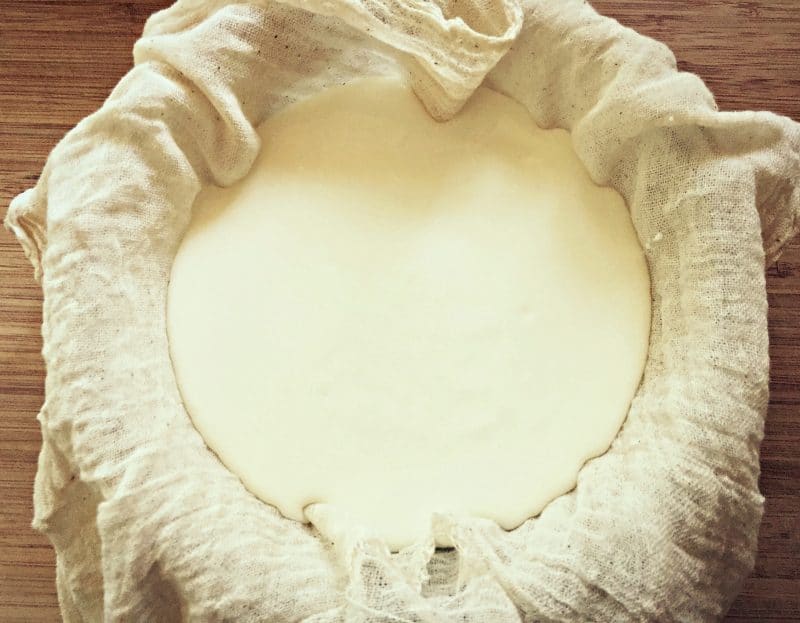
Once it has fermented you will want to strain out the grains. Since I’m going to show you how to make kefir cheese, you’ll want to first line a small bowl with a few layers of cheesecloth, then put a larger strainer or colander over that.
Milk Kefir Recipes
Here are a few more milk kefir recipes to get your wheels turning:
- All About Milk Kefir from Phickle
- Milk Kefir and Kefir Fermented Bread Dough – No Yeast! from The Homestead Lady
- Maple Walnut Milk Kefir Ice Cream and Pressed Milk Kefir Cheese from Yogurt Hydro
Simple Cultured Dairy Recipes
Hopefully this will inspire you to make your own milk kefir and turn it into something interesting… like cheese!
Milk Kefir Cheese
Ingredients
- 1-2 tbsp milk kefir grains
- 1 quart organic whole milk approximately
- 1 teaspoon salt
Instructions
- Place milk kefir grains into a quart-sized jar.
- Fill the jar with whole milk, leaving about an inch of head space at the top. (The kefir needs a little space at the top because it will bubble up and expand a bit.)
- Cover with a lid and let it sit at room temperature for 12-24 hours, or until it thickens, shorter in hot weather, longer when it’s cold.
- Line a small bowl with a few layers of cheesecloth, then put a larger strainer or colander over that.
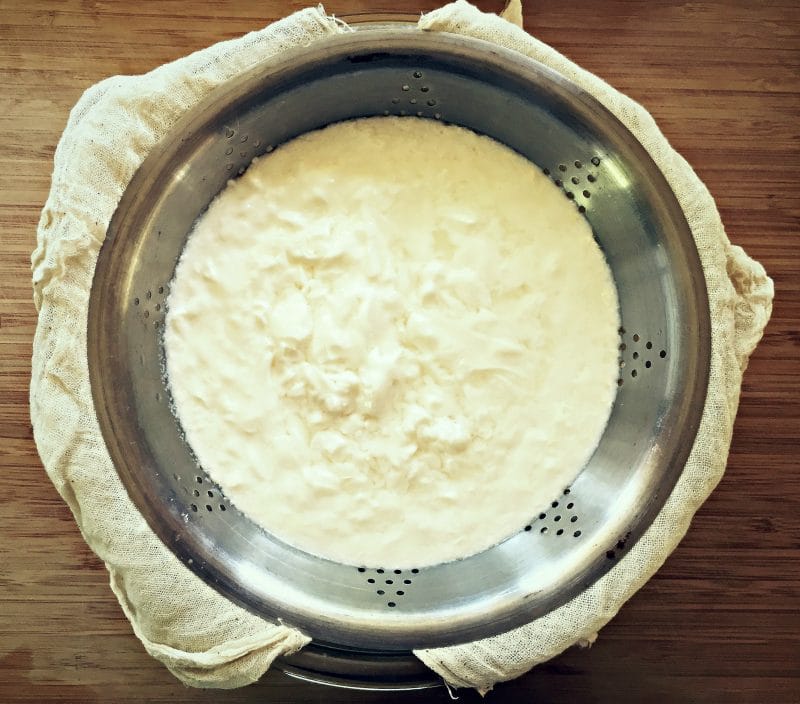
- Pour in the fermented milk kefir.
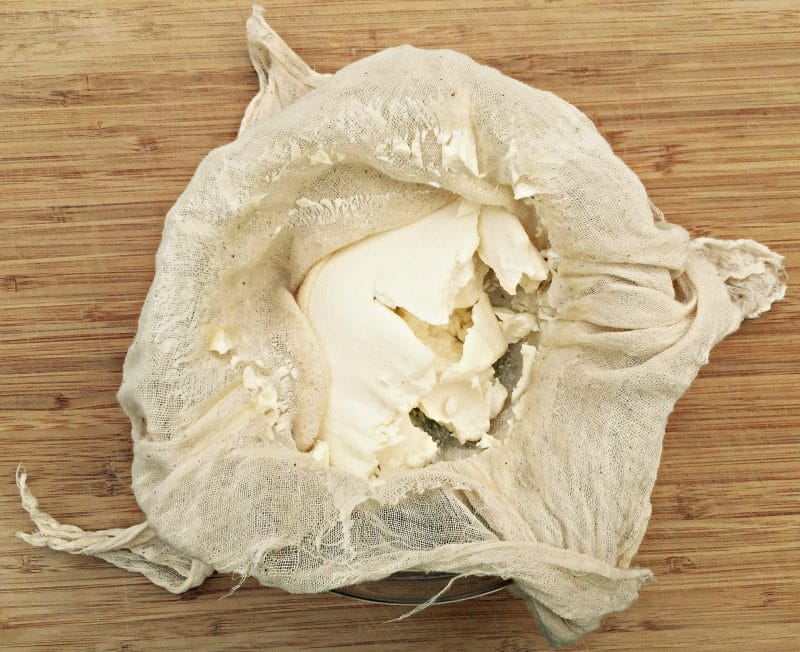
- Strain out the kefir grains with the colander. Save them aside to make another batch of milk kefir with. You will be left with the rest of the milk kefir in the cheesecloth.
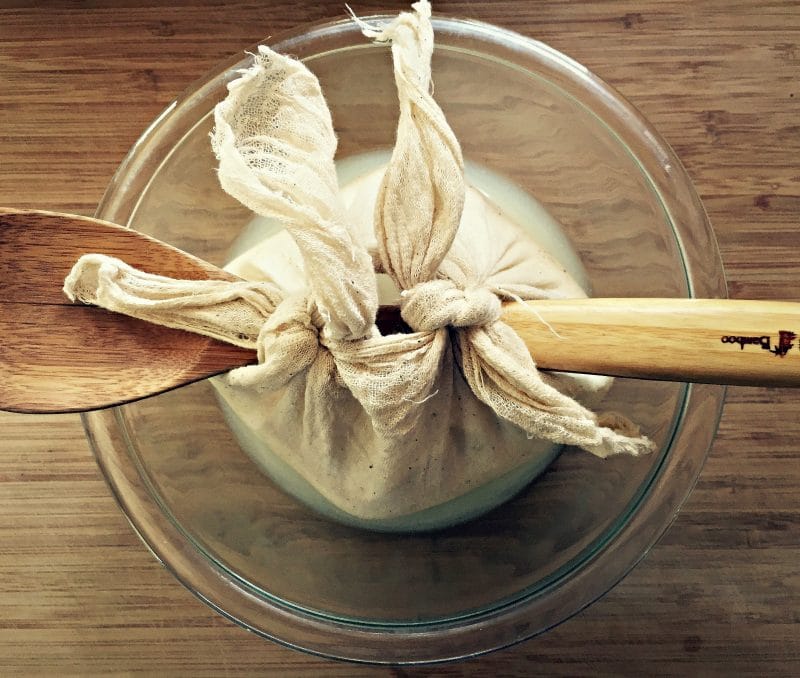
- Tie up the corners of the cheesecloth onto a long spoon or other long stick like thing of some sort.
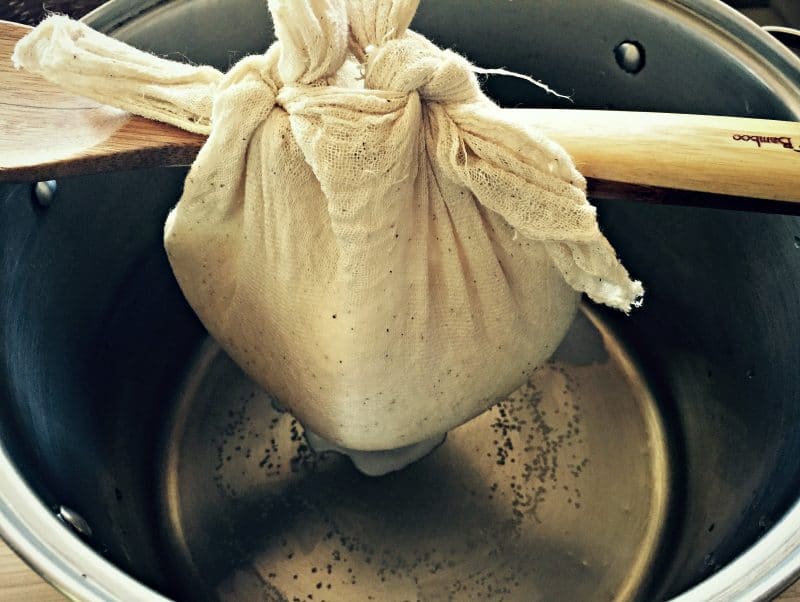
- Then hang the bundle over a large bowl or pot. This will strain out most of the whey, leaving the curds in the cheesecloth.
- Let it hang there and strain for another 24-48 hours.
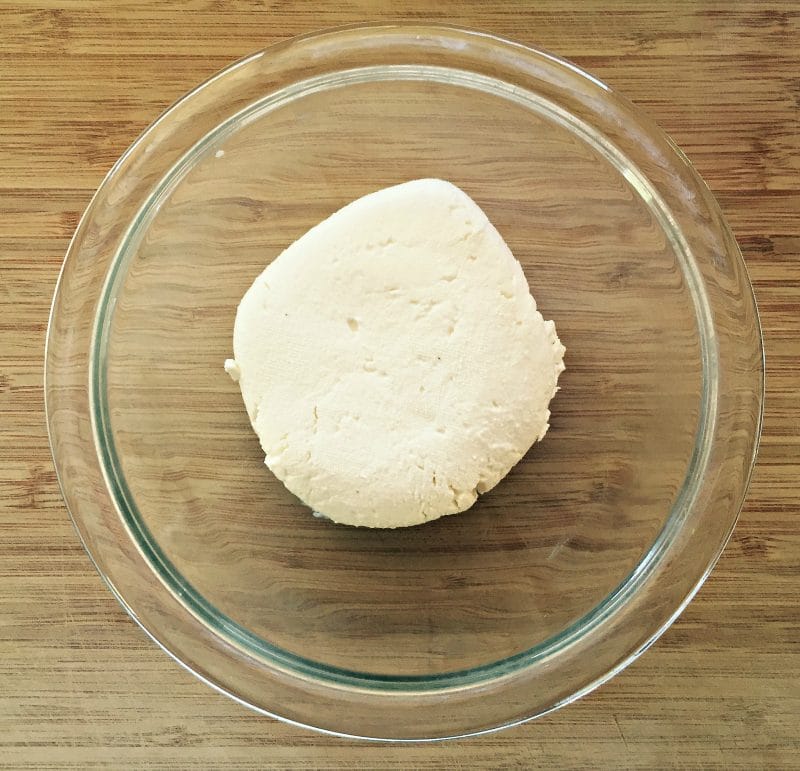
- Turn it out into the bowl.
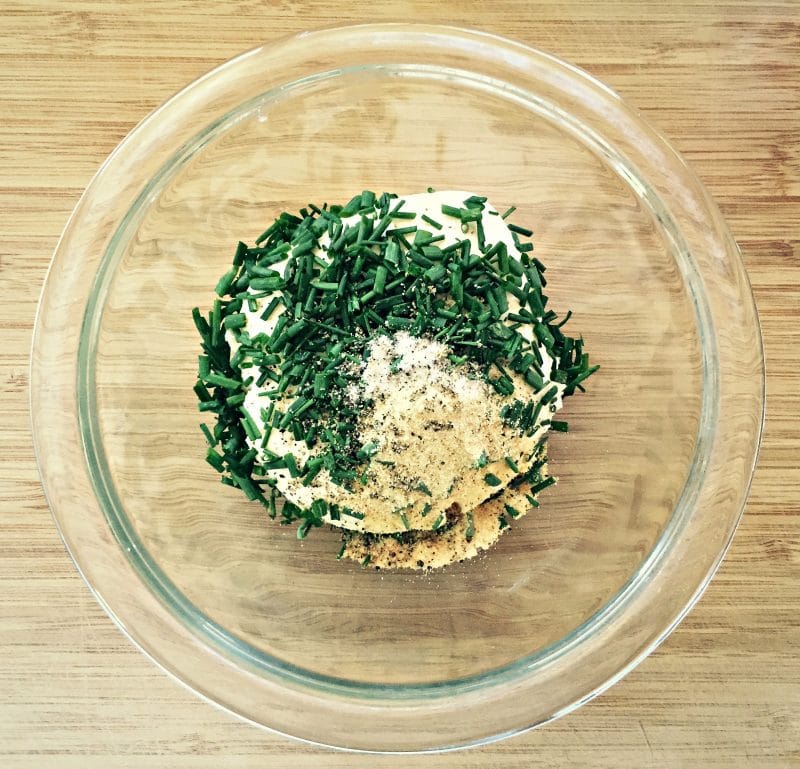
- Add 1 teaspoon salt and whatever seasonings your heart desires.
Notes
- You can also put the milk & kefir grains in the fridge and let it slowly ferment for 3-4 weeks, and it will eventually thicken up just like normal.
- If it’s really hot outside you may want to try and fit the straining cheese into your fridge somehow, but I usually just do it at room temperature.
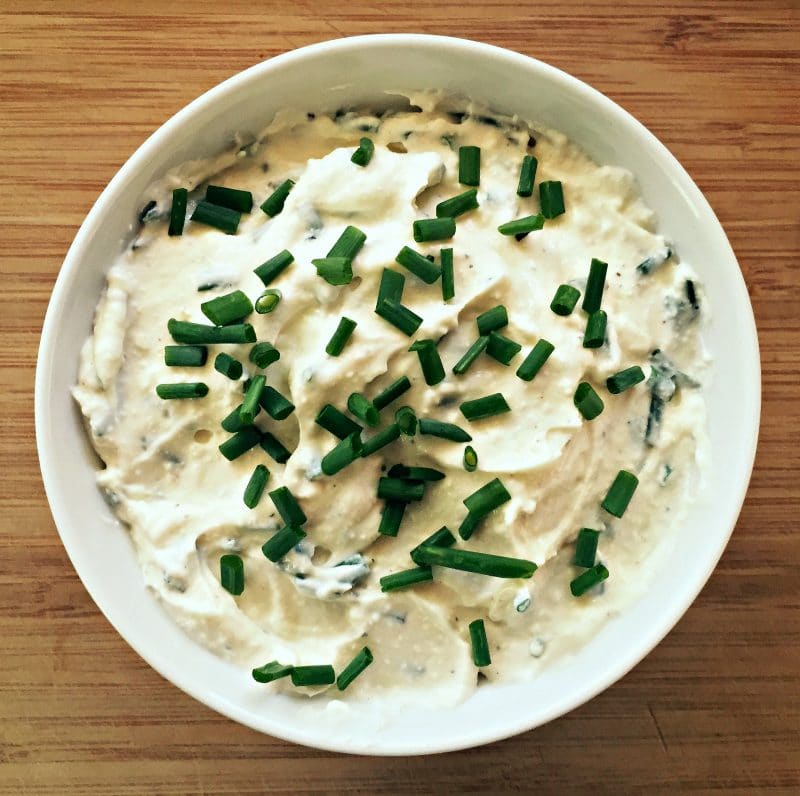
- Seasoning Suggestion: Stir in 1 teaspoon garlic powder, a bunch of minced chives from the garden, and a few cracks of fresh ground pepper.
- Serving Suggestion: Appetizer dip; On bagels; substitute for ricotta cheese; substitute for cream cheese
- Recipe does not include 24-48 hours hanging time.



do you happen to know how much protein is in this kind of cheese?
I don’t, sorry!
Did you use the kefir to make yeast-free bread?
I am allergic to yeast and gluten
And milk…
Can u email me how you made yeast-free bread, please
Hi Michelle, unfortunately, I don’t have a recipe for yeast-free bread made with kefir cheese. Sorry!
I had fruit flies sitting all over my cheesecloth so I ended up putting it in the fridge to hang. Will this be ok? I don’t want fruit flies all over my cheese!
Try putting a small bowl of apple cider vinegar on the counter and this will attract the fruit flies.
I love my kefir just starting out on my K journey and already made some really successful receipes and it is so yummie to drink
A quick ? when I first started drinking it I had a very upset tummy just twice, been fine since, was told that my gut was getting “healty” and that it was expelling all the stuff that was not suppose to be there is this the case?
Hi Coleen, I make cheese just the same way (using the cheesecloth and all), but then using buttermilk instead of kefir… just need to leave the buttermilk in the sun, or, in winter, on the heating for a little while. Then the whey starts to divide from the creamy part, and then the cheese is on its way! Same process… enjoy Nature!!
Greetings from overseas (Europe)
I’m making kefir cheese as well now, but for the second fermentation I add very thick coconut cooking milk. This makes the flavour even better! Very soft and creamy. It appears to ferment along with the milk. When making the cheese, I add herbes en provence, black pepper, galangal powder and a little bit of see salt for an amazing flavour. Try it. :)
I’m definitely going to use this instead of cream cheese. It looks great! I’m going to try and make a big batch and then separate it and flavor it differently depending on the type of cheese I want. How long does this last in the fridge after you’ve made it?
It probably lasts for 2-3 weeks.
Just to be clear, you leave the hanging kefir out in the counter and do not put it in the fridge for the 24 hours before it becomes cheese?
Yes, that is correct :)
you can put it in the fridge alright. don’t be silly
I was wondering if using a metal strainer affected the grains at all. I was told to not let any metallic things to handle the grains. I always use a china spoon or wooden spoon so I was surprised to see you metal strainer.
Yes, you are correct. Most metals will impact the fermentation. The only metal that doesn’t is stainless steel. I bought a stainless steel colander and wire mesh specifically for making kefir and they work.
So simple, so yummy!
Colleen, I’m just starting to learn about kefir. Could you talk a little more about the kefir grains?
How many times can you reuse them?
How are they produced? In your article you mention that they multiply. Is this while being stored or do they multiply as part of the kefir cheese fermentation process?
How do you store kefir grains when not using them?
Thank you!
Hey there, glad that you’re starting to learn about kefir, it’s pretty amazing stuff! You can reuse the kefir grains indefinitely, as long as you keep giving them fresh milk for them to ferment. I’m not sure how they were originally produced (it was a long time ago, I’m not sure anyone knows!), but they do multiply every time that you give them fresh milk. Once you are making the cheese the grains have been strained out, so they don’t multiply there. You can store the grains in milk in the fridge for up to a month, then you need to give them new milk. I’ve heard that you can also dehydrate them for longer term storage, but I’ve never actually done that. Let me know if you have any more questions!
My mom freezes extra kefir grains when she has a bit too much. She just pops them in some fresh milk when she wants to use them. Occasionally, when they are frozen, they may require an extra day to ferment.
You need to be careful though. Your kefir grains should never come in contact with metal. You can purchase a plastic strainer for the purpose of separating kefir grains from the kefir.
It’s actually a bit of a myth that kefir grains shouldn’t ever come in contact with metal, especially when we’re talking about stainless steel which is inert. Read this page for more info on that: http://users.chariot.net.au/~dna/Makekefir.html#*Note I try to keep plastic to a minimum in my kitchen, and I don’t think that the kefir grains touching a stainless steel strainer for a few minutes is going to hurt them. I definitely wouldn’t ferment the kefir in any kind of metal, though, glass is best for that!
You can use metal as long as it’s stainless steel it will not react with the kefir. I use a stainless steel colander and my milk kefir is fabulous.
I have a ceramic colander that I purchased from a local potter.
Now you need a post about all the things you can do with the whey. I like to use it in place of water in my bread to add a little more protein power.
Hi Bryan, I was wondering what to do with the whey after I have made kefir cheese as per the instructions above. What else can I do with the whey please?
If you have chickens or a pig, they LOVE whey. I have also put it out for the wild birds in a shallow bowl. Even the squirrels came in for a drink.
I use the whey on my breakfast – rolled oats, flaxmeal, and chia. I add the whey to soak the above. Then I add Greek yoghurt and a mix of dried fruit and nuts. Tastes wonderful.
This should be a popular one, Colleen…very amazing!