
Make dilly beans for the best way to use your surplus green bean harvest. Made with fresh dill and fragrant garlic, these pickled green beans will blow your mind. If you need some old-fashioned pickled green beans in your life, can some of these dilly beans for the pantry!

Want to save this post for later?
Pickled green beans are a staple for gardeners, and a delicious treat to last you throughout the year when you can them. Once you add fresh dill and garlic though, your pickled green beans will be next level!
What Are Dilly Beans?
Dilly beans are pickled green beans with the delicious addition of fresh dill, garlic, and spices. They are an explosion of amazing summer taste right from the jar.
If you are planning on pickling green beans, I highly recommend using this dilly beans recipe. You won’t regret it! You’ll get all of the pickled goodness of pickled green beans, but more flavorful.
This is a canning recipe to last the year through, but you can also make fermented dilly beans which also have a super fresh and delightful taste!
In my opinion, making dilly beans is the best way to preserve fresh green beans.
Get more recipes for canning, fermenting, quick pickling, dehydrating, and freezing so that you can enjoy your summer produce year-round in my ebook Preserving the Garden Harvest!
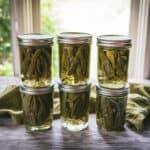
How to Make Dilly Beans for Canning
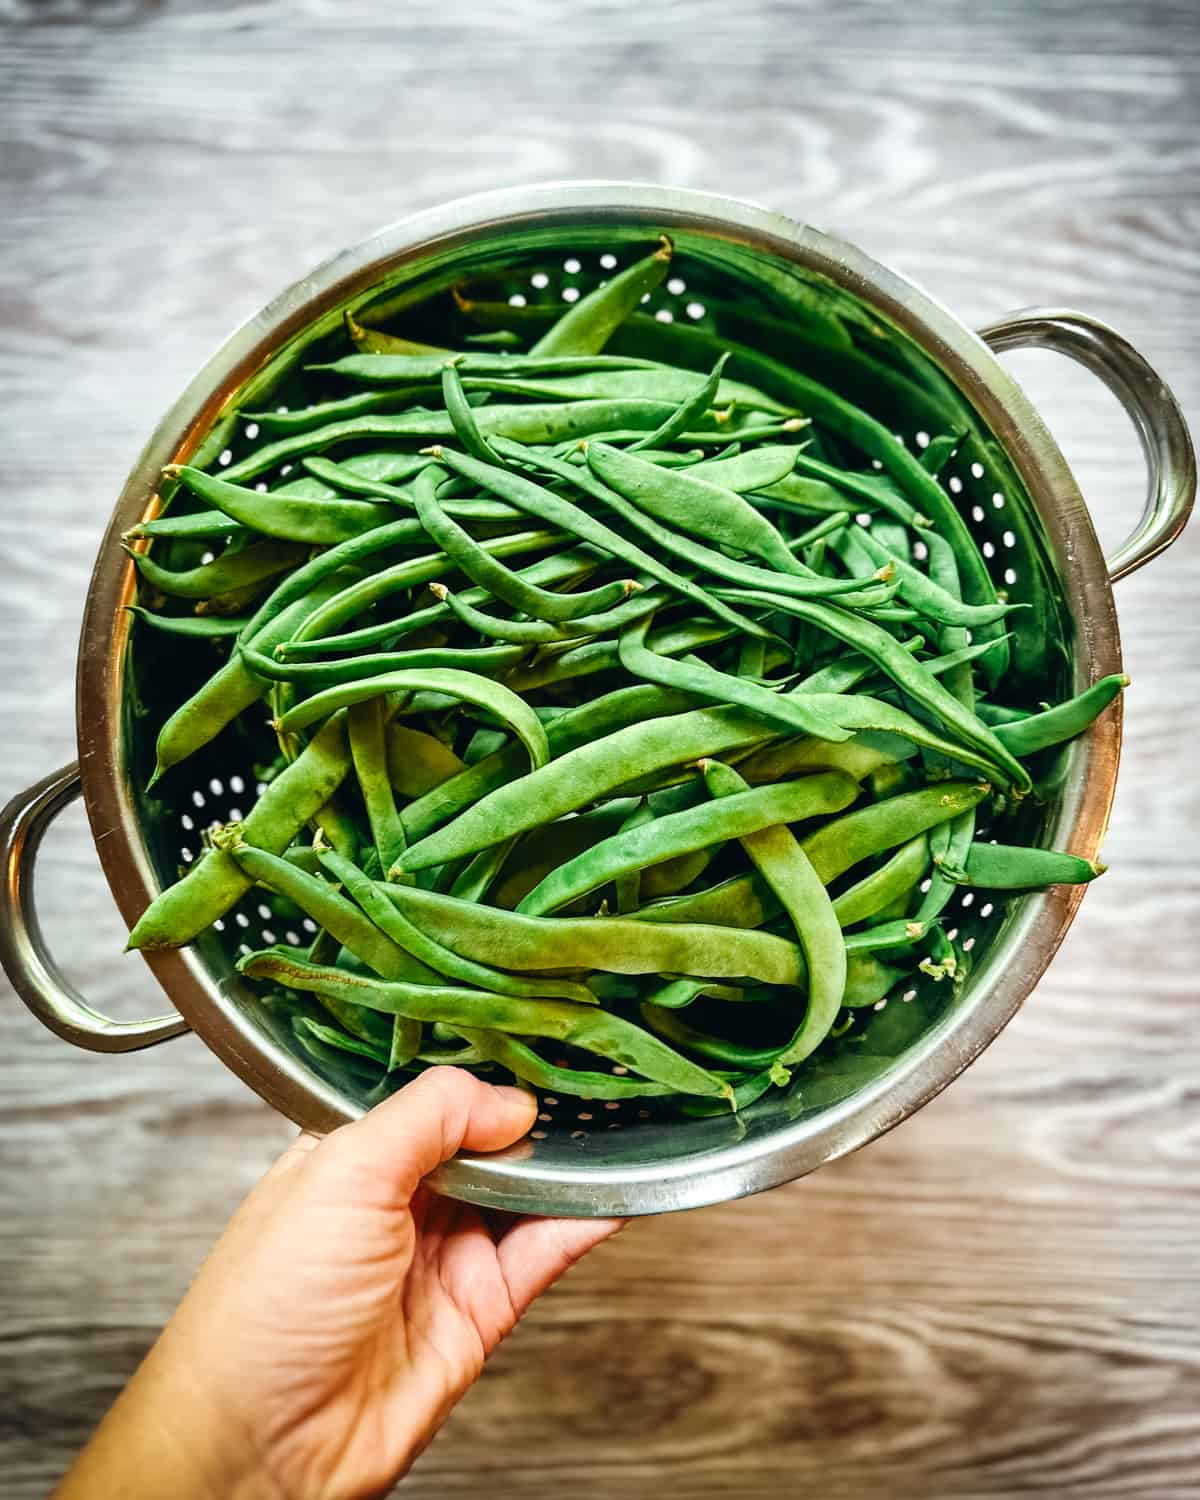
This canned dilly beans recipe is easy and a perfect way to preserve green beans from your summer harvest. I used Northeaster Pole Beans this time because we had so many growing in our garden, but you can use any type of green beans.
Ingredients
Green beans: Use any type of fresh green beans: green, yellow, or purple all work well. Note that purple green beans will lose their color and turn green when canned.
White vinegar: For this canning recipe, use one that is at least 5% acidity.
Pickling salt: I like to use this canning and pickling salt in any type of homemade pickle. Make sure whichever salt you use is pickling or sea salt, not iodized.
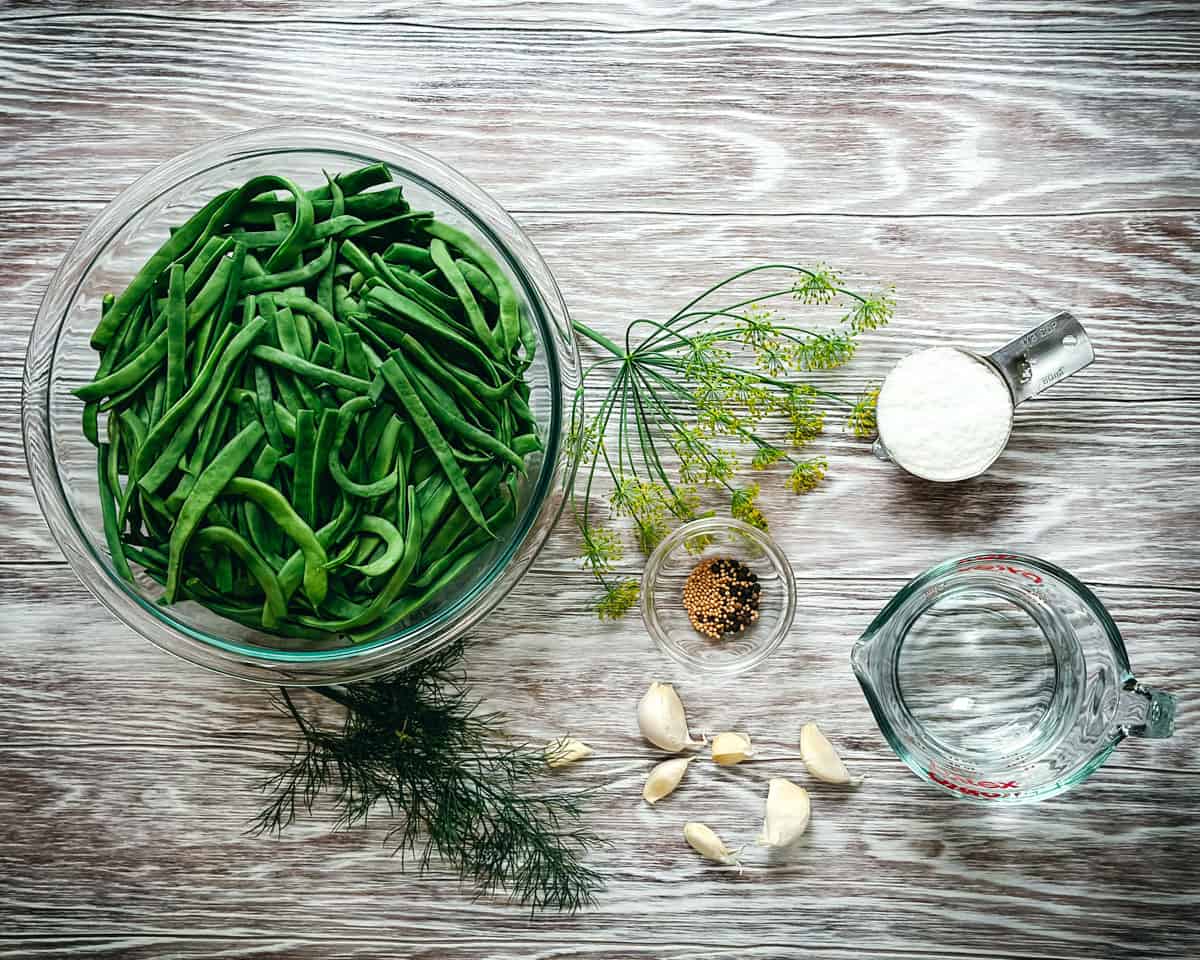
Black peppercorns: I like to use these peppercorns, but use what you have.
Mustard seeds: These are easy to buy online, but sometimes you can find them in the bulk section of a natural grocery store.
Garlic cloves: Use fresh for this recipe.
Fresh dill flowers or leaves: I love using fresh dill flower heads in this recipe, but fresh dill sprigs work well too. If fresh is not available, dill seed can be substituted.
How to Make Dilly Beans for Canning
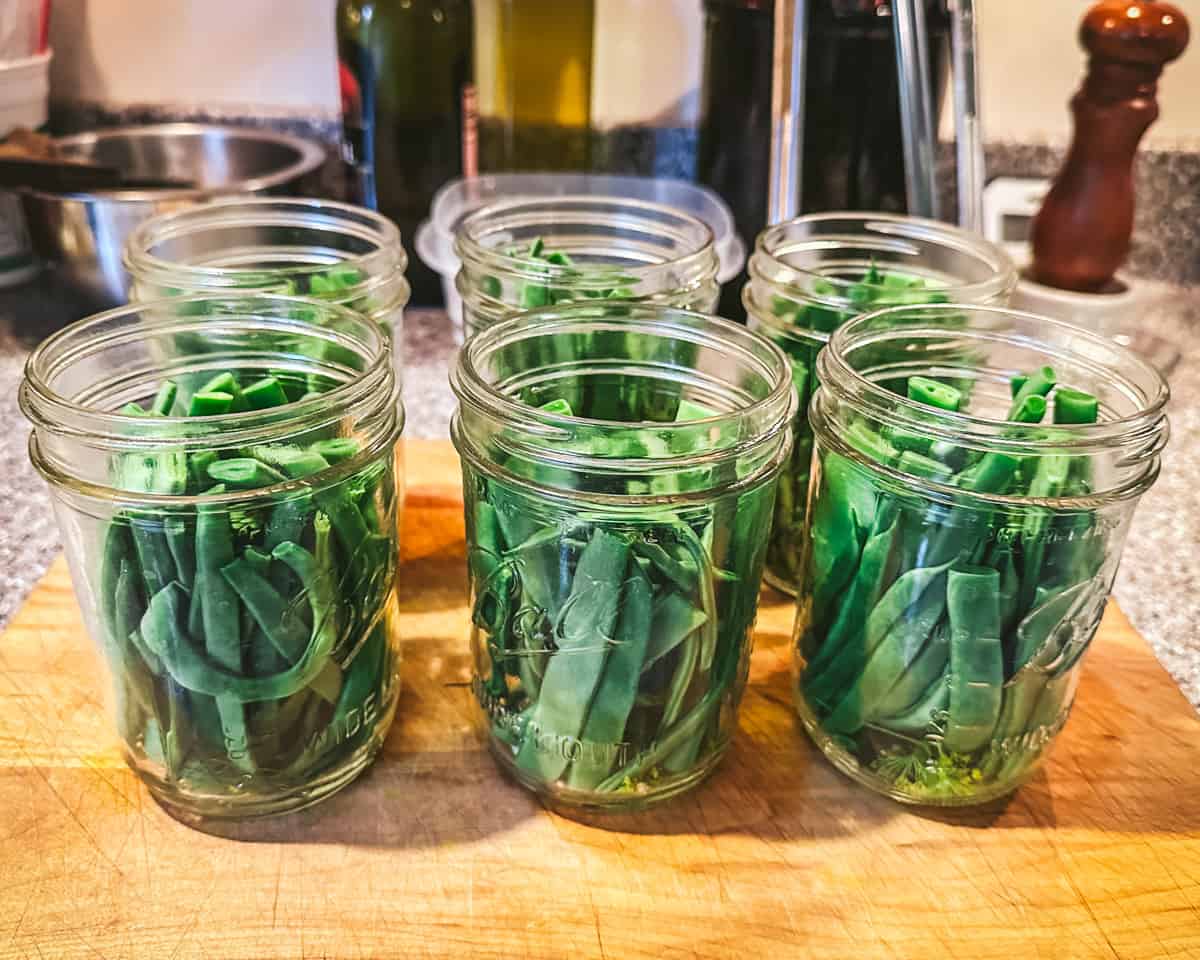
To prepare the green beans for canning, wash and trim the stems off. Then cut them to size so they will fit in your canning jars — about 4 inches.
Prep the Canner
To prepare the boiling water canner, heat the jars in simmering water until it’s time to use them. Wash lids in warm soapy water and set bands aside.
Make the Dilly Beans
First, combine the vinegar, water, and salt in a saucepan and bring it to a boil over high heat. Stir the mixture to completely dissolve the salt.
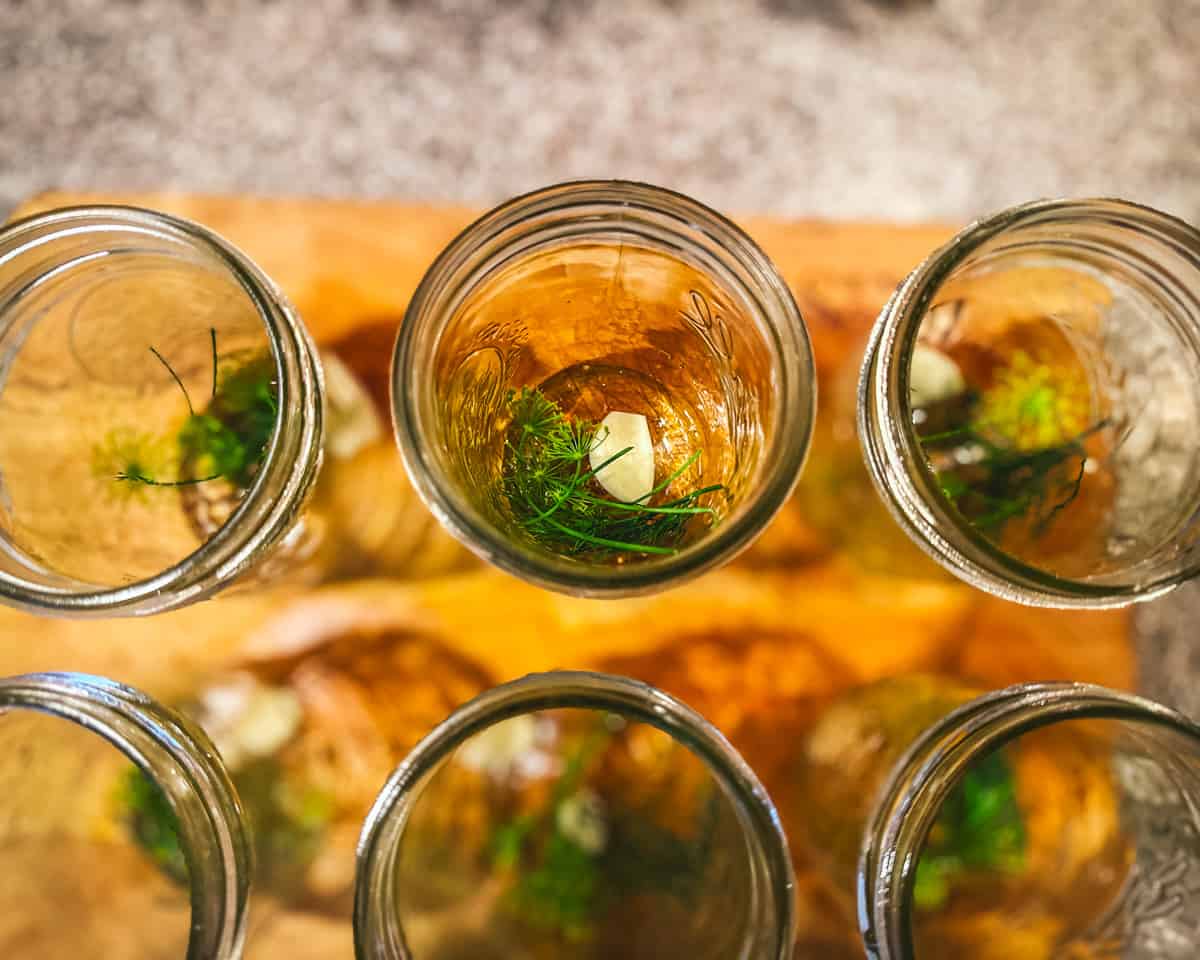
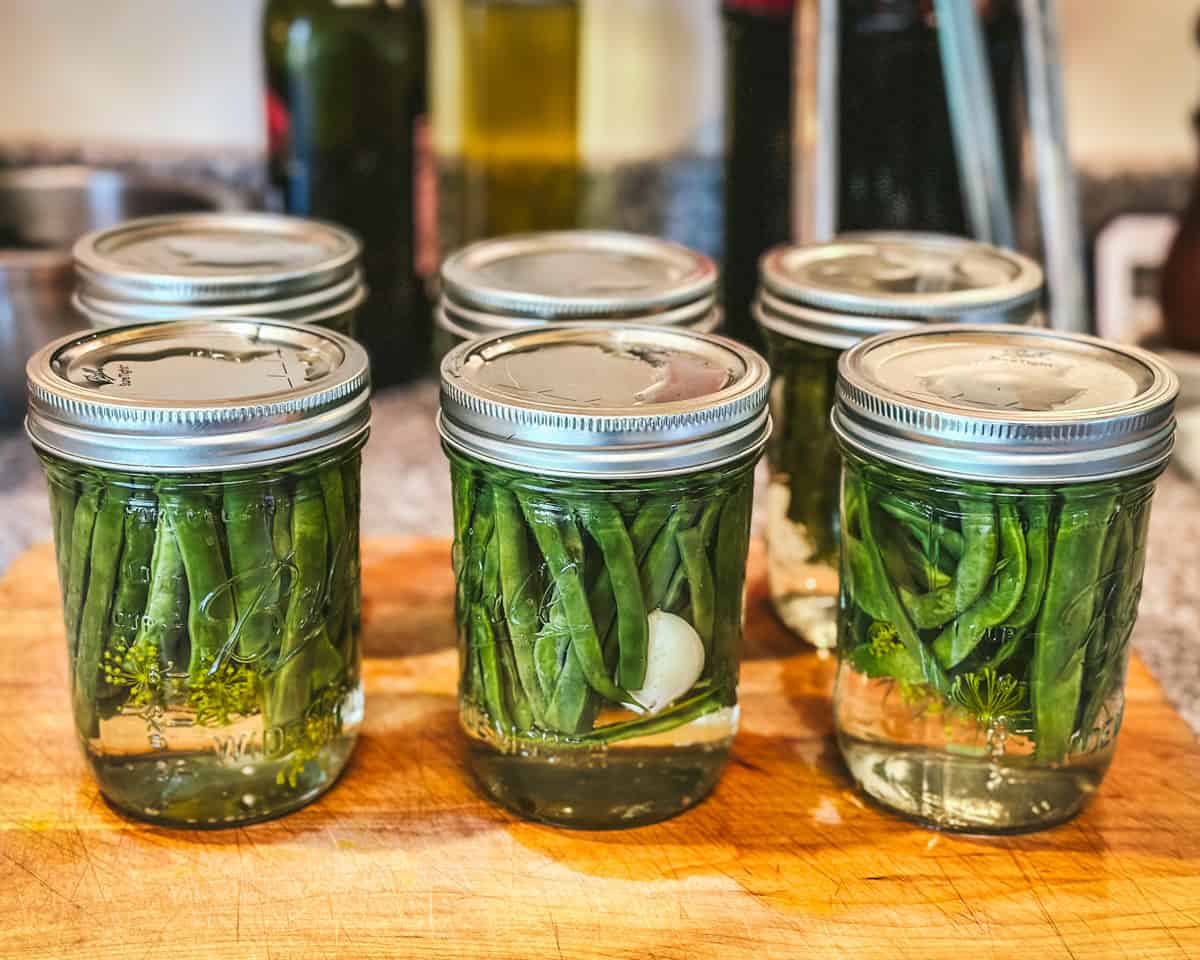
Remove the hot jars from the canner. Then place one clove of crushed garlic, one peppercorn, a small pinch of mustard seeds, and one dill flower head or sprig (or a ¼ teaspoon of dill seeds) into each hot jar.
Next, pack the beans cut side up into the jars leaving a ½ inch headspace at the top.
Ladle the hot vinegar brine into the jars over the dilly beans, leaving a ½ inch headspace.
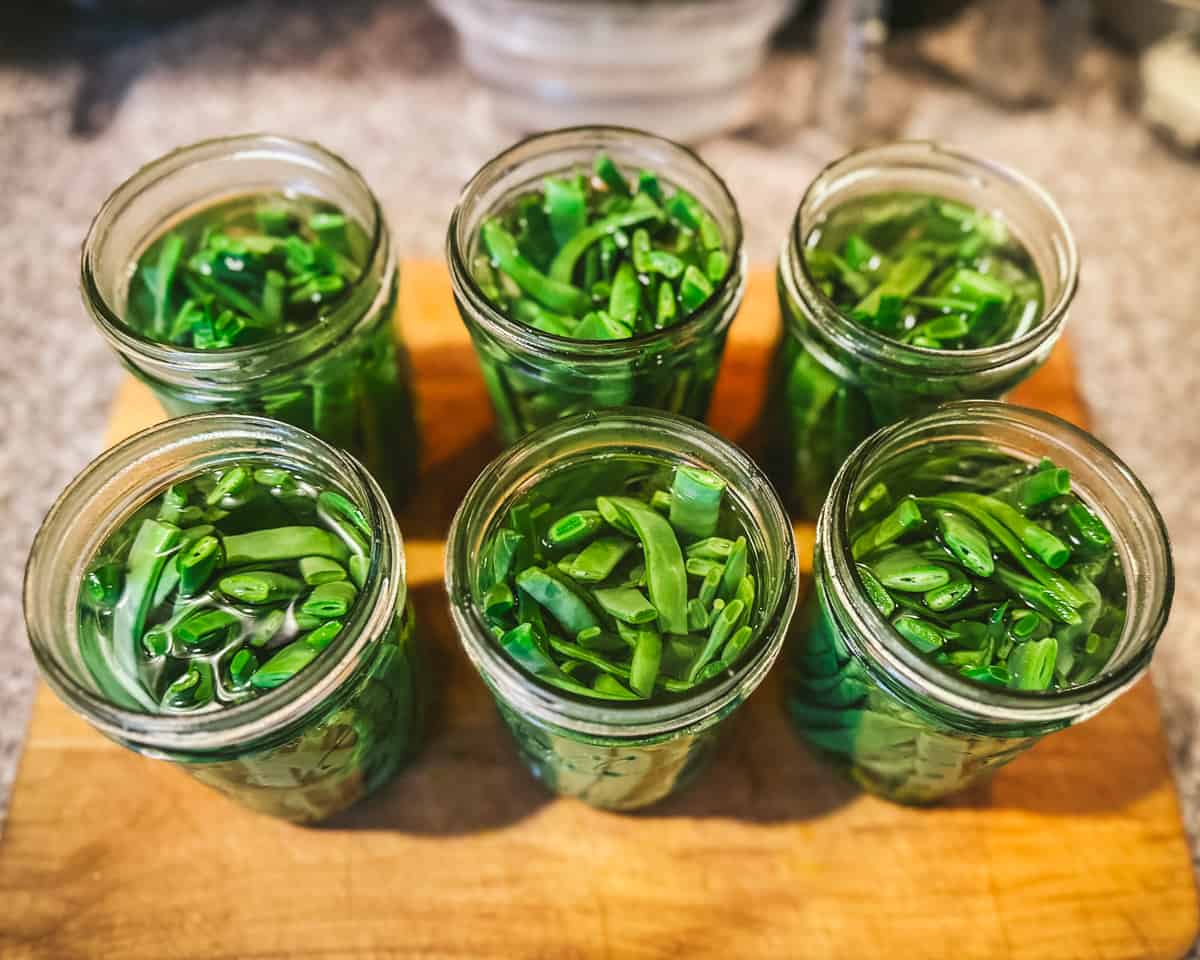
Remove any air bubbles from the jars, and then wipe the jar rims. Center the lids on the jars and apply the bands, adjusting to fingertip tight.
Process for Canning
Place the jars in a boiling water canner with a jar lifter.
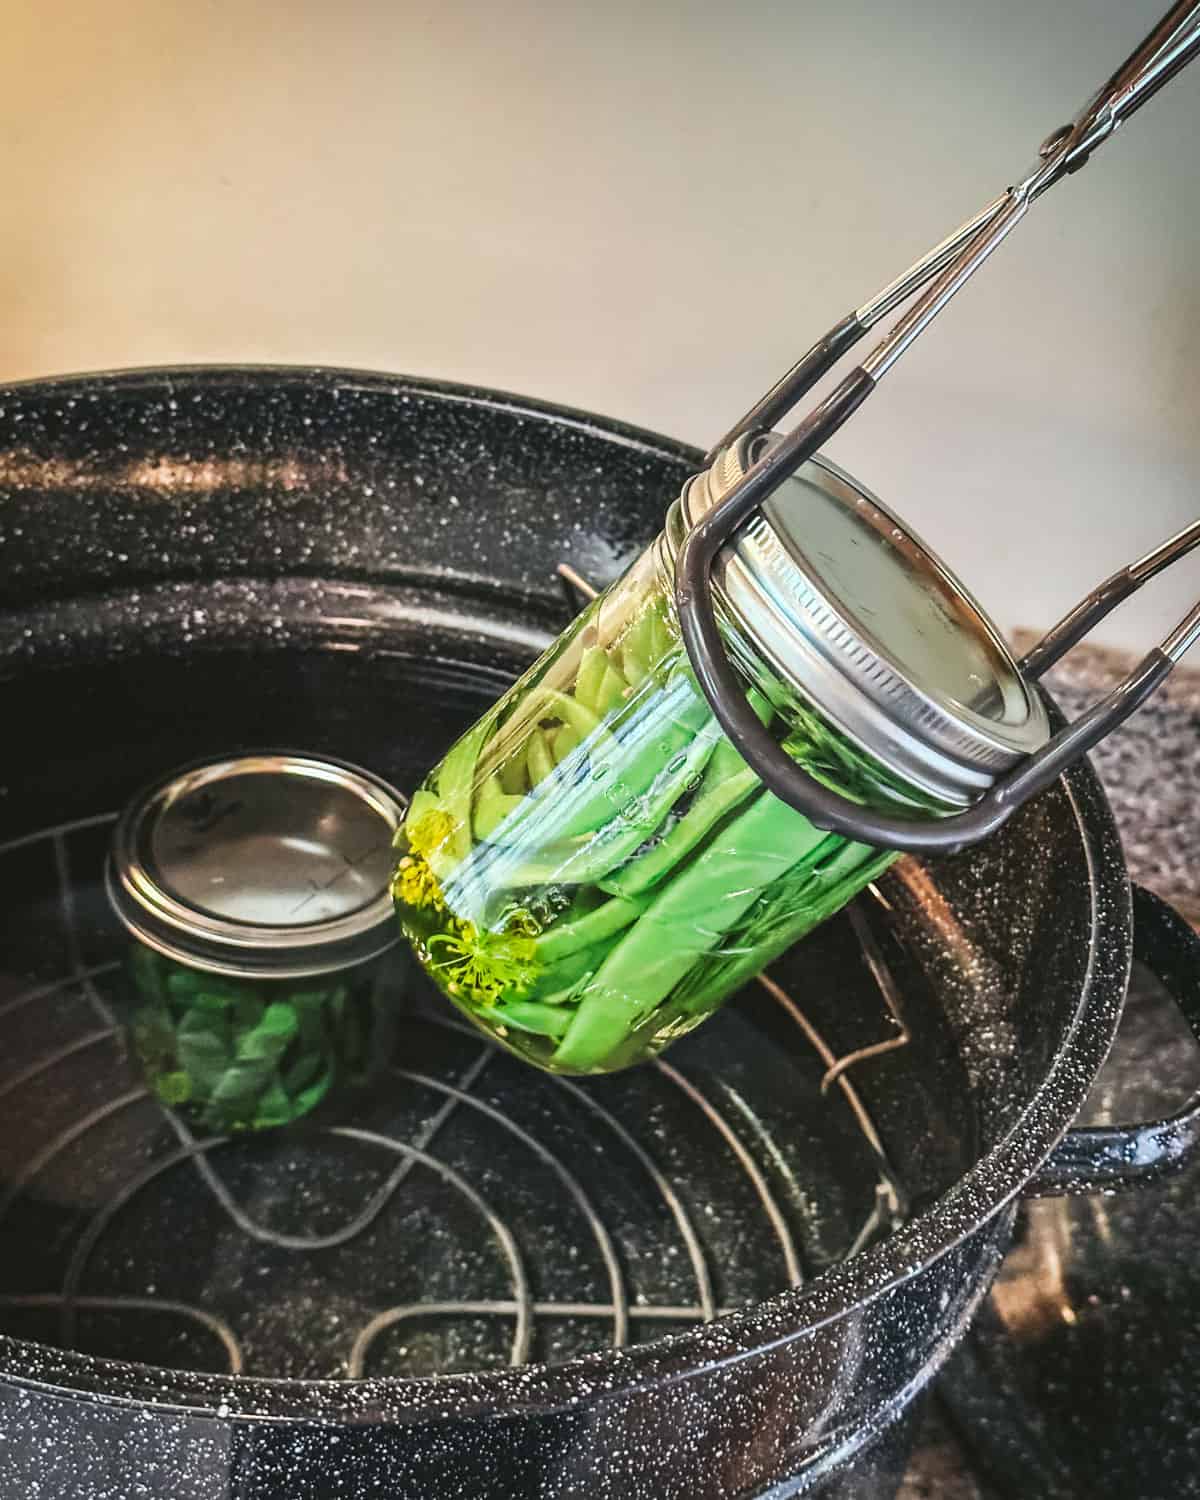
The water in the canner should cover the jars by at least one inch, so add more water if necessary.
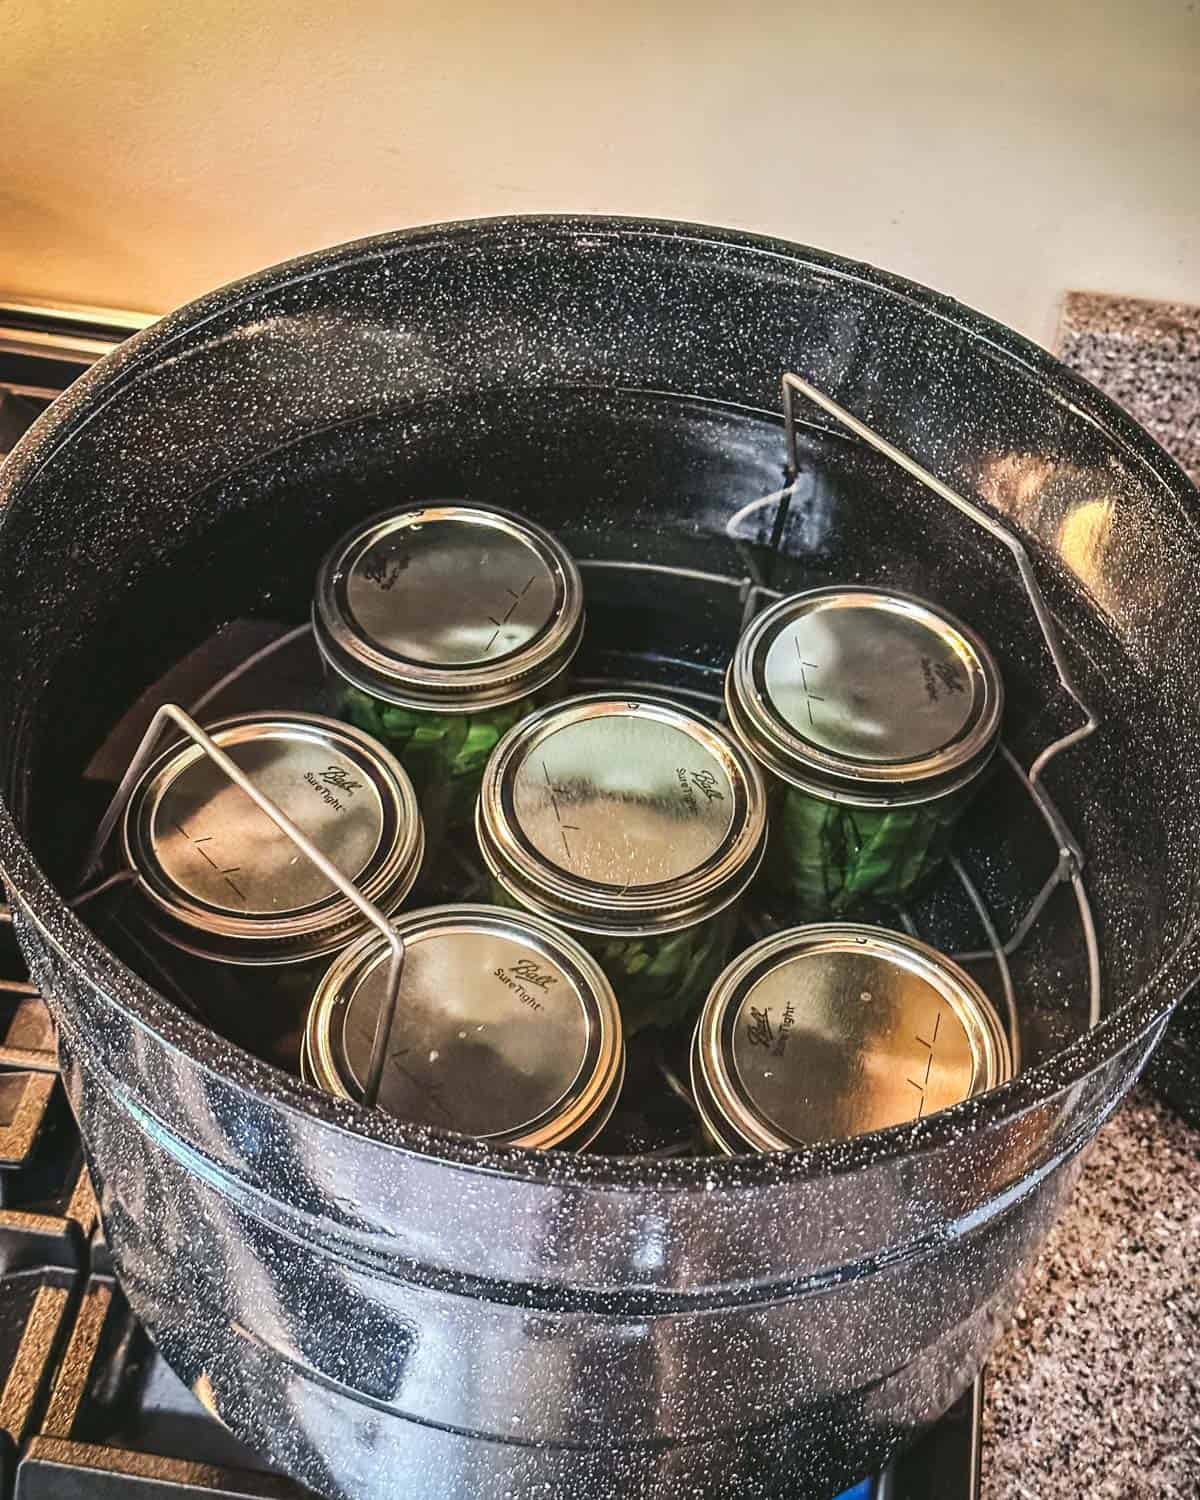
Then cover the canner with a lid and bring the water to a rolling boil over high heat.
Process the jars for 15 minutes, adjusting for altitude if necessary. Turn off the heat and remove the lid from the canner.
Let the jars cool for 5 minutes and then remove the jars from the canner. Let the jars cool for 12-24 hours.
Check the lids for seal, they should not flex when the center is pressed.
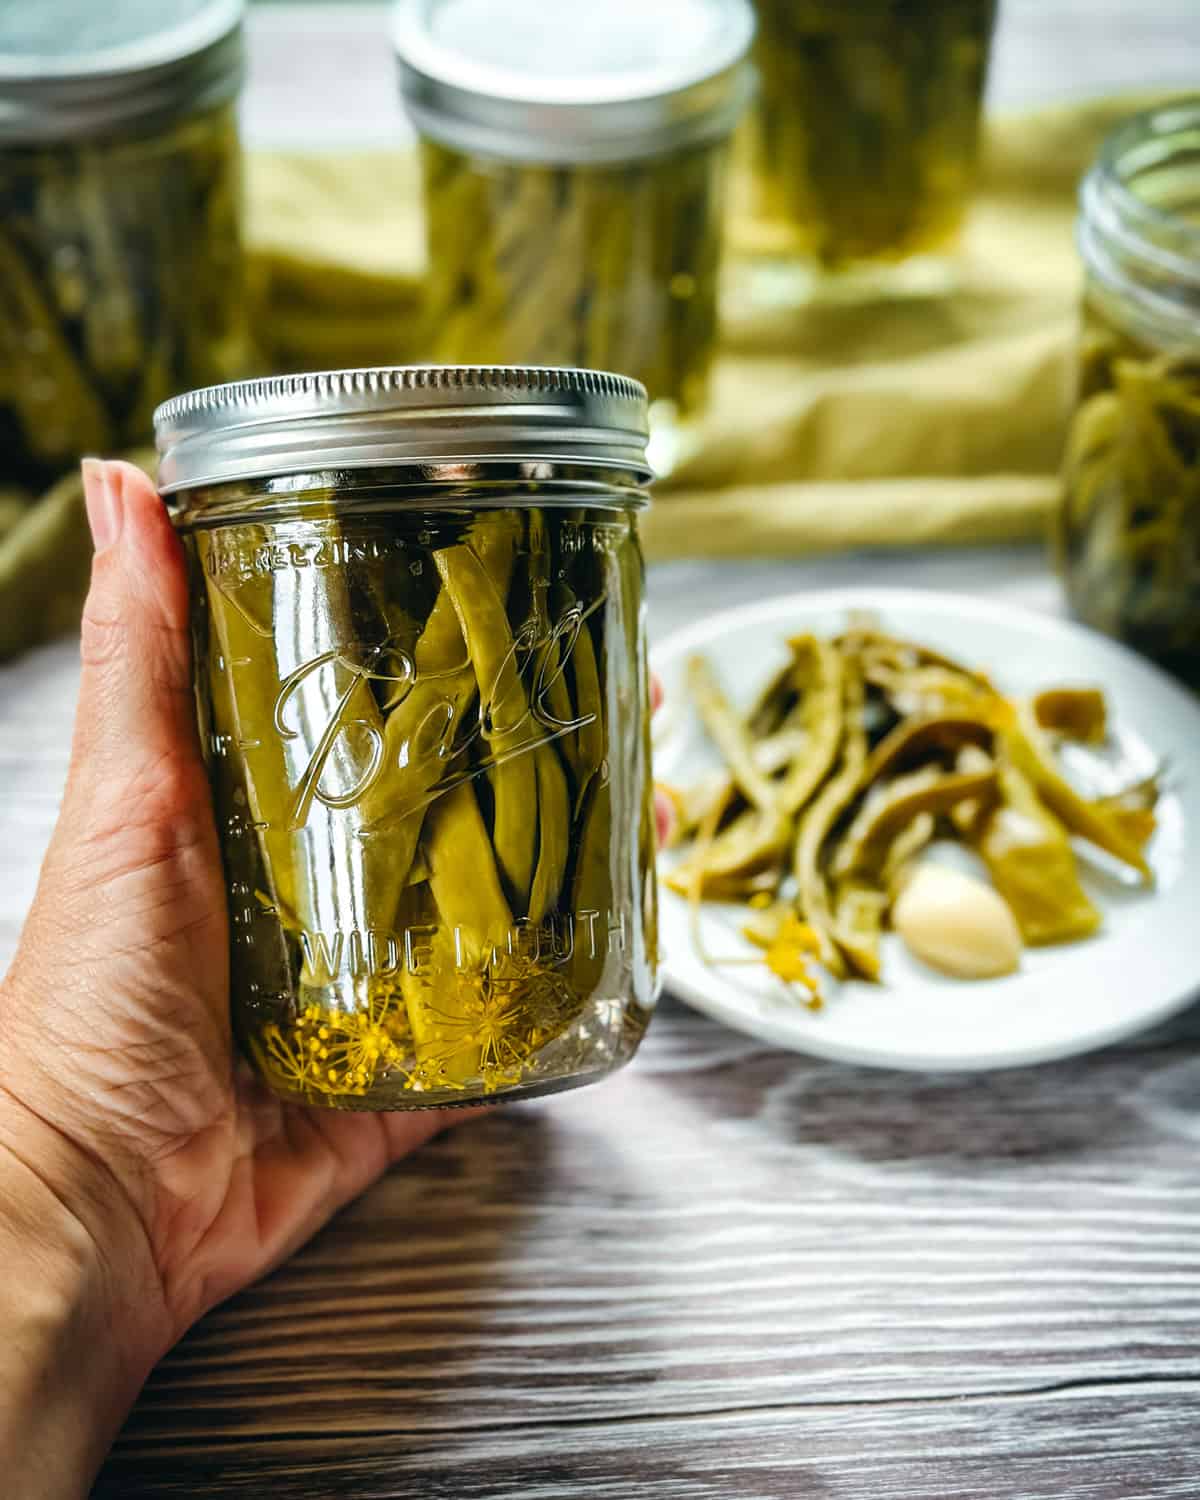
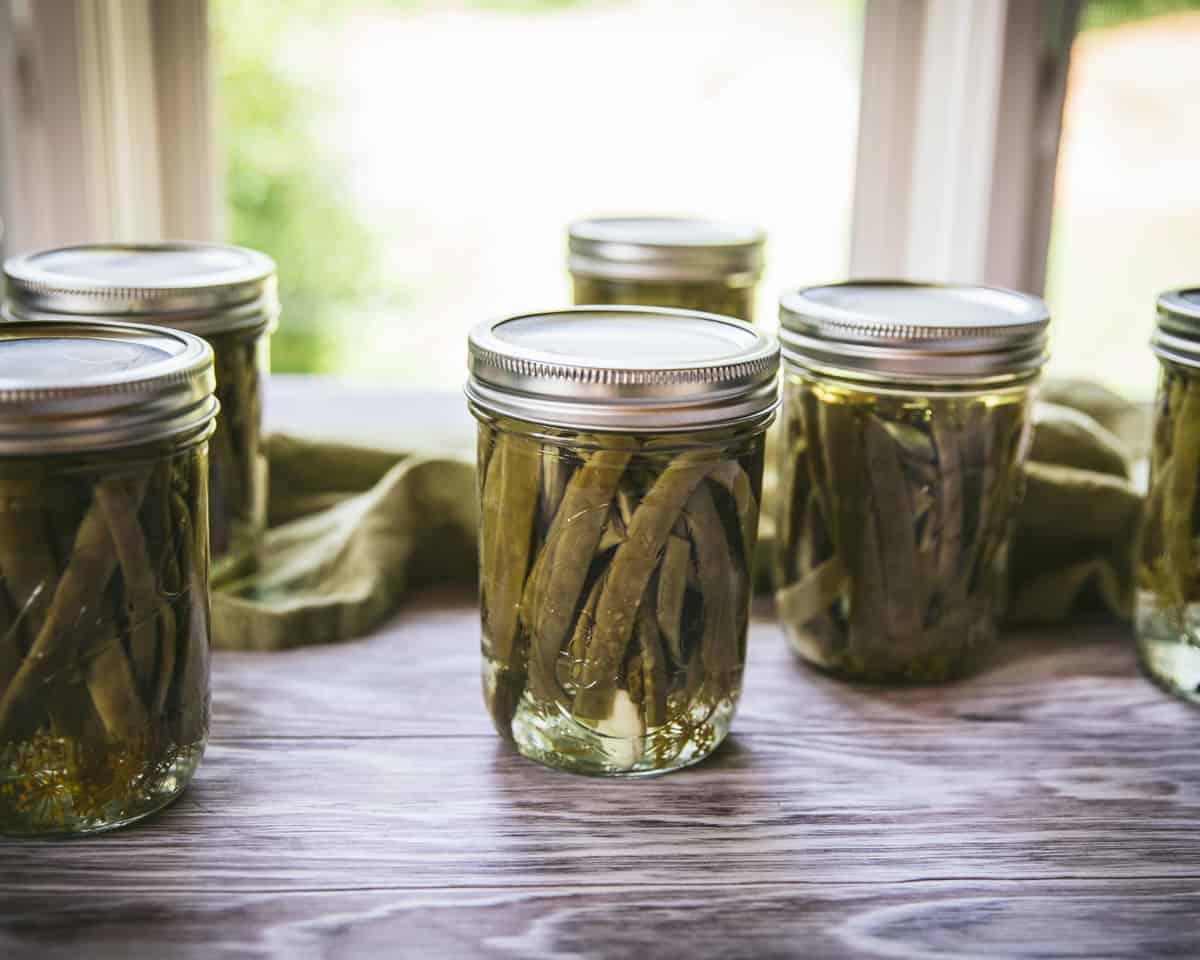
Eat and Store Your Dilly Beans
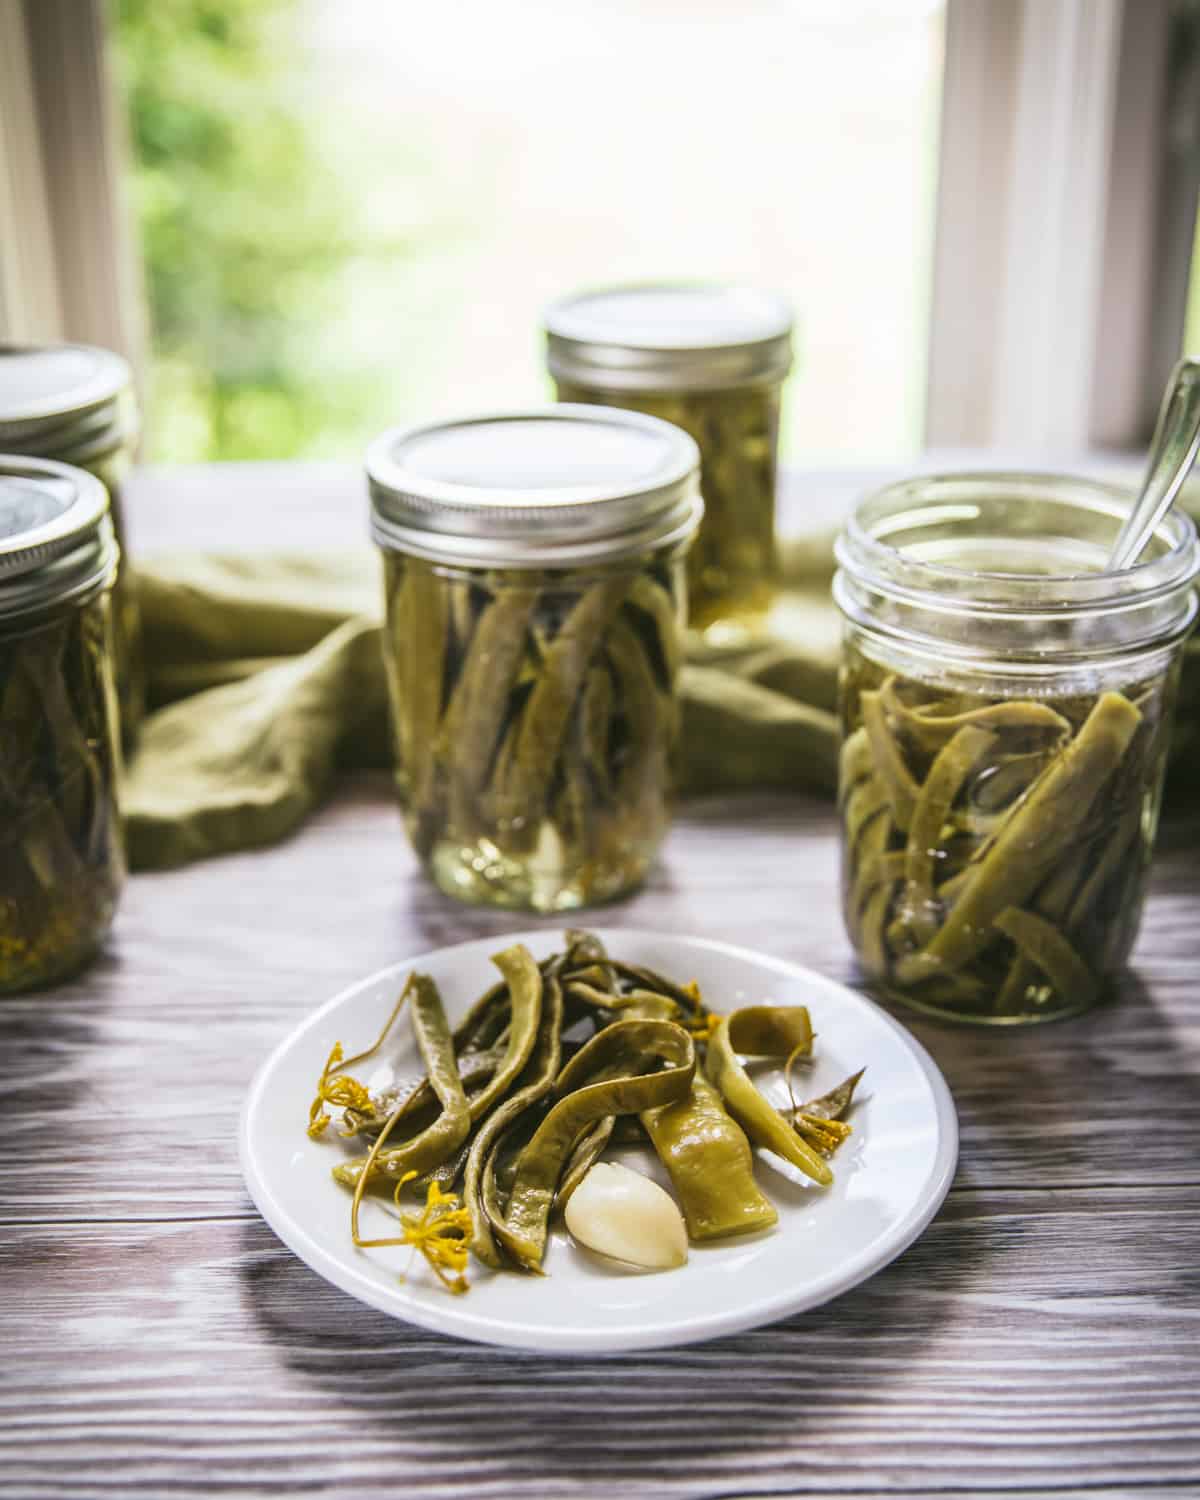
Dilly beans are super delicious and very flavorful on their own, perfect as a snack, and go really well on a happy hour charcuterie board.
These are delicious in a sandwich and taste similar to a dill pickle. You can chop dilly beans and toss them in a salad, or use them in a bloody mary. So good!
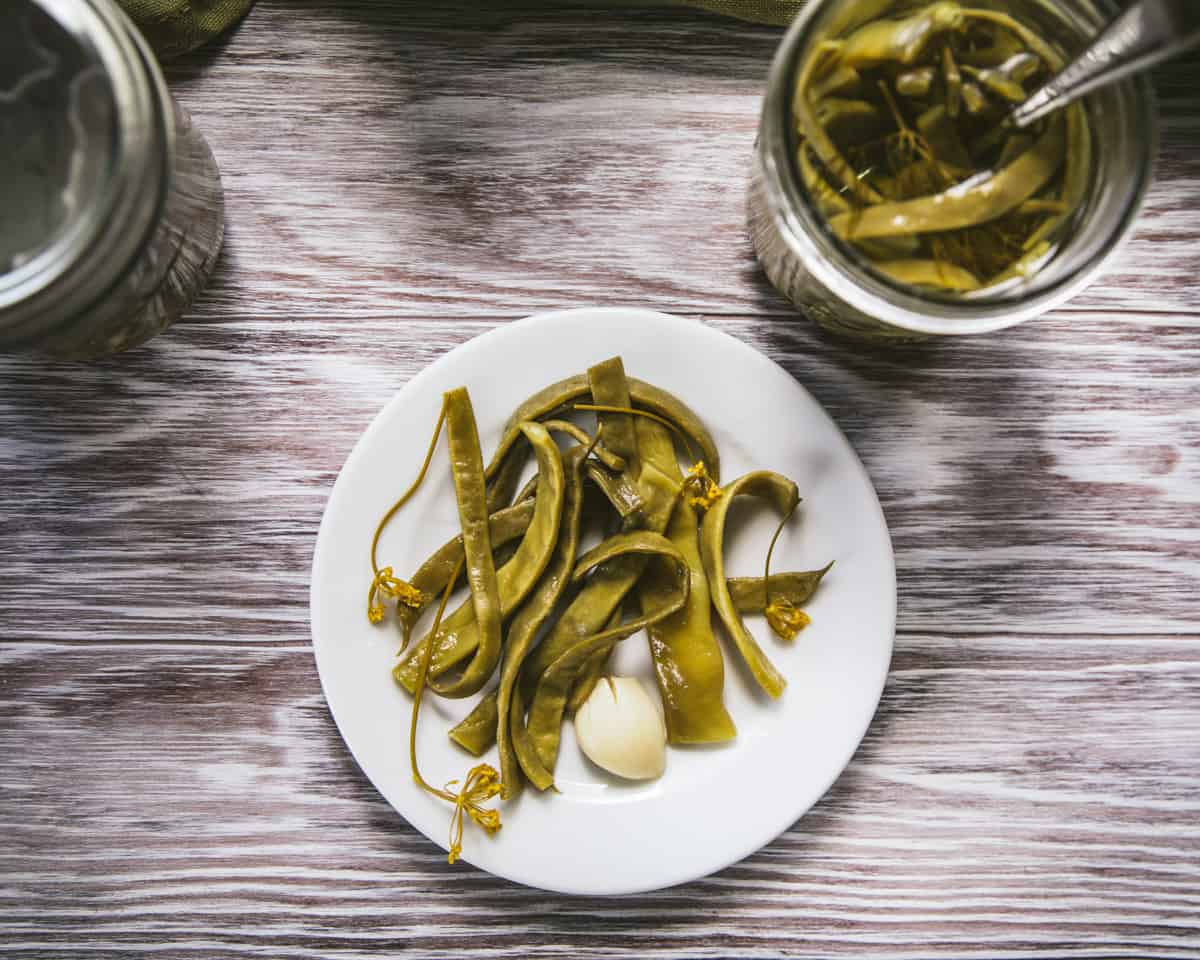
Eat dilly beans from the jar right away after canning and letting the jars rest, they don’t have a designated time they need to sit for pickling. I personally like to wait a few days to let them mingle, I suggest you do the same for the best flavor.
Since these babies are canned, they will last for 1-2 years (or even more) on the shelf. Dilly beans for life!
More Summer Harvest Recipes
- Kosher Dill Pickles
- Green Tomato Salsa Verde
- Homemade Fermented Dill Pickles
- Quick Refrigerator Pickled Pepperoncinis
- Roasted Cherry Tomato Sauce
Dilly Beans for Canning
Ingredients
- 3 pounds green beans trimmed and cut into jar-length pieces (about 4 inches)
- 3 3/4 cups white vinegar at least 5% acidity
- 3 3/4 cups water
- 1/3 cup pickling salt
- 6 black peppercorns
- 1 teaspoon mustard seeds
- 6 cloves garlic crushed
- 6 sprigs fresh dill flowers or leaves or 1 ½ teaspoons dill seeds
Instructions
- Wash and trim the stems off the beans and cut them to size.
- Prepare the boiling water canner. Heat the jars in simmering water until ready for use. Wash lids in warm soapy water and set bands aside.
- Combine the vinegar, water, and salt in a large saucepan and bring to a boil over high heat, stirring to dissolve salt.
- Remove the hot jars from the canner. Place one clove crushed garlic, one peppercorn, a small pinch of mustard seeds, and one dill flower head or sprig (or a ¼ teaspoon of dill seeds) into each hot jar. Pack the beans cut side up into the jars leaving a ½ inch headspace at the top.
- Ladle the hot vinegar brine into the jars over the beans, leaving a 1/2 inch headspace. Remove any air bubbles from the jars and wipe the jar rims.
- Center the lids on the jars and apply the bands, adjusting to fingertip tight. Place the jars in a boiling water canner.
- Water should cover the jars by 1 inch, add more water if necessary. Cover the canner with a lid and bring the water to a rolling boil over high heat.
- Process the jars for 15 minutes, adjusting for altitude. Turn off the heat and remove the lid from the canner. Let the jars cool 5 minutes, then remove the jars from the canner.
- Let the jars cool for 12-24 hours. Check the lids for seal, they should not flex when center is pressed.
Notes
- Any type of fresh green beans can be used, green, yellow, or purple all work well. I used Northeaster Pole Beans. Note that purple green beans will lose their color and turn green when canned.
- I love using fresh dill flower heads in this recipe, but fresh dill sprigs work well too. If fresh is not available, dill seed can be substituted.
- Salt needs to be pickling or sea salt, not iodized.

What are your thoughts on using this recipe (mine is little different) and instead of HWB canning these, after putting on the lid and ring, allowing to cool a little, then storing in the fridge?
I did blanch the beans first for a few minutes before stuffing into the jars, we used fresh and dried dill, garlic and one smallish jalapeno sliced and divided between five jars.
Hi Kathy. That’s totally fine! Just know that they’ll only last a few weeks in the fridge.