
Dilly beans are a new treat to me, and they’re so delicious. The sourness, the dill and garlic flavor, and the beans’ crunch are awesome! So, of course, I had to make fermented dilly beans!
Want to save this post for later?
Fermenting Green Beans
I love all kinds of pickles and always have, and was one of those kids who would eat dill pickles and briny olives straight out of the jar. I pickle red onions, garlic, asparagus, cranberries, and pumpkin!
My mom has been growing green beans in her garden for the past few years and making dilly beans, which we enjoy year-round when we visit. It’s such a great little happy hour (or anytime) snack!
All of this got me thinking, though… what about making fermented dilly beans? I did a little research, and of course, it can be done!
The great thing about fermenting dilly beans rather than making canned vinegar dilly beans is that you can make them in single-jar batches as you harvest them.
This is part of why I love fermenting. It’s so easy! No canning is required to put up your harvest.
For this recipe, you first need to acquire some green beans. I usually use homegrown green beans from our garden, but any fresh green beans work!
The recipe I based this on is from the book Fermented Vegetables by Kirsten and Christopher Shockey. I love this book, and it is highly recommended for anyone who wants to explore veggie ferments further.

Get more recipes for canning, fermenting, quick pickling, dehydrating, and freezing so that you can enjoy your summer produce year-round in my ebook Preserving the Garden Harvest!
Fermented Dilly Beans Recipe
Here is what you will need to get started with these fermented dilly beans:
- Fresh green beans to fill a quart jar
- 4-5 garlic cloves
- 2 whole flower heads of pickling dill, or 2 sprigs fresh dill and 1 tablespoon dill seeds
- 1-2 bay leaves
- 1 tsp. mustard seeds
- 1 tsp. black peppercorns
- 1 small hot pepper (optional)
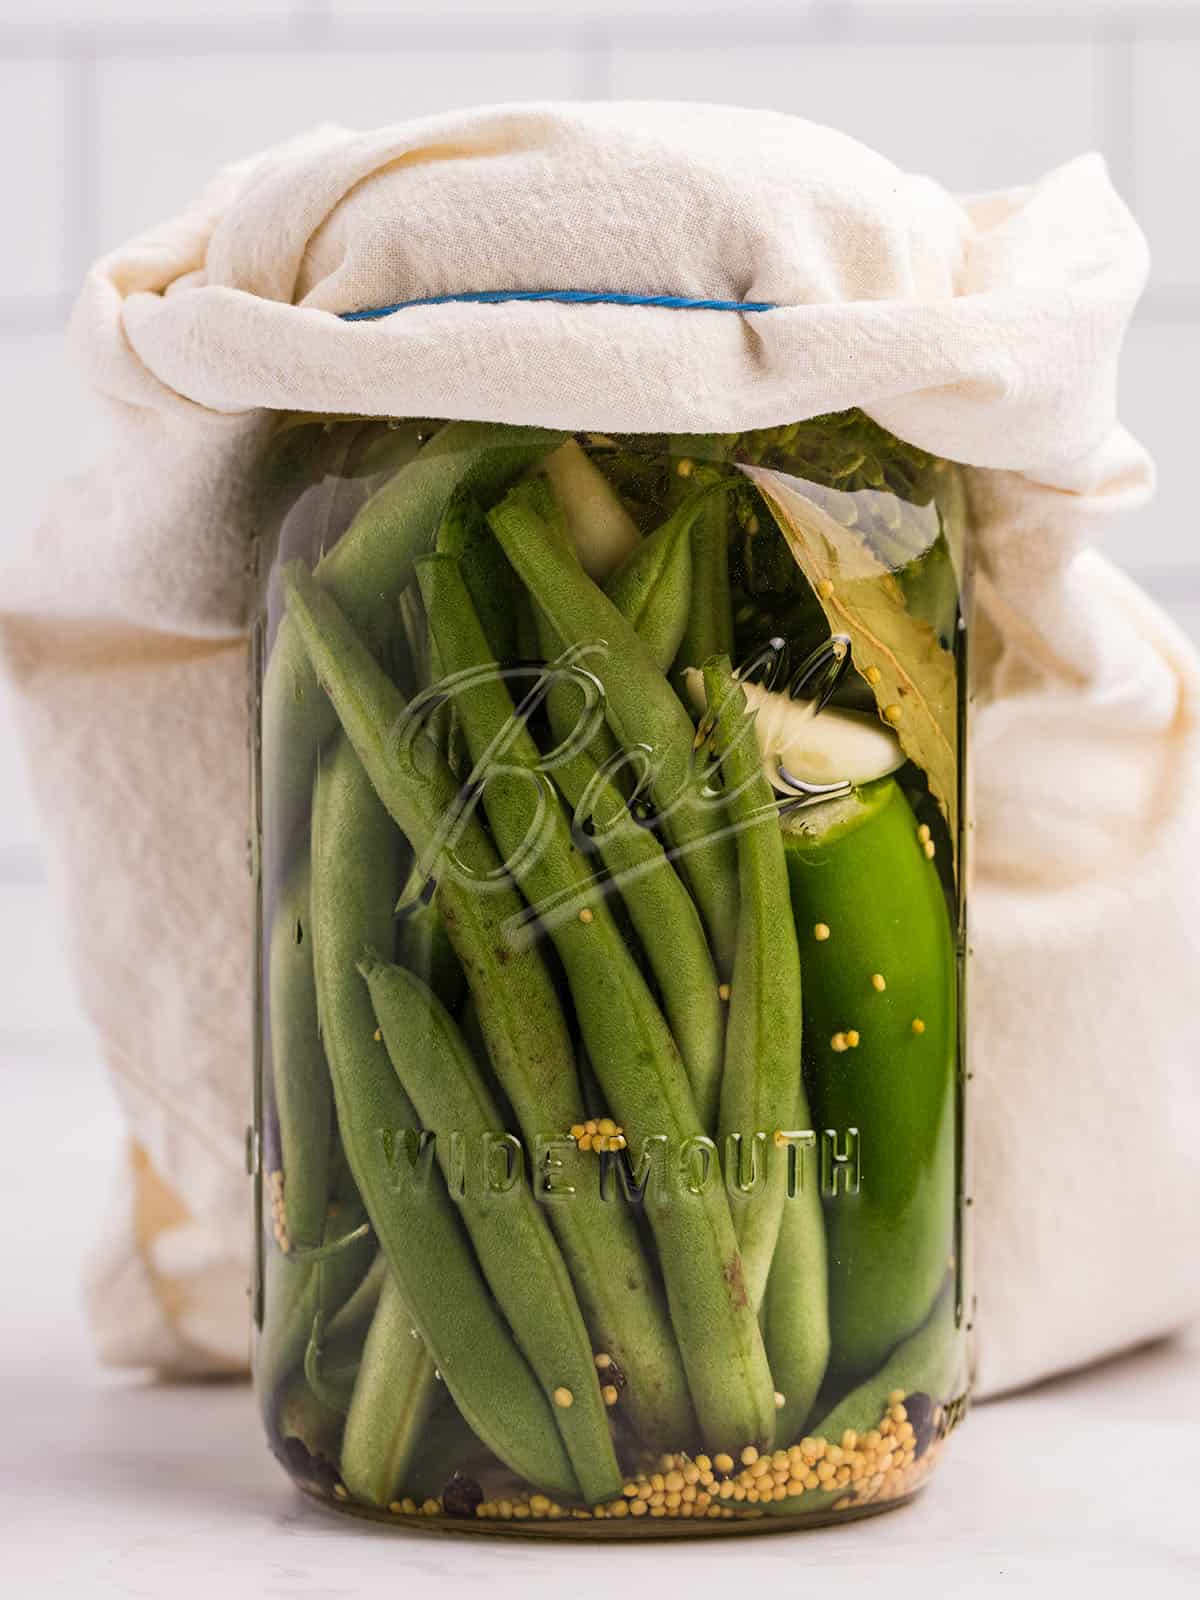
First, put all of the ingredients into a quart jar.

Note: Putting the beans in lengthwise makes it look beautiful and allows you to stuff in as many beans as possible!
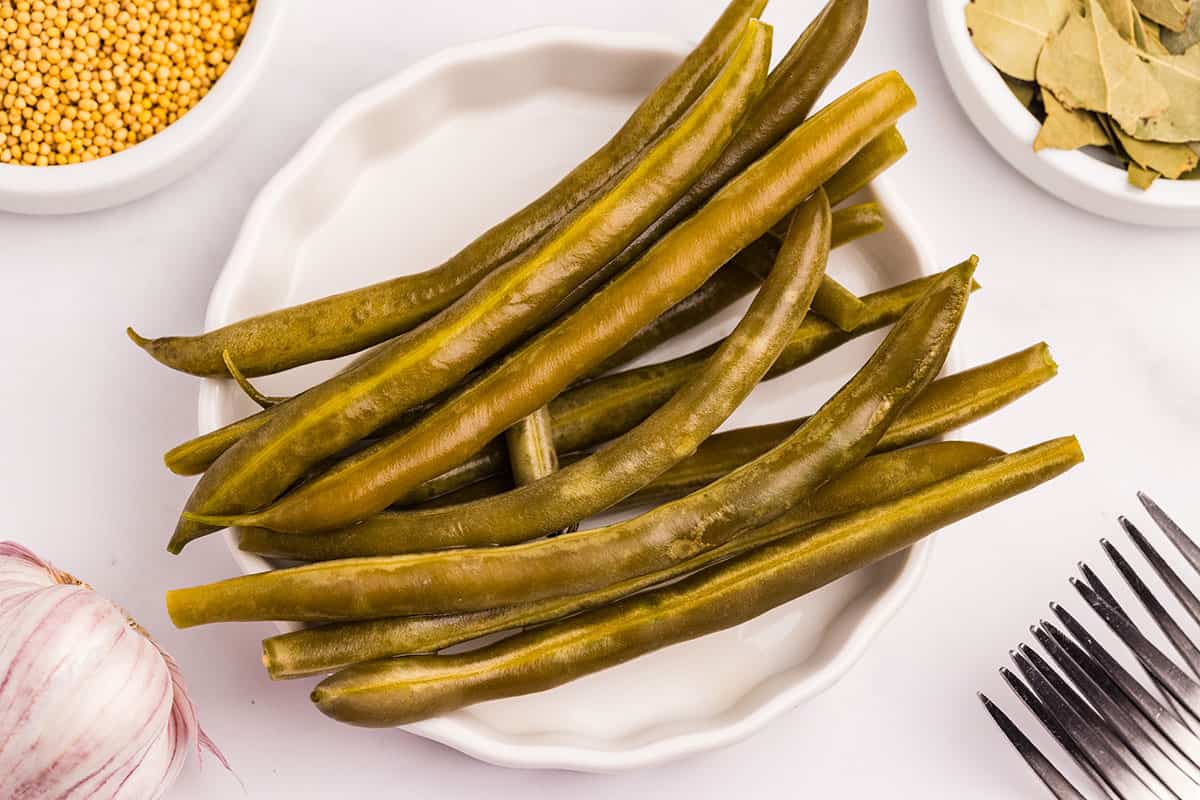
Next, mix a brine of one tablespoon Kosher or pickling salt (not iodized) into two cups water. Not sure which salt is which? Here’s everything you need to know about which salts to use for preservation.
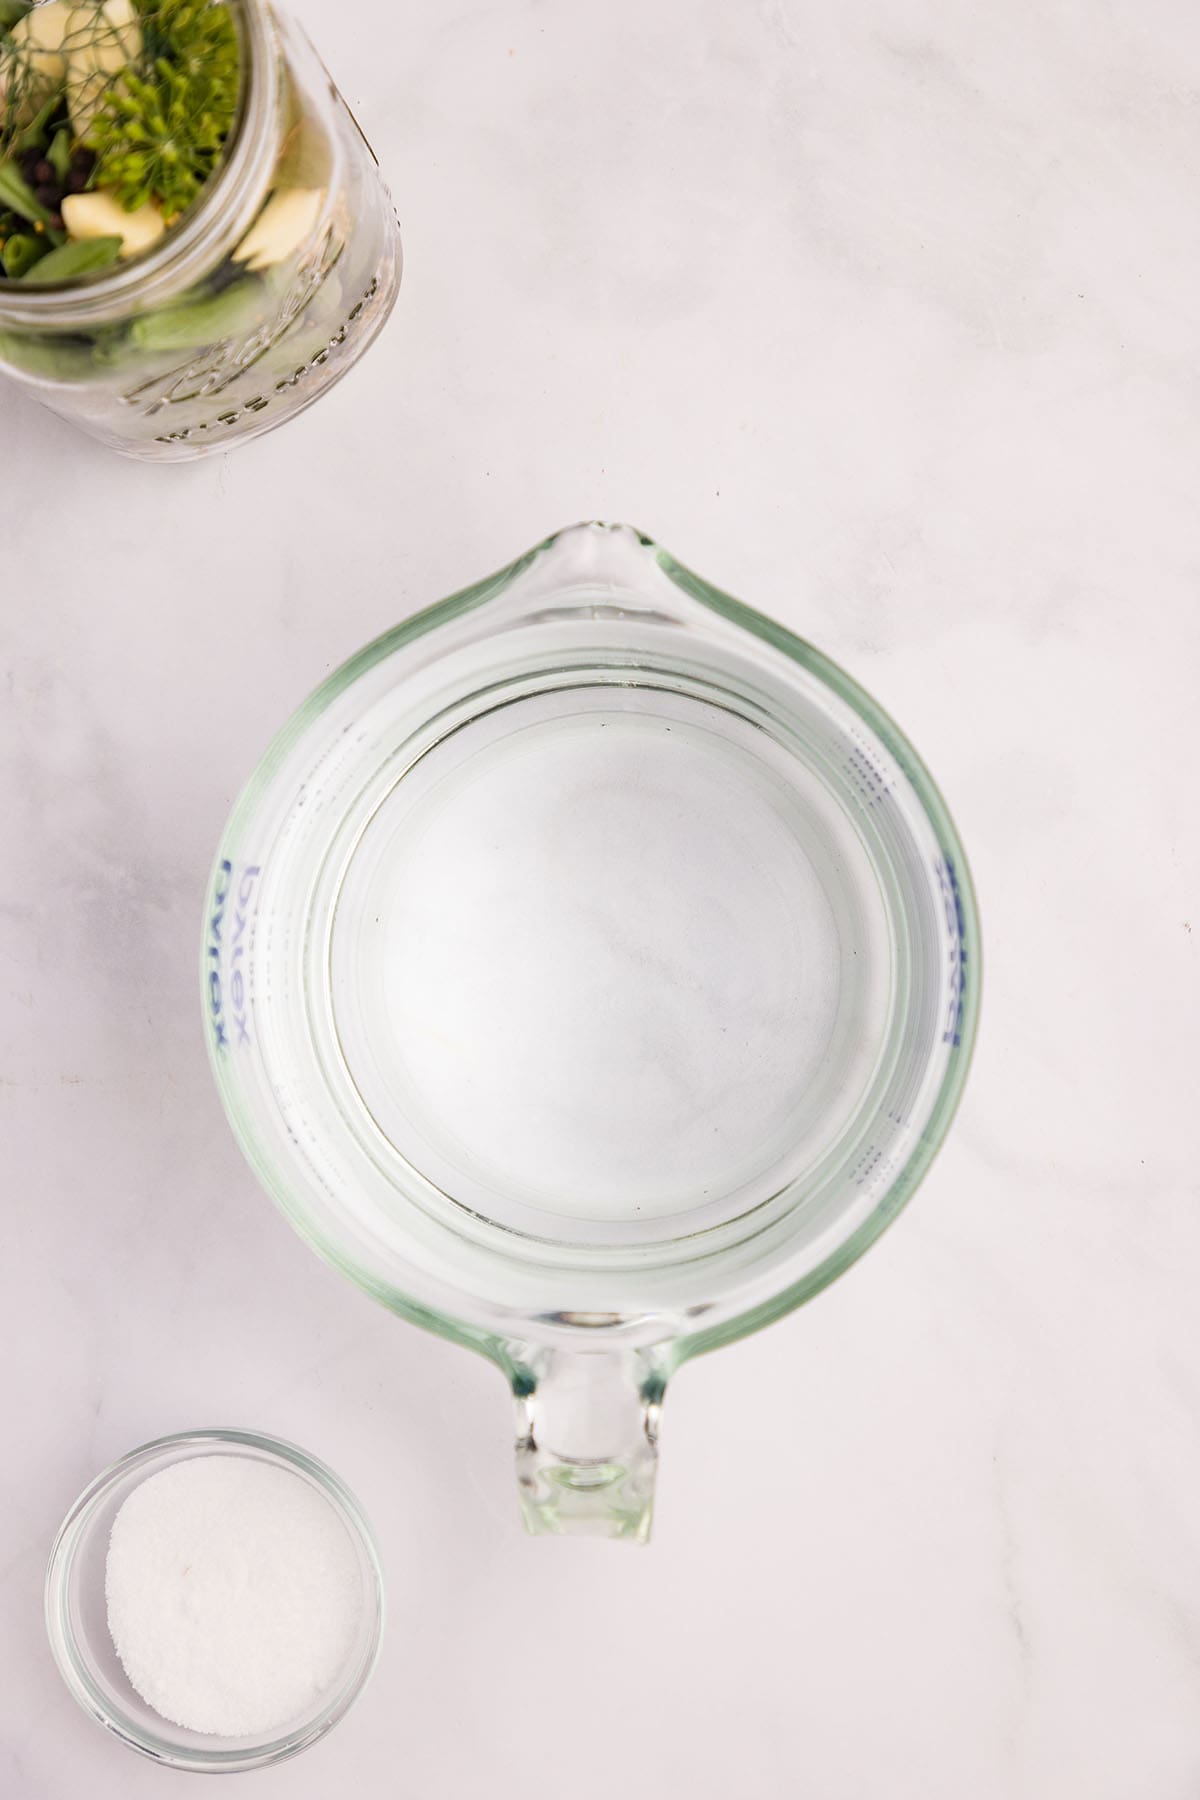
Pour the brine over the beans in the jar.

Make sure the brine covers all of the veggies, and weigh them down with a weight. You can use a bag full of water as a weight or get something like these fermenting weights.

Cover the jar with a clean cloth secured with a rubber band and put in a dark place in your kitchen.
Take a quick look at it every day or two to make sure the ferment is ok. I’m sure it will be, but it’s always good to keep an eye on it! After a week taste the beans and see if they’re to your liking.

If they’re still too crunchy, let them ferment longer, up to another week. If it’s really cold in your kitchen, it may take even longer than that.

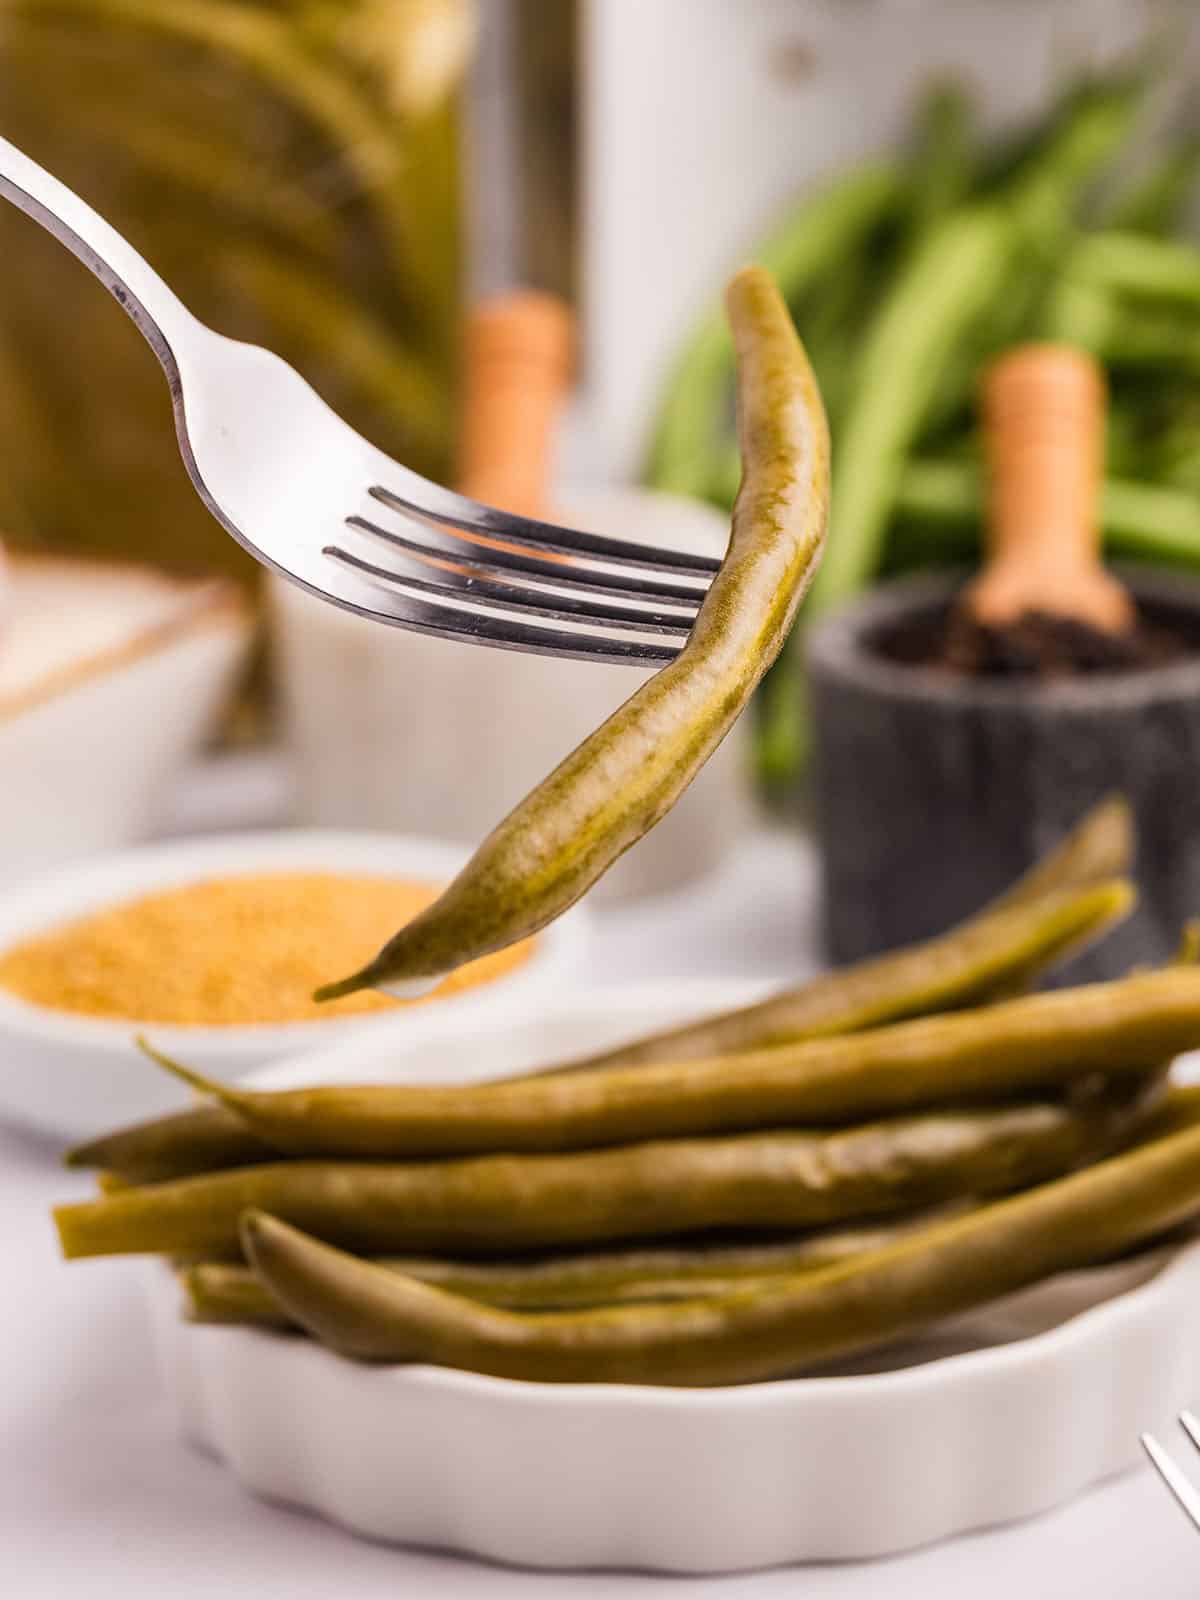
Eat Dilly Beans
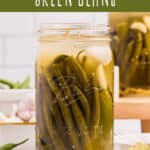
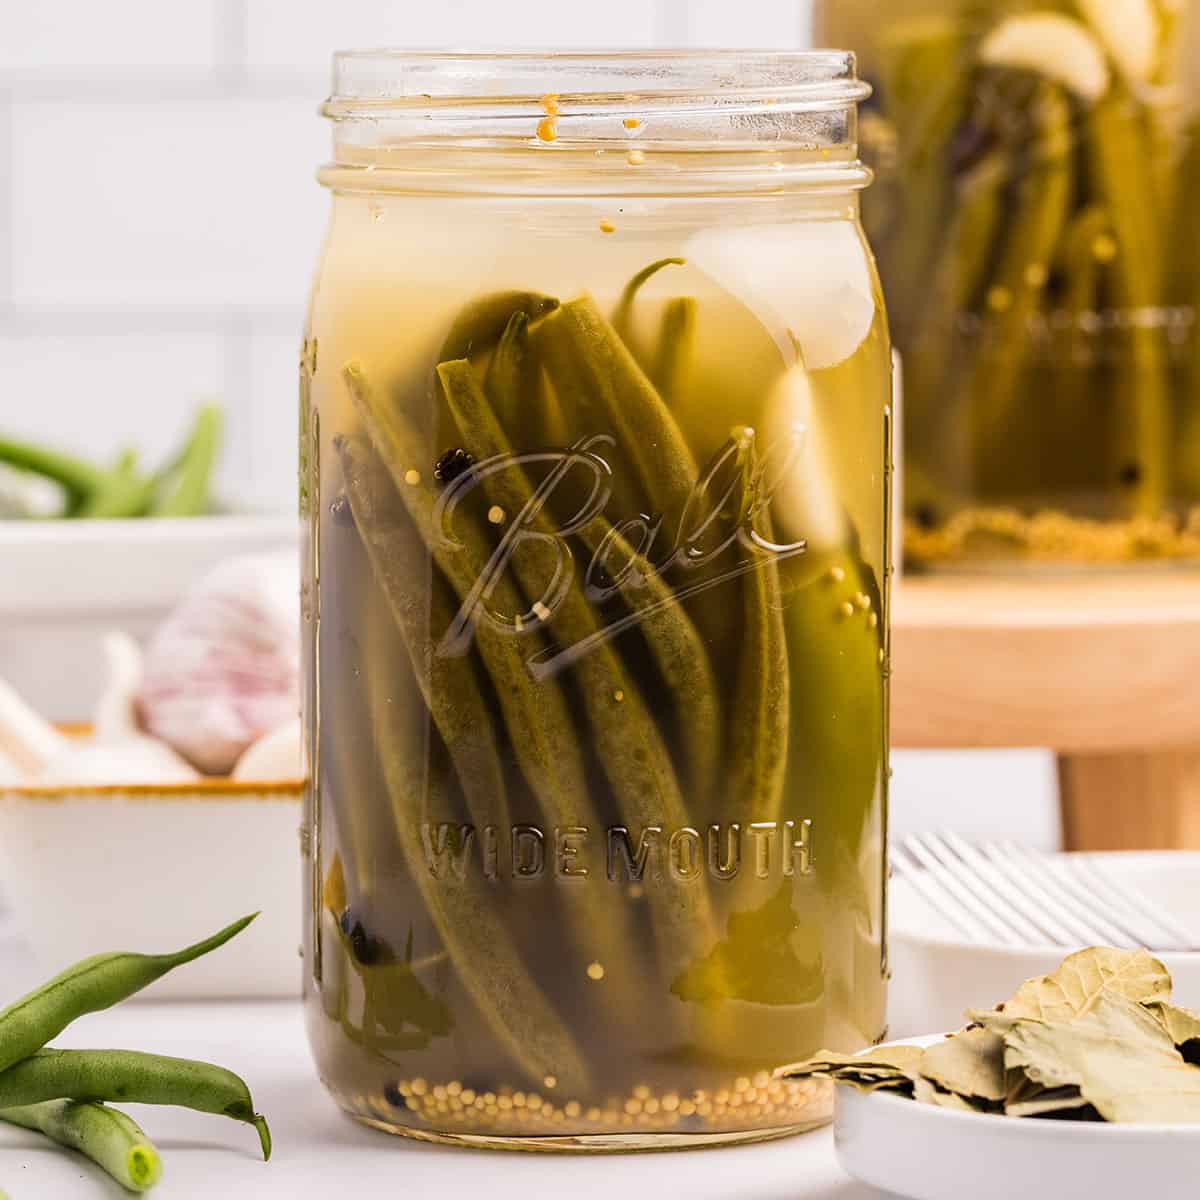
Once they are ready, it’s time to eat these super tasty fermented green beans! They should be delightfully salty and crunchy, the perfect addition to your next appetizer.
Dilly beans got their name because they use dill in the pickling or fermenting process and are so similar to dill pickles. Trust me, though; this fermented version is the best!

Fermented dilly beans are the perfect (and easy) way to preserve your harvest! Not only are they tasty, but they are also full of gut-healthy probiotics.
Keep them in the fridge or a cool cellar for months, and reach for them whenever you need a little crunchy tang. We all need this energy on our plate from time to time!
More Fermented Vegetables
Dig a little deeper and find recipes for even more of our favorite fermented vegetables!
- Fermented Cherry Tomatoes
- Sauerkraut
- Fermented Green Tomatoes
- Fermented Asparagus with Garlic
- Fermented Cucumber Pickles
- Fermented Garlic

Fermented Dilly Beans
Ingredients
- 1 quart fresh green beans
- 4-5 cloves garlic
- 2 whole flower heads of dill or 2 sprigs fresh dill and 1 Tablespoon dill seeds
- 1-2 bay leaves
- 1 teaspoon mustard seeds
- 1 teaspoon black peppercorns
- 1 small hot pepper optional
Brine
- 1 Tablespoon kosher, pickling, or sea salt not iodized
- 2 cups water
Instructions
- Pack the green beans, garlic, dill, bay leaves, mustard seeds, peppercorns, and optional hot pepper into a quart-sized mason jar.
- Mix the salt into the water to make the fermenting brine. Stir to dissolve.
- Pour the brine over the beans in the jar. Make sure all the veggies are covered with the brine.
- Weigh the green beans down with a fermentation weight so that they stay under the brine.
- Cover the jar with a clean cloth secured with a rubber band and put in a dark place in your kitchen.
- After a week taste the beans and see if they’re to your liking. Once they have finished fermenting cap the jar with a lid and store them in the refrigerator.
Notes
- Putting the beans in lengthwise in the jar makes it look beautiful, and it also allows you to stuff in as many beans as possible.
- If, after a week, the dilly beans are still too crunchy, let them ferment longer, up to another week. If it’s really cold in your kitchen, it may take even longer than that.

These also molded on me. While it’s definitely possible something wasn’t clean enough, I wonder if having so much air exposure increases the chances of mold. Next time I’ll try sealing my jar and just burping it as gas builds up. I’ve had success with this before.
Actual mold or kahm yeast? Kahm yeast is a layer of white, wrinkled yeast on the top of a ferment. It’s perfectly safe to consume and can be skimmed from the top, and your ferment transferred to a new jar to continue fermentation.
These are delicious! So much better and more “bean flavor” than pickled green beans. Thank you!
is there a way to store outside not in a fridge ?
Hi Leo. Not really. Fermented foods need to be stored in a cold environment so that they stop fermenting, or rather, the lactobacillus (the good bacteria) goes dormant. If you store the fermented dilly beans outside of a cool enough environment, they’ll continue to ferment and become mushy.
Hi , Just read your recipe for fermented beans. To which I will give a try as the beans are getting plentiful in the garden. Here is my question?
You don’t say whether or not to boil the water when your making the BRINE?
Please advise.
I have a 1 quart Mason jar fermentation kit that I just love using.
No, I don’t boil it.
I may not have followed your recipe to a “T” and ended up having some mold on top. I have removed mold and trimmed off any beans that were sticking out of brine, put mason jar lids on and put 6 pints in refrigerator. I am nervous about eating this batch. Have tried a few nibbles and they taste perfect. Should I toss all these beans to be safe?
If the mold you skimmed off was white, it was actually kahm yeast (totally safe and edible), so they’re likely fine.
OMG these are amazing! I had a pound of green beans that I needed to do something with before going away for a week. They fermented on my counter for 8 1/2 days and taste just like sour pickles with a snappier texture. I will definitely make these again. Thank you!!!
Wonderful, Virginia! I’m so glad they turned out well.
Hi. I am wondering if you don’t put the lid on after using the fermenting weight. If I’m reading the instructions right, we just cover with a cloth and rubber band? No mason jar lids? Please clarify! Can’t wait to taste them. I love dilly beans and have never made my own before. Thank you.
Hi Karin. That’s correct, in the recipe I say that you can cover it with a cloth and a rubber band and no mason jar lid. Pressure builds up as your vegetable ferments so using a lid would offer no way for the gases to escape. There are a lot of lid kits you can also use. I really like this one: Easy Fermenter Wide Mouth Lid Kit
This is the only ferment that I seem to have an issue with. It turns out when we make it, meaning it doesn’t go bad, but it always tastes chlorine-like. What could we be doing wrong? We generally always use purified spring water from the store.
Hmmm… Are you sterilizing your fermentation vessel prior to using it? Are you using a fermentation weight on top of your dilly beans to keep them submerged? Before using glass fermentation weights, I used a zip-top bag filled with water and for some reason, I felt like they gave my ferment an off taste.
Q. Can you use frozen beans (or any vegetable) in the fermenting process?
I have whey from making yogurt. How would I use that in this recipe? Thanks!
Hi,
Can you make there’s without the mustard seeds?
In my experience fermenting all kinds of veggies, the spices/herbs are totally adaptable to your personal preference with no affect other than flavor on the ferment. What you can’t change is the salt water brine, that’s the important part, but add and subtract herbs at will! 😊
Please emphasize to the readers that the veggies done with lacto-fermentation will not have a shelf life the same as something which is canned. Suggested shelf life for lacto-fermented foods is 60 days in cool area at the most, with all which I have read…
Have you ever made kraut out of turnips instead of cabbage? A friend said it was very good. I thought I might give it a try.
Made these yesterday with green and purple beans… looks so pretty ????
I love this idea! I havn’t fermented much on my own but sauerkraut and a couple other things, so i’ve been inkling for something new to try! This looks like the perfect candidate. I am really curious to see how the flavor of the beans change once the end product is done. I am so excited to try this at home! Thanks for sharing!
Hi, I made these beans 4 days ago and just taste tested today and they are horrendously salty. Basically inedible. Will the salt dissipate as they continue to ferment? This is my first time making Fermented food and I have never tried dilly beans before so I really don’t have anything to compare too…
Hi Toby, it’s normal for them to be a bit salty to taste, but the salt is very important to the fermenting process. Give it more time, and once they are finished fermenting, refrigerate and taste them again. If they are still too salty, you can try removing some of the brine and replacing with fresh water. Hope that helps!
Hi ! Newby here. Do you have a recipe for dilly beans in a vinegar brine ? Last time I tried it, the brine wasn’t right. I lost my recipe. Thanks so much !