


Fermenting is one of the best ways to naturally preserve foods, and is a great way to use up a bumper crop of veggies from your garden. If you’ve never had fermented jalapeño hot sauce before, you’re in for a treat! It is a little spicy without being overwhelmingly so, a little tangy, and with a depth of flavor that is incomparable!
Want to save this post for later?
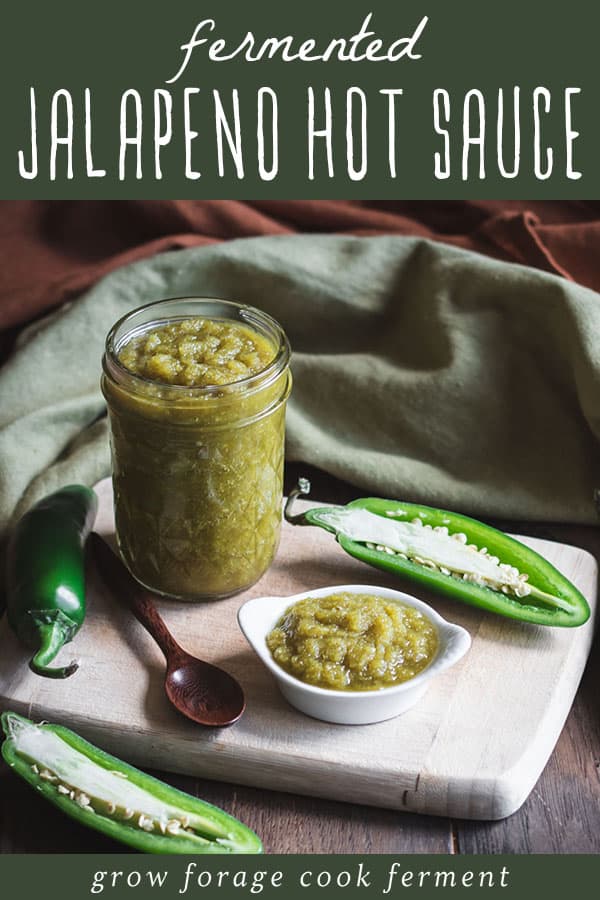
How to Make Fermented Jalapeño Hot Sauce
This fermented hot sauce is simple to put together!
The first step is to process the jalapeños. You may want to wear gloves while doing this, especially if your skin is sensitive to spicy foods.
Related: Pickled Jalapeño Peppers
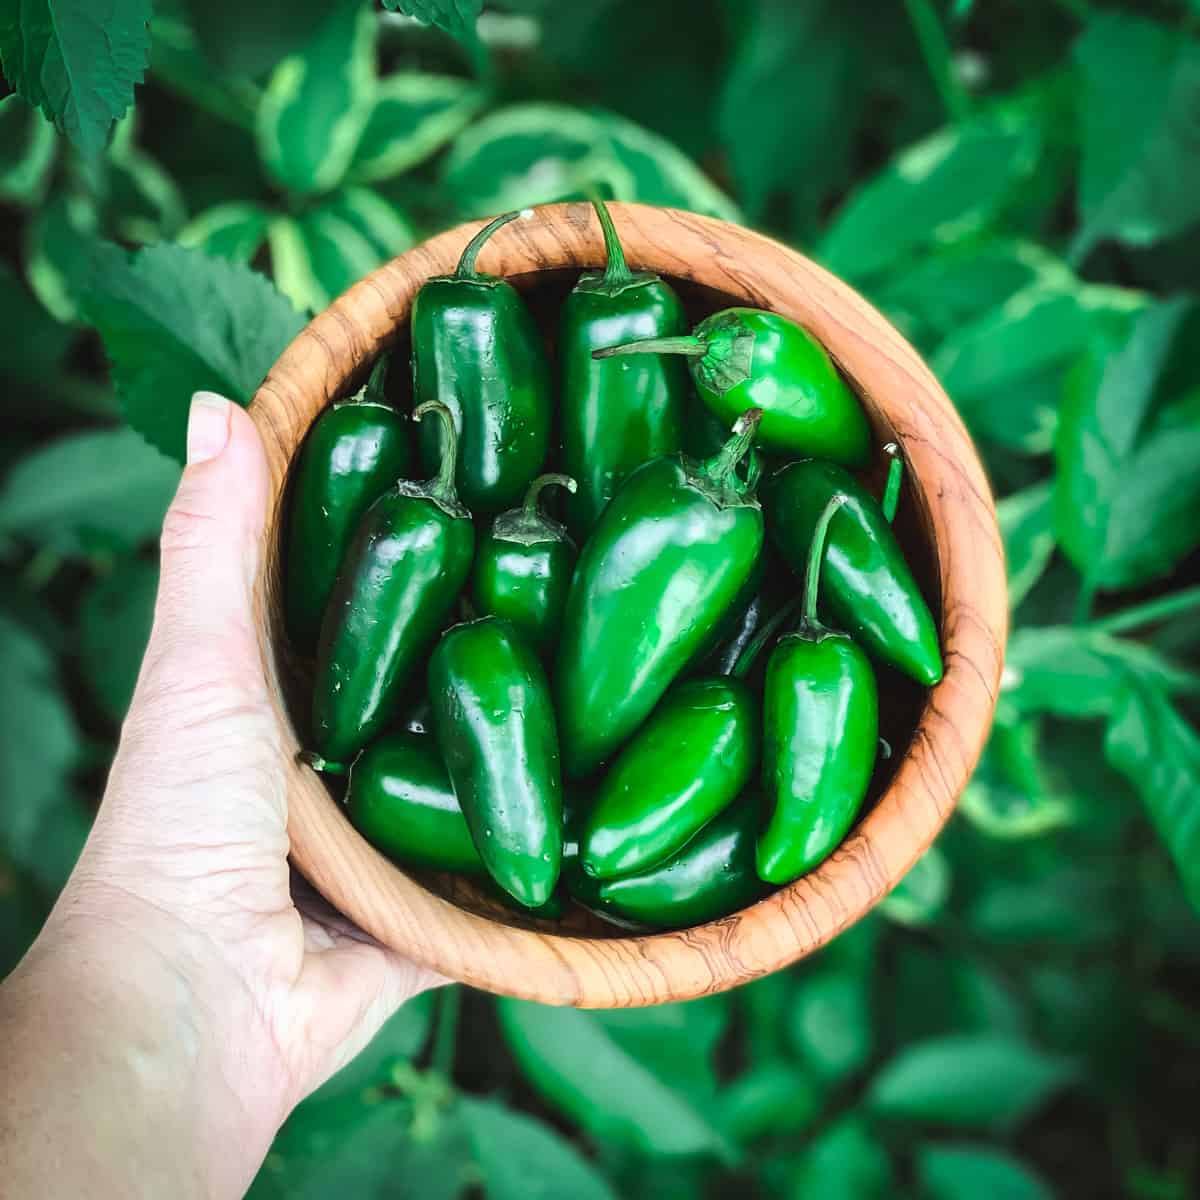
Cut the stem off of the jalapeños, then cut in half lengthwise. Remove the white ribs and seeds if you want a milder hot sauce, or leave them in if you like it spicier. Then roughly chop them.
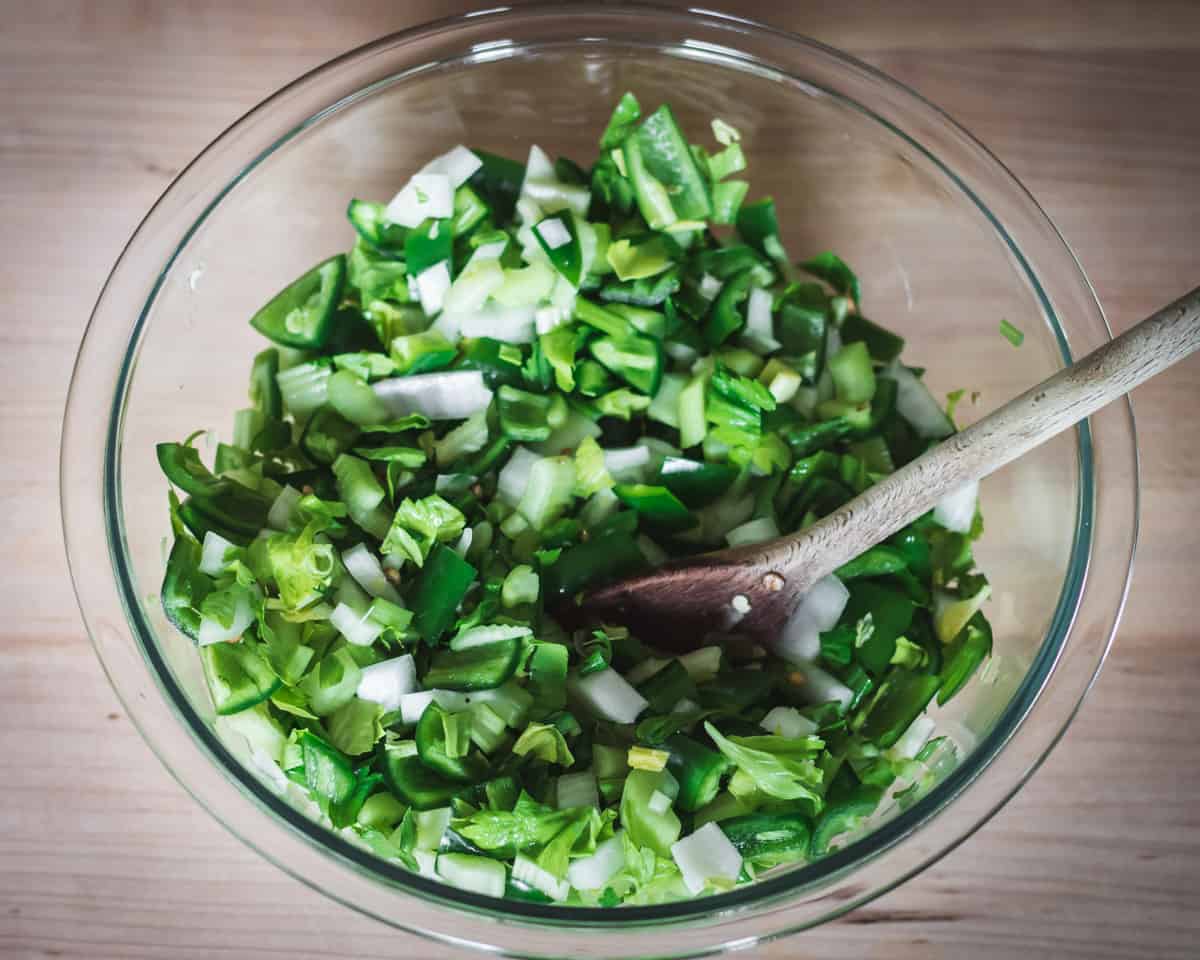
Chop a celery heart (the inner stalks of a celery bunch) along with the leaves, which provide a lot of flavor.
Add the chopped jalapeños, celery hearts, onions, garlic, and coriander seeds to a large bowl, and mix it all together.
Get more recipes for canning, fermenting, quick pickling, dehydrating, and freezing so that you can enjoy your summer produce year-round in my ebook Preserving the Garden Harvest!
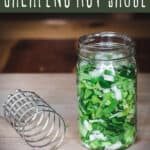
Then put all of the chopped veggies into a Ball® Wide Mouth Quart Jar, packing it in as much as possible. Leave at least 2 inches (5 cm) of headspace at the top of the jar.
Make a brine by dissolving 1 1/2 tablespoons (22 ml) Ball® Salt for Pickling and Preserving in 2 cups of water.
Pour that over the vegetables in the jar to cover them by 1 inch (2.5 cm). You may have some extra brine left over.
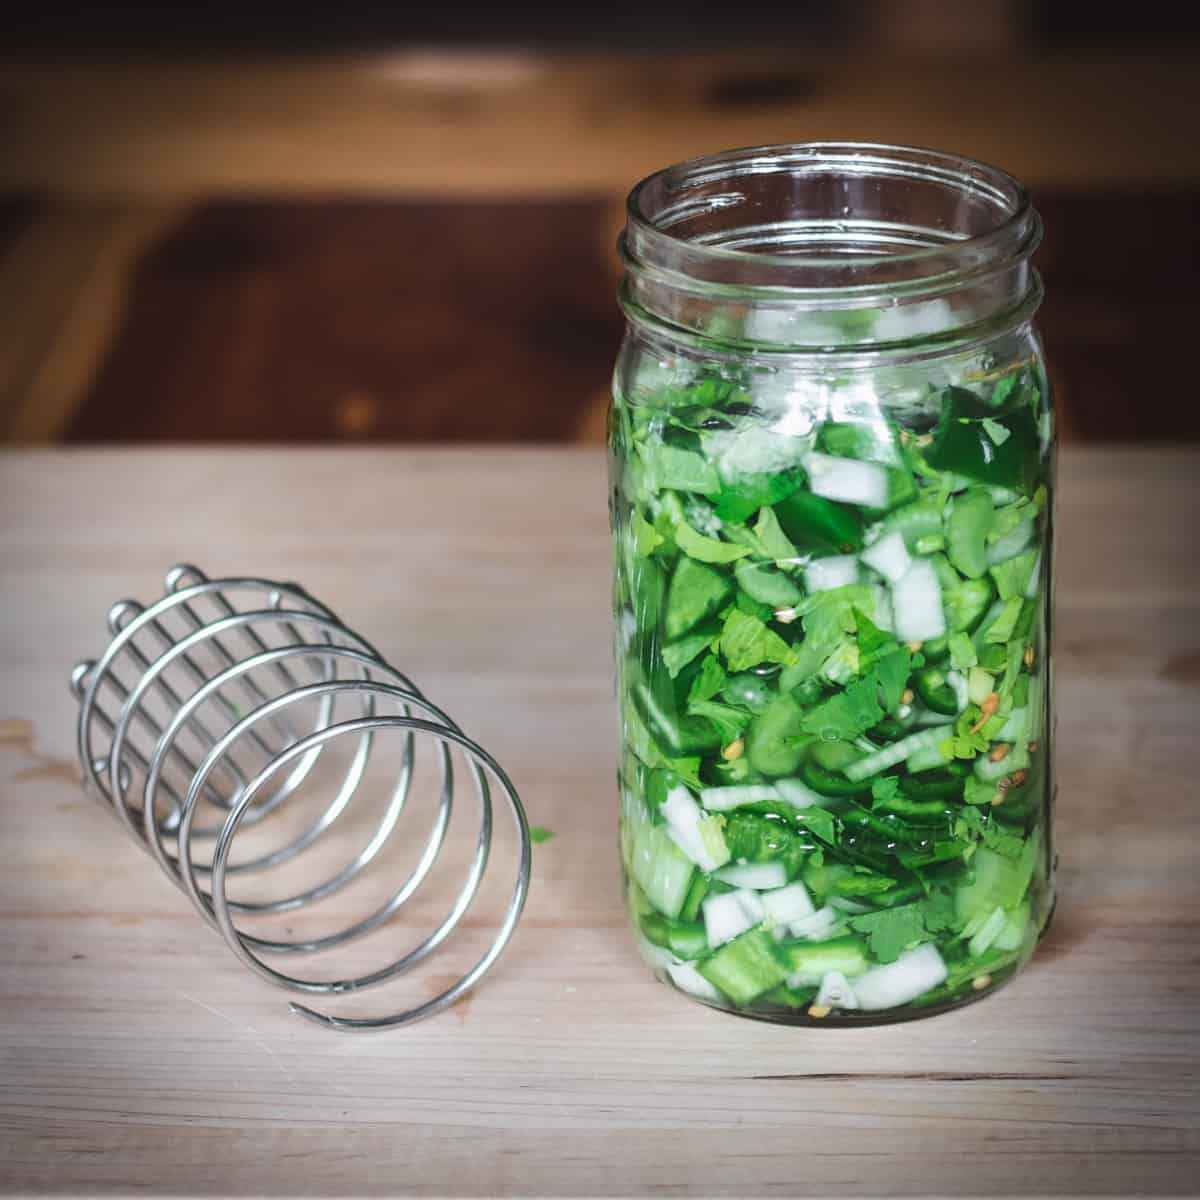
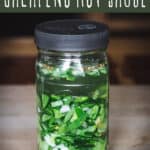
Place the fermentation spring on top of the vegetables, flat side down, to keep them submerged under the brine, then twist the lid on.
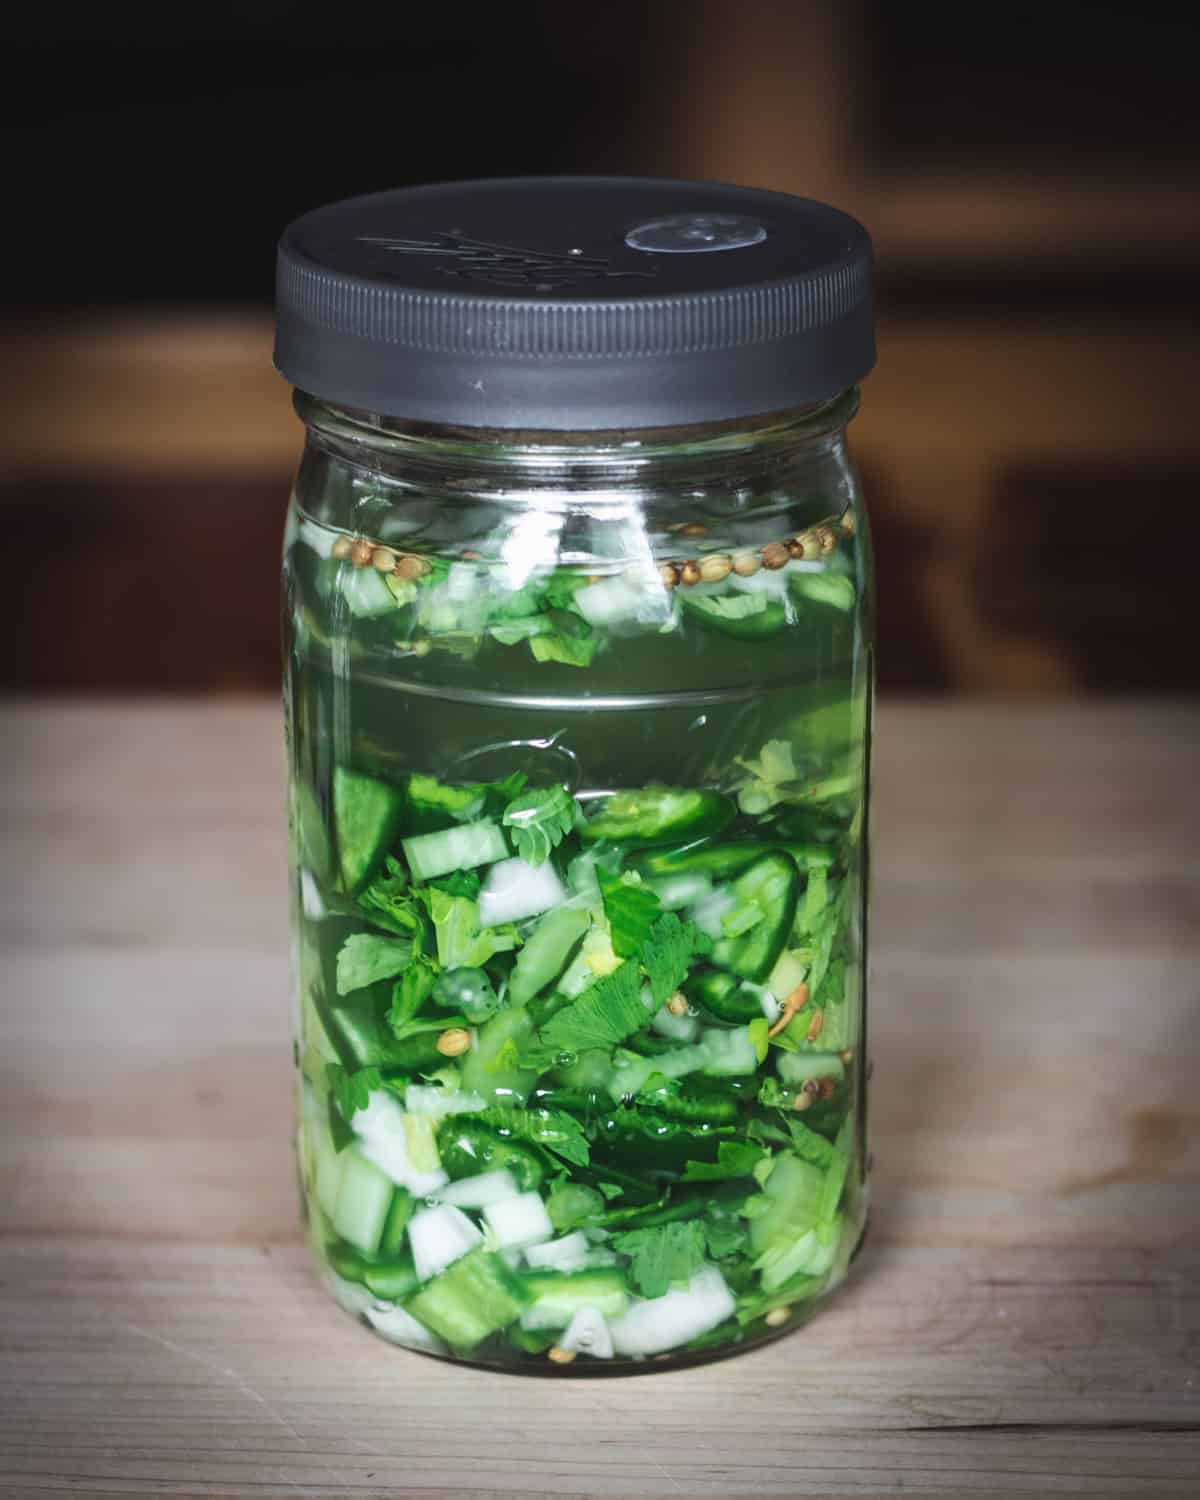
Wipe the jar down and cover it with a cloth. Store in a cool place away from direct sunlight.
Check daily to make sure that the vegetables stay under the brine. After 24 hours there should be visible bubbles on top of the brine.
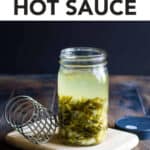
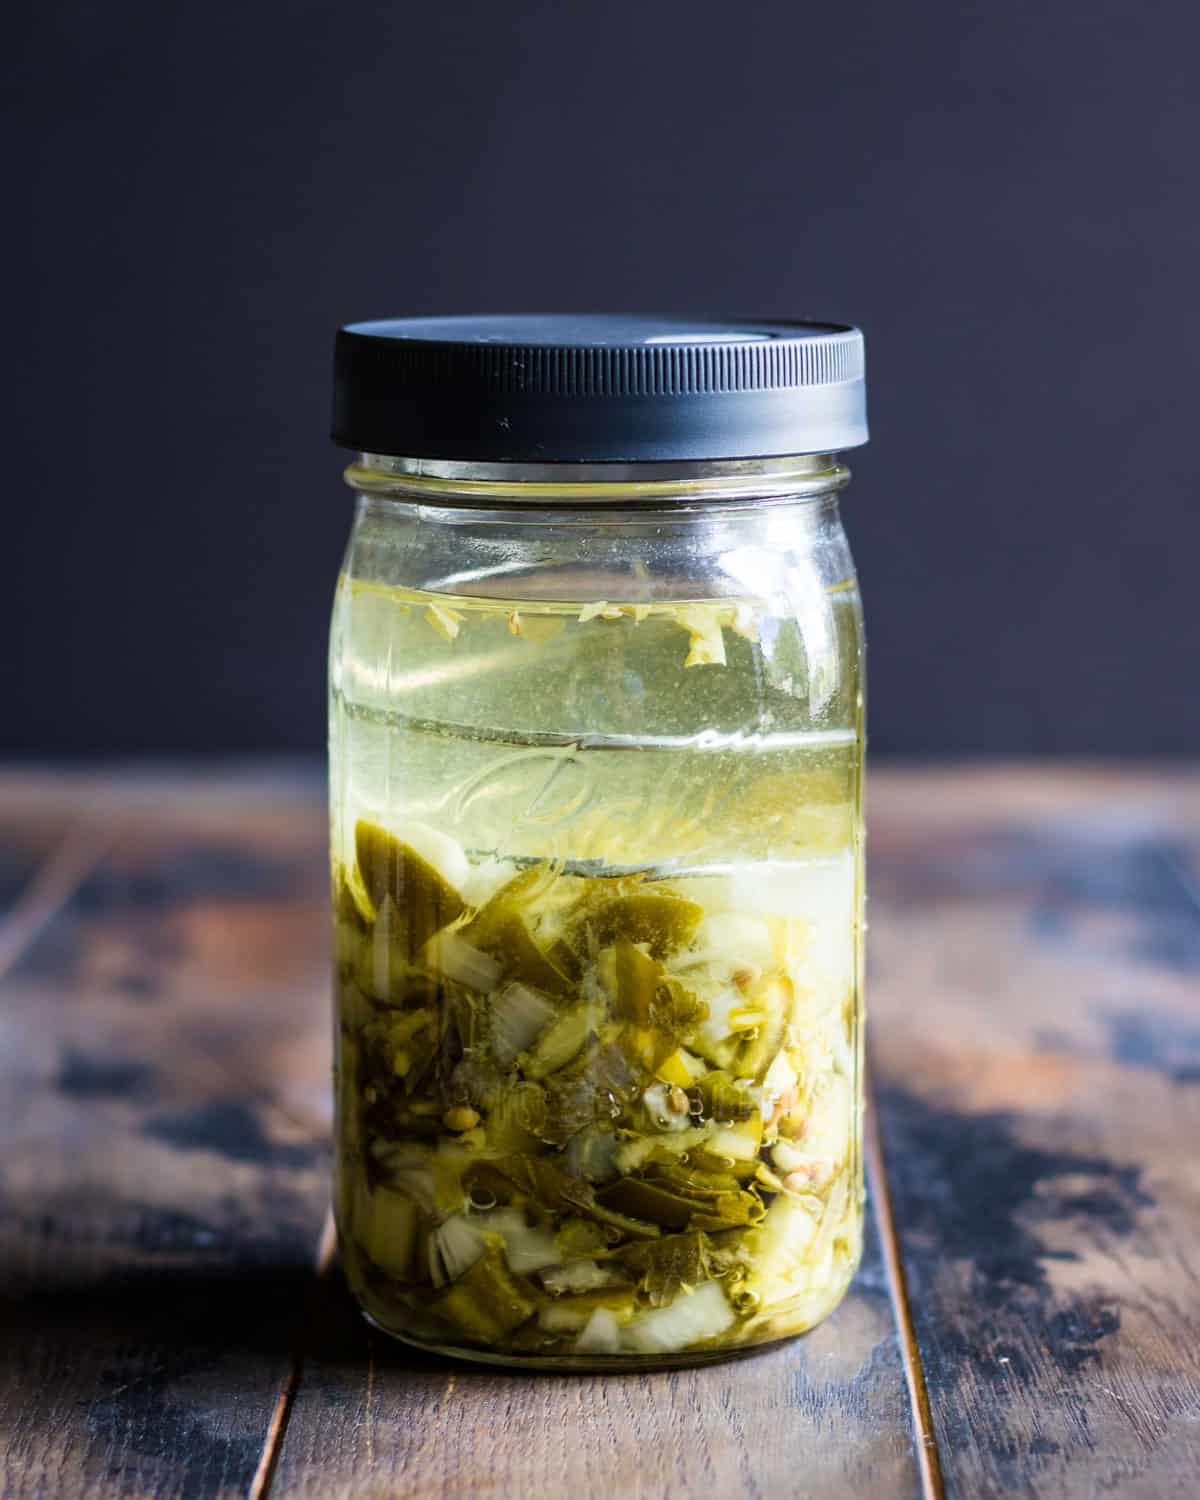
Fermentation is complete in 2 weeks. For a stronger flavor, you can leave it to ferment for up to 3 weeks total.
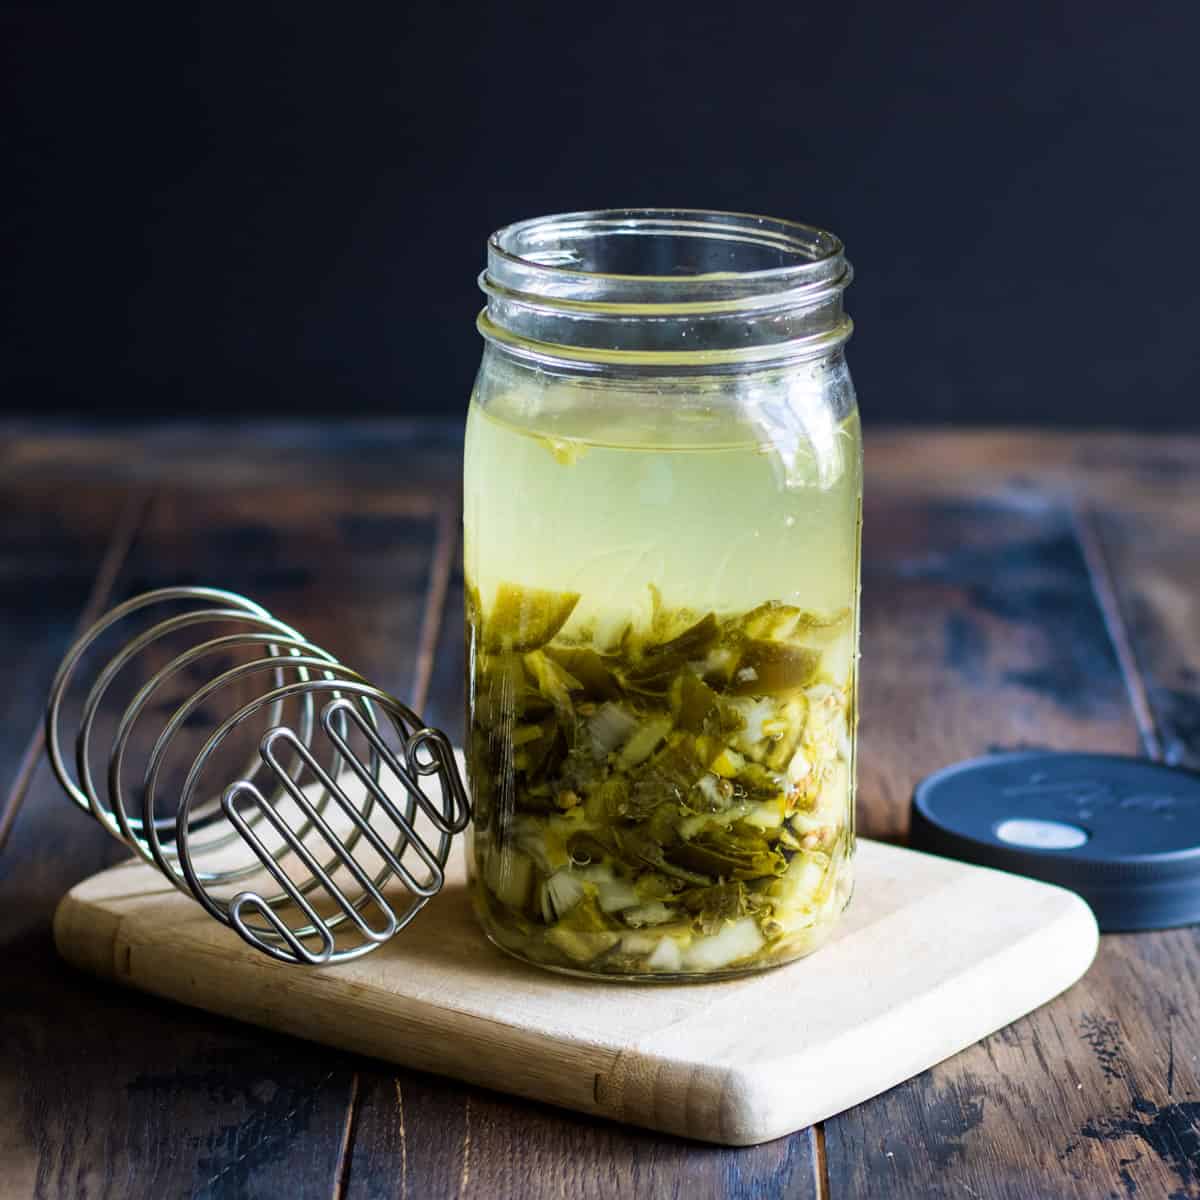
Once the hot sauce has fermented to your liking, remove the spring from the jar.
Have I mentioned how much I love this fermentation spring? It’s so easy to use!
Now it’s time to blend everything together into a hot sauce!
Strain the vegetables from the brine, saving the brine in a bowl. Add all of the vegetables and 1/2 cup of brine to a blender or food processor. Process until smooth, adding more brine as necessary to thin if desired.
If you’d prefer an even smoother sauce, you can strain it again through a fine mesh strainer after blending. I did not do this step as I like it to be slightly chunky.

Store the fermented jalapeño hot sauce in a Ball® Wide Mouth Quart Jar, or in several smaller Ball® Jars. Top with Ball® Leak-Proof Storage Lids, which are perfect for storing the jars!
This hot sauce can be stored in the refrigerator for up to 6 months.
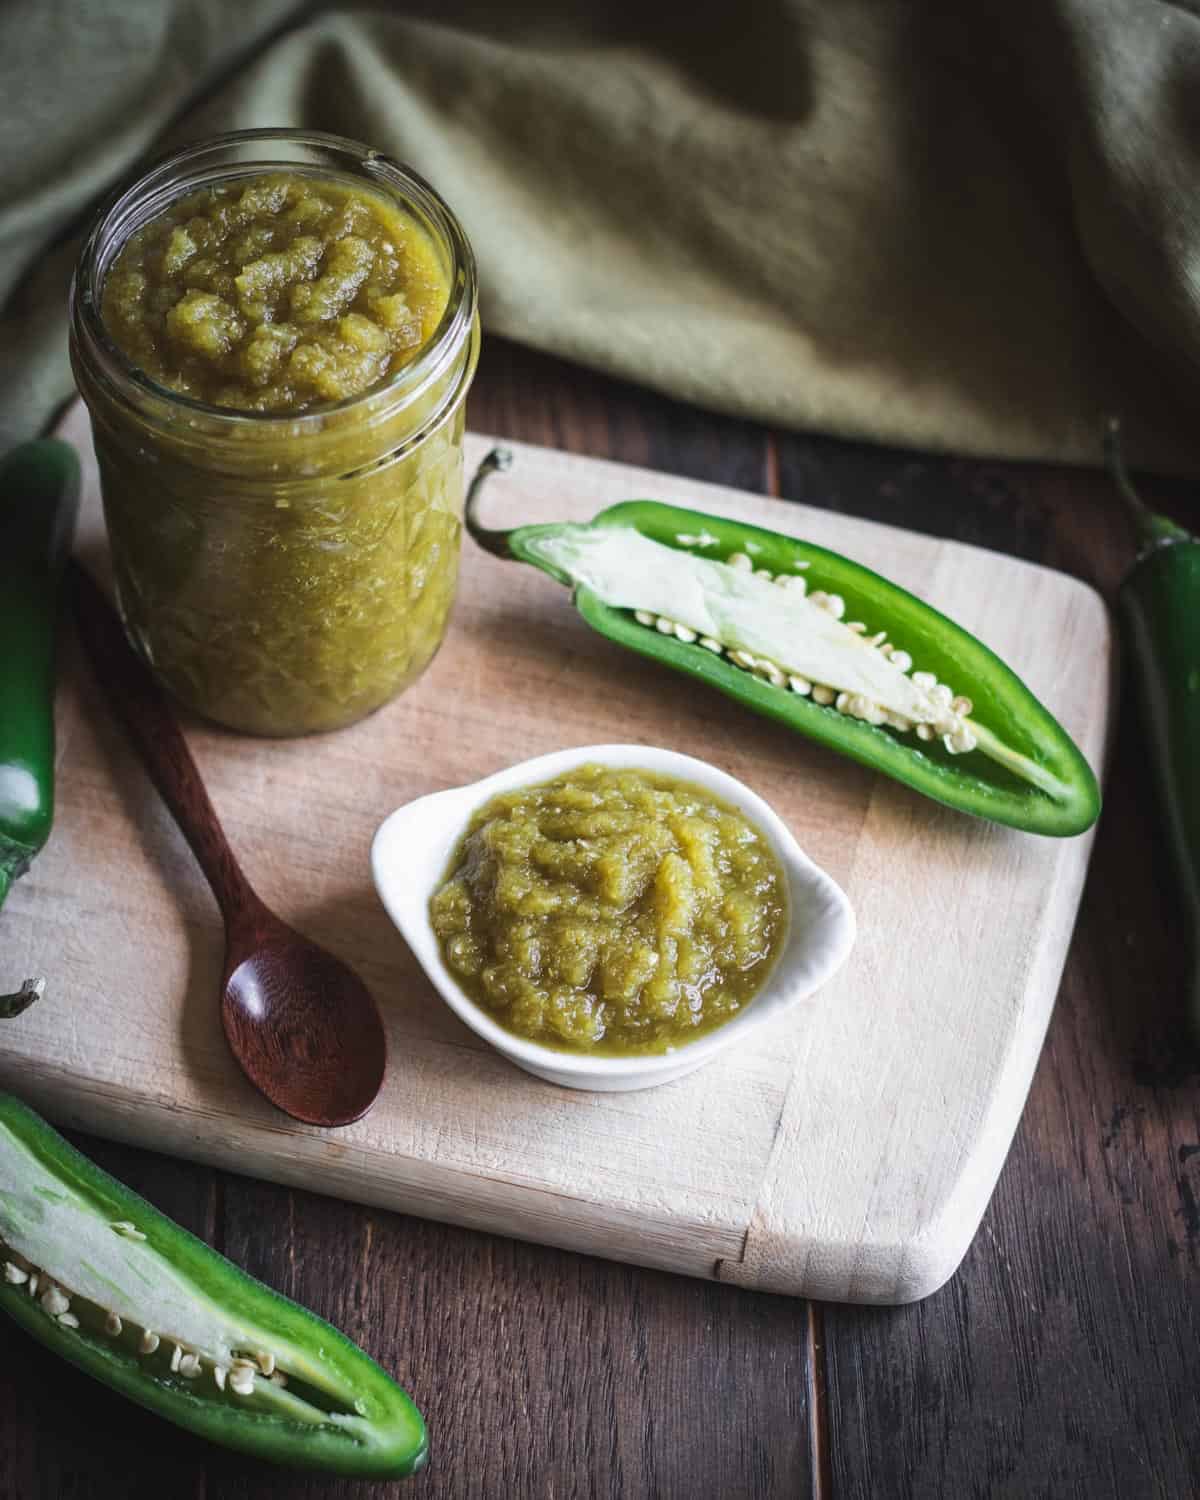
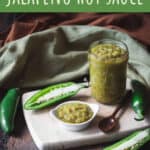
The flavor of the fermented jalapeño hot sauce is incredible! If you’ve never tried fermented hot sauce before, I recommend you give it a try this summer.
You will be amazed by how good it is! It has become a new family favorite and one that I will be making year after year.
More Spicy Fermented Recipes
Here are more spicy and delicious fermented recipes!
- Fermented Red Pepper Hot Sauce (like sriracha)
- Fermented Pepperoncini Hot Sauce
- Fermented Chili Paste
- Fermented Kimchi
If you want to learn more about fermentation, check out my favorite books on fermenting and homebrewing!
Fermented Jalapeño Hot Sauce
Ingredients
- 3/4 pound green jalapeños roughly chopped, seeded if desired
- 1/2 pound celery heart and leaves roughly chopped
- 1 medium onion small diced
- 2 cloves garlic minced
- 1 tsp coriander seeds
- 2 cups non-chlorinated water
- 1 1/2 Tbsp Ball® Salt for Pickling and Preserving
Instructions
- Add the chopped jalapeños, celery hearts, onions, garlic, and coriander seeds to a large bowl, and mix it all together.
- Pack the vegetables into a clean Ball® Wide Mouth Quart Jar, leaving 2 inches (5 cm) of headspace.
- Then put all of the chopped veggies into a Ball® Wide Mouth Quart Jar, packing it in as much as possible. Leave at least 2 inches (5 cm) of headspace at the top of the jar.
- Make the brine by dissolving the salt into the water. Pour that over the vegetables in the jar to cover them by 1 inch (2.5 cm). You may have some extra brine left over.
- Place the fermentation spring on top of the vegetables, flat side down, to keep them submerged under the brine, then twist the lid on.
- Wipe the jar down and cover it with a cloth. Store in a cool place away from direct sunlight.
- Fermentation is complete in 2 weeks. For a stronger flavor, you can leave it to ferment for up to 3 weeks total.
- Once the hot sauce has fermented to your liking, remove the spring from the jar. Strain the vegetables from the brine, saving the brine in a bowl.
- Add all of the vegetables and 1/2 cup of brine to a blender or food processor. Process until smooth, adding more brine as necessary to thin if desired.
- Store in the refrigerator for up to 6 months.
Notes
- If you’d prefer an even smoother sauce, you can strain it again through a fine mesh strainer after blending.
- Store the fermented jalapeño hot sauce in a Ball® Wide Mouth Quart Jar, or in several smaller Ball® Jars. Top with Ball® Leak-Proof Storage Lids, which are perfect for storing the jars!

This looks great! I clicked on the Ball fermentation link, but it doesn’t work-just FYI.
GREAT recipe! I made it just as written first, then made an ‘end of season’ batch with a random assortment of peppers. Both batches turned out with amazing flavor and received rave reviews from the hot sauce lovers in my life.
I’m so glad you loved this recipe!
Can you freeze this so it can last longer?
Hi Lisa. You could, but you may lose some of the healthy bacteria that you cultivated during fermentation.
The batch that I made didnt seem to have any bubbles. Does that mean it did not do it right? It smells amazing so i know it isnt bad but did it ferment? with no bubbles. thanks
Hi Erin. It’s really hard to say, sometimes you won’t see bubbles at all, other times you will. There are several variables such as how much natural yeast existed on your vegetables prior to fermentation (store-bought conventional ingredients may have very little) and temperature of where you’re fermentation is taking place. It could be that they have not fermented long enough for your room temperature.
Once the fermentation is complete and you it blend it…can you add tomato sauce to make it more like traditional hot sauce?
Sure, that should be fine.
I couldn’t fit everything in to my jar, I weighed everything out and packed it as tightly as possible but still had about 3/4 cup of the mix that wouldn’t fit. Has this happened to you?
Hi Ashleigh. Yes, that sometimes can happen.
I have some weights to keep the peppers down, but a couple onion pieces and a couple pepper pieces floated to the top. Very similar to your picture. Do I need to scrape those off during the fermentation process.
Only if they look like they’re moldy. I usually just resubmerge them periodically as they ferment and have had no issues.
Could you do this with frozen peppers?
Yup!
Yes but make sure you use some fresh ingredients (garlic, onion, ect.) Or even a couple fresh peppers with the frozen ones because not all the beneficial bacteria survives being frozen thats what i was told
the metal of the spring doesn’t affect the fermentation? I thought we were not even supposed to use a metal spoon? Please advise.
The spring is stainless steel, which is so totally fine to use.
My fermented jalapeños were prepped with the seeds and pulp, and as a result are way too hot for my liking! I was wondering if you had any suggestions of what I could add to my pureed jalapeños to “tame” the taste a bit?
The only way to tame them that I can think of is to double the batch with seeded jalapenos and maybe that will balance out the heat.
try adding a little honey, that will help tame the heat.
An easy and delicious solution to using up end of season jalapenos! My first foray into fermentation and it was a great success. The hot sauce is complex, clean tasting and HOT! Love it.
Yay! I’m so glad you loved it, Amy!
The flavor in this recipe is insane! I made this with jalapeños from my garden. One thing I will change with my second batch of hot sauce is the amount of brine I add. I though 1/2 c was perfect for flavor but I wanted a more liquid sauce so I added more. The sauce ended up being too salty so I used it as a marinade. Next time I’m going to try adding some vinegar in addition to the brine. Thank you
Yes, isn’t the flavor awesome?! I’m glad you enjoyed it!
Keepin mind there will be lots of juice coming out of the peppers while fermenting…Vinegar can kill fermentation. Best to add vinegar after fermemtation
How do you actually keep at the vegetables under the brine, given that they’re chopped much smaller than, say, a pickle? You can see in your own image above, where it says “Place the fermentation spring on top of the vegetables, flat side down, to keep them submerged under the brine, then twist the lid on,” that there are chopped peppers and onion floating at the surface. Did they eventually just sink? How do you get them under the surface, as in the photos that follow? Thanks!
Every once and a while, I’ll give it a stir and readjust the spring to make sure everything is resubmerged. A few floaters are fine as long as you are consistently resumbmerging them throughout the fermentation process.
I didn’t have a fermentation spring, but I found an alternative method. I just put all the finely chopped onions and celery at the bottom of the bottle, followed by my jalapeno rings. Then I took three or four jalapenos, halved them lengthwise and crammed them just below the narrow section at the top of the jar. This worked nicely to keep everything submerged.
I’ve been growing datil peppers like crazy, and I need ideas on how to use them!. Do you think this recipe would be good if I use datil peppers in place of the jalepenos? This looks amazing!
I’ve never had a datil pepper, but from what I’ve read, they’re very hot! If you can handle the heat (and I assume you can if you’re growing them!) then I’m sure they’d be awesome in this recipe! 😀