Hello all of you lovely fermenters! Have you made mead yet? If you haven’t, you should start with my How to Make a Gallon of Mead post. Once you do that you will probably want more… a lot more if you’re like most people! So your next step is my How to Make 5 Gallons of Mead, and soon you will have a 5 gallon bucket of some lovely honey wine bubbling away in a dark corner of your house. Once it sits for about 6 weeks, you will need to transfer it to bottles to age for as little or as long as you’d like. Here I will show you how to bottle 5 gallons of mead, as the process is a little different from bottling a gallon of cider or mead.
Want to save this post for later?
Want to learn more about making mead? I have a Simple Mead Making for Beginners eBook just for you! It has ingredient and equipment checklists and detailed instructions for brewing and bottling your mead, so be sure to check that out if you’re new to the mead making process.
Note that you can use these instructions for any type of wine that is fermented in a 5 gallon bucket, it’s not specific to only mead. Dandelion mead, Elderberry mead, or even regular old grape wine can all be bottled in the same way.
Supplies to Bottle Mead
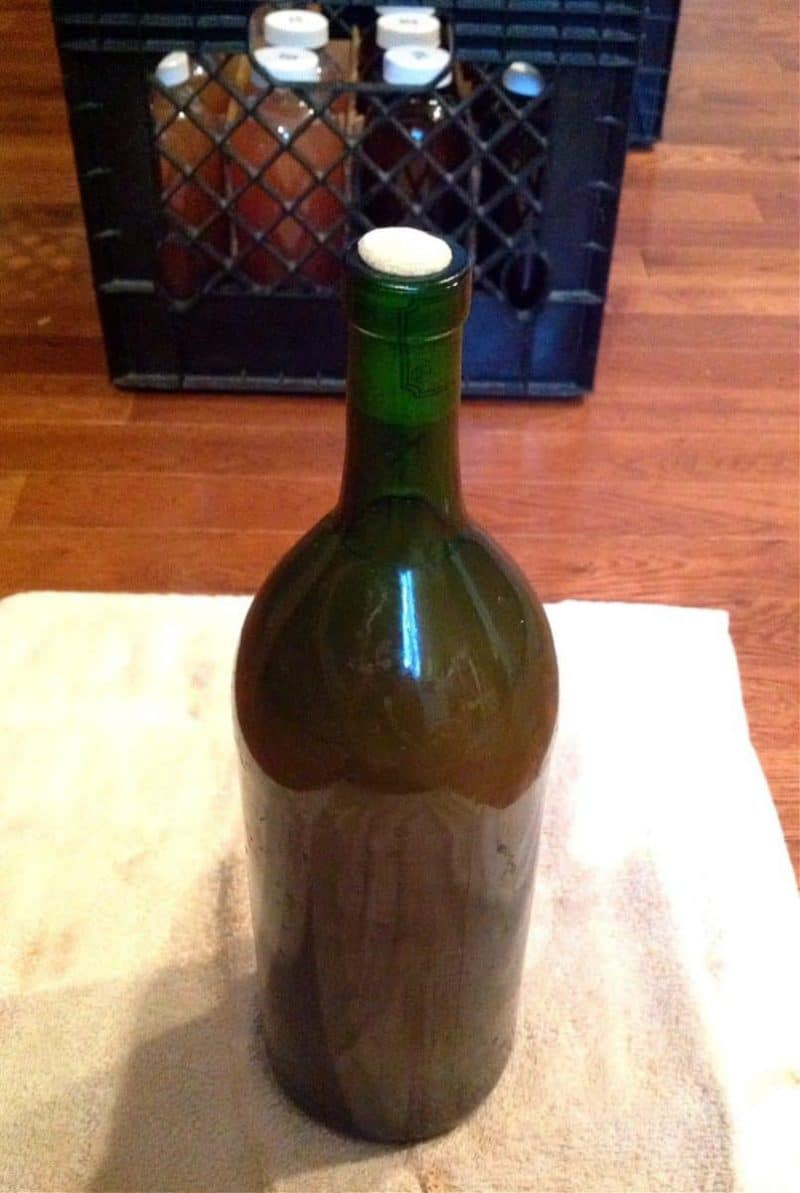
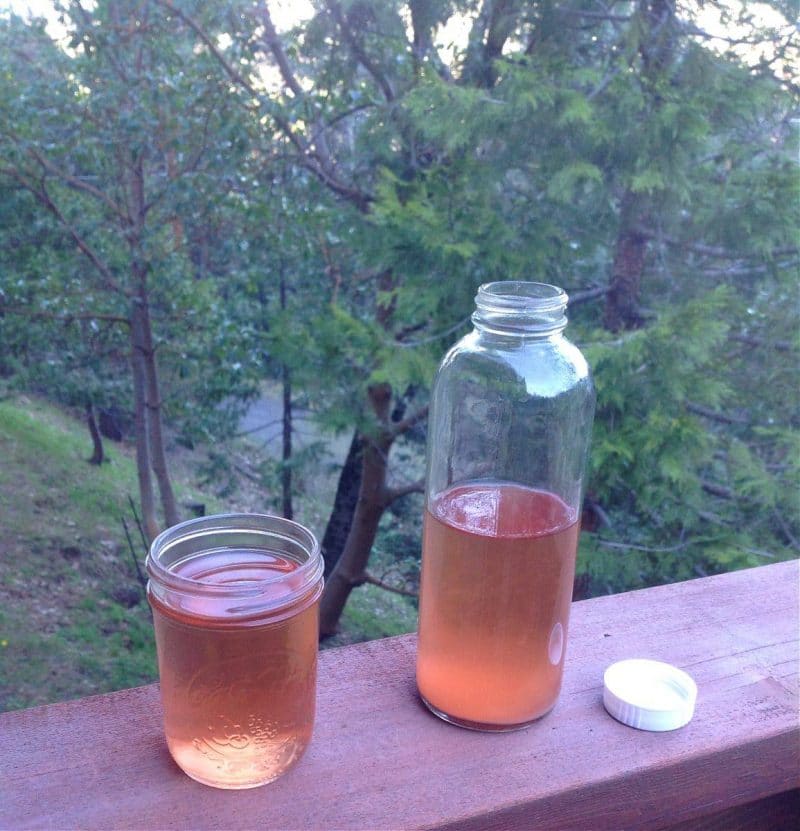
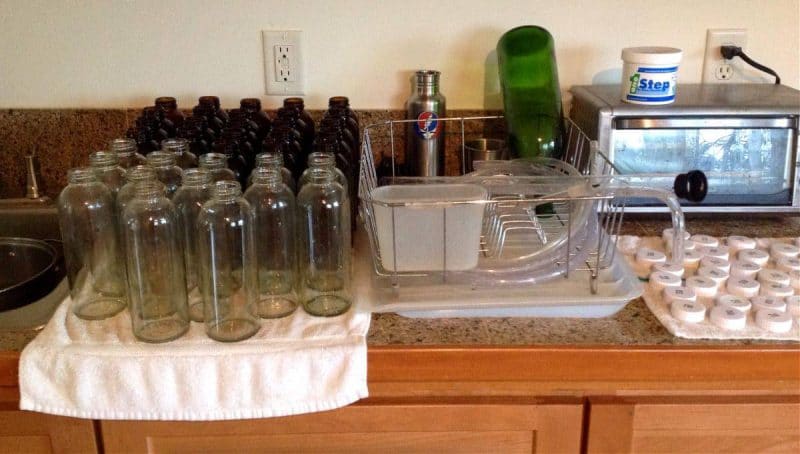
First you’ll need to gather the bottles that you want to use, enough for 5 gallons of liquid. I have a lot of kombucha bottles so that is what I tend to use, especially because it’s easy with the screw top lids. If you are wanting to age your mead for any length of time you should use regular wine bottles (save your bottles!).
If you do that, you will also need new wine corks (you can’t reuse old ones, unfortunately) and a wine corker of some sort. I will show you how to use the inexpensive handheld Mini Corker, which is great for doing a few bottles here and there, but if you plan on corking lots of bottles at one time you might be better off with a Lever Corker of some sort.
You will also need a bottling bucket, auto siphon, tubing and a bottling tool (wand). I suggest that you buy a homebrew kit like this one before you start your brew, because it has everything that you’ll need for a good price.
First and foremost in the bottling process, however, it is very important that you sanitize everything before you start. All of your bottles, lids and bottling equipment need to be sanitized. Basically anything and everything that will touch the brew. I like One Step because it’s super easy to use, but there are many different brands that work well.
Alright, now that we have all the boring stuff out of the way, it’s time to open up the lid on your mead. I love this part!
How to Bottle Mead
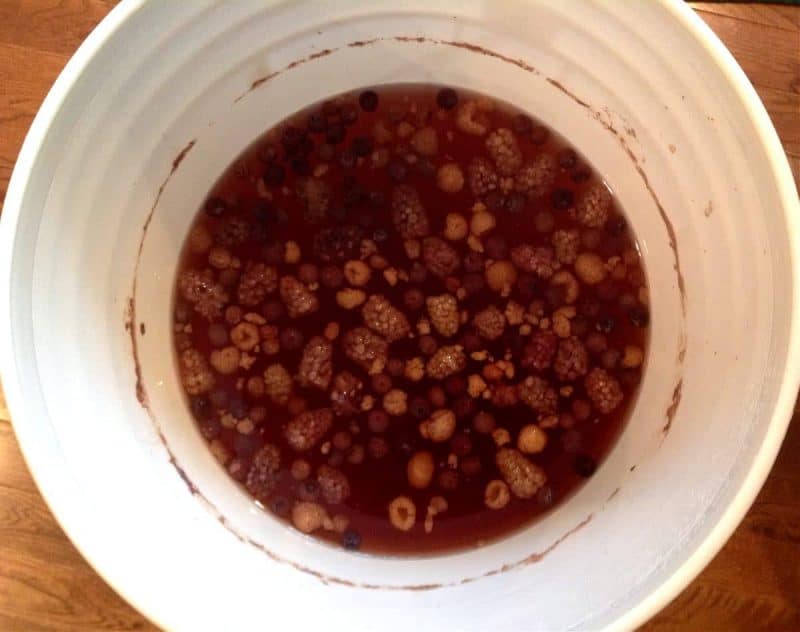
All the life has been sucked out of the berries and is now in the delicious elixir that you will soon be drinking. Carefully put this bucket onto a table or counter with a hand towel underneath it to prevent it from slipping.
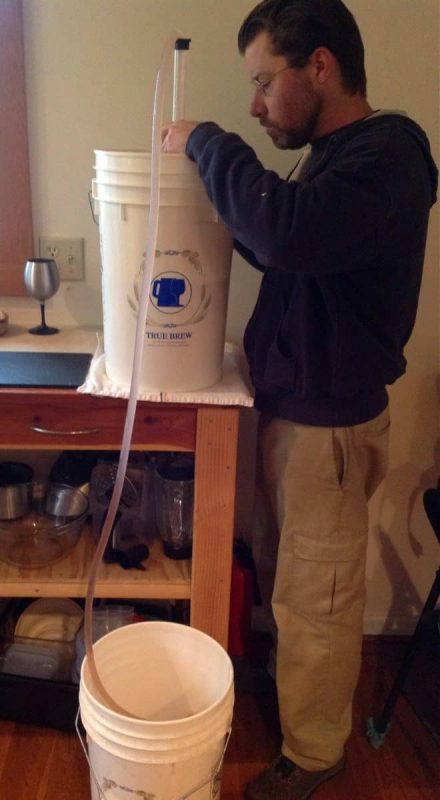
Joel is my model in this bottling post!
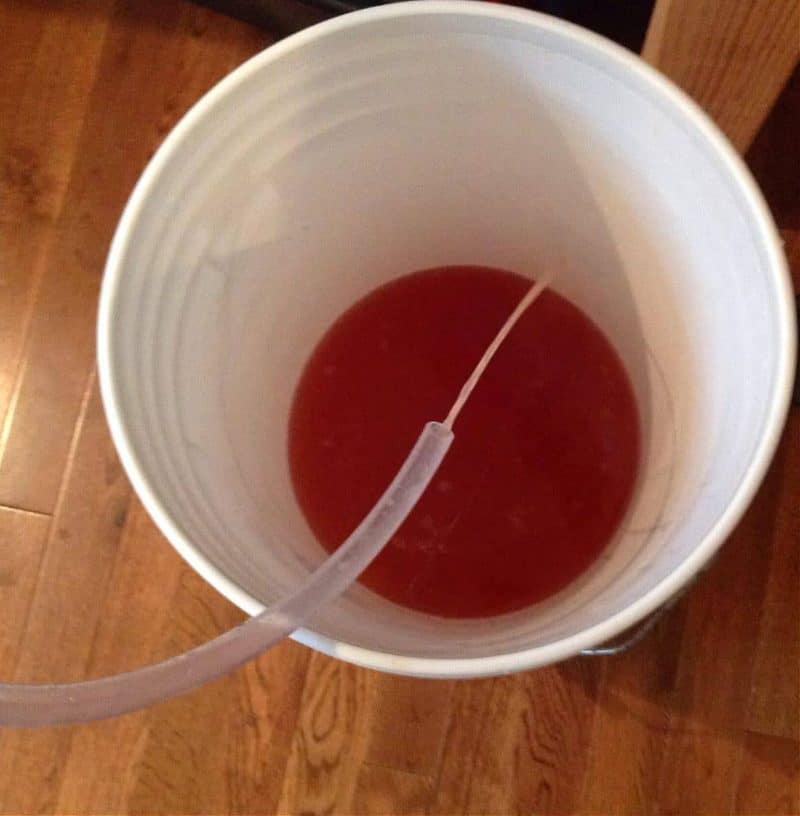
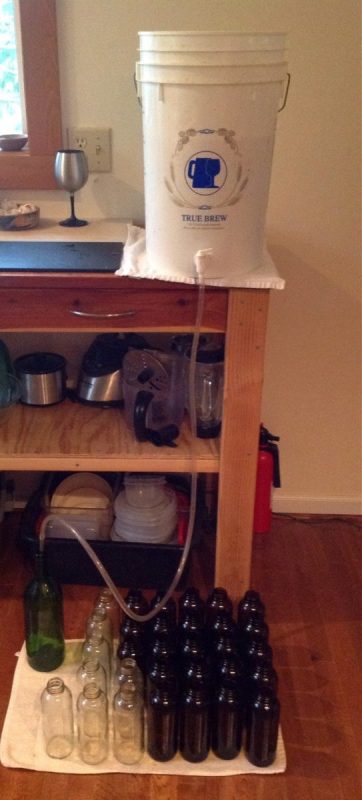
Put the bottling bucket (it’s the one with a spigot on it) on the floor. Use the auto siphon with tubing attached to transfer the mead from the fermenting bucket into the bottling bucket. All of the berries and sediment (called “lees”) from the fermenting bucket should stay. Put it in your compost!
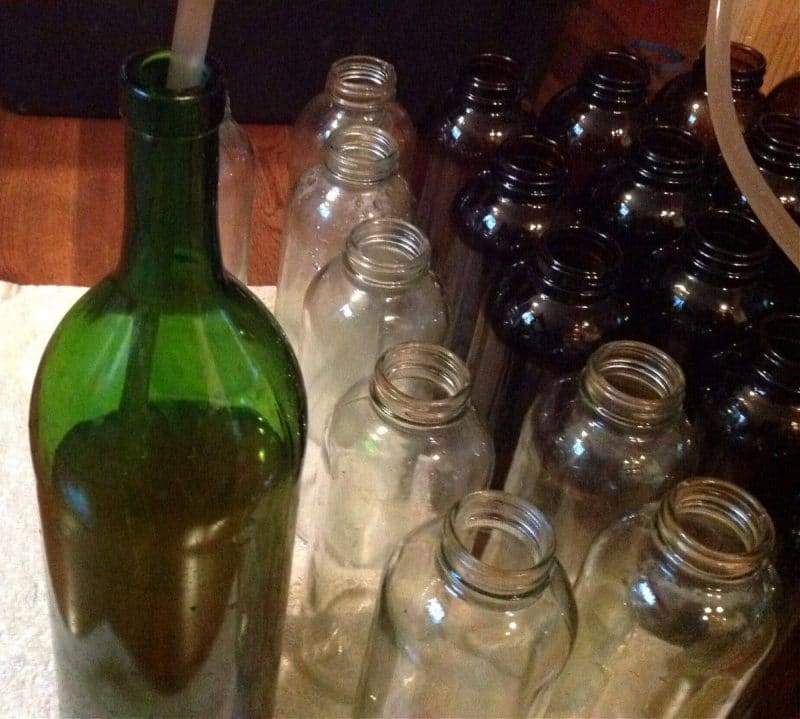
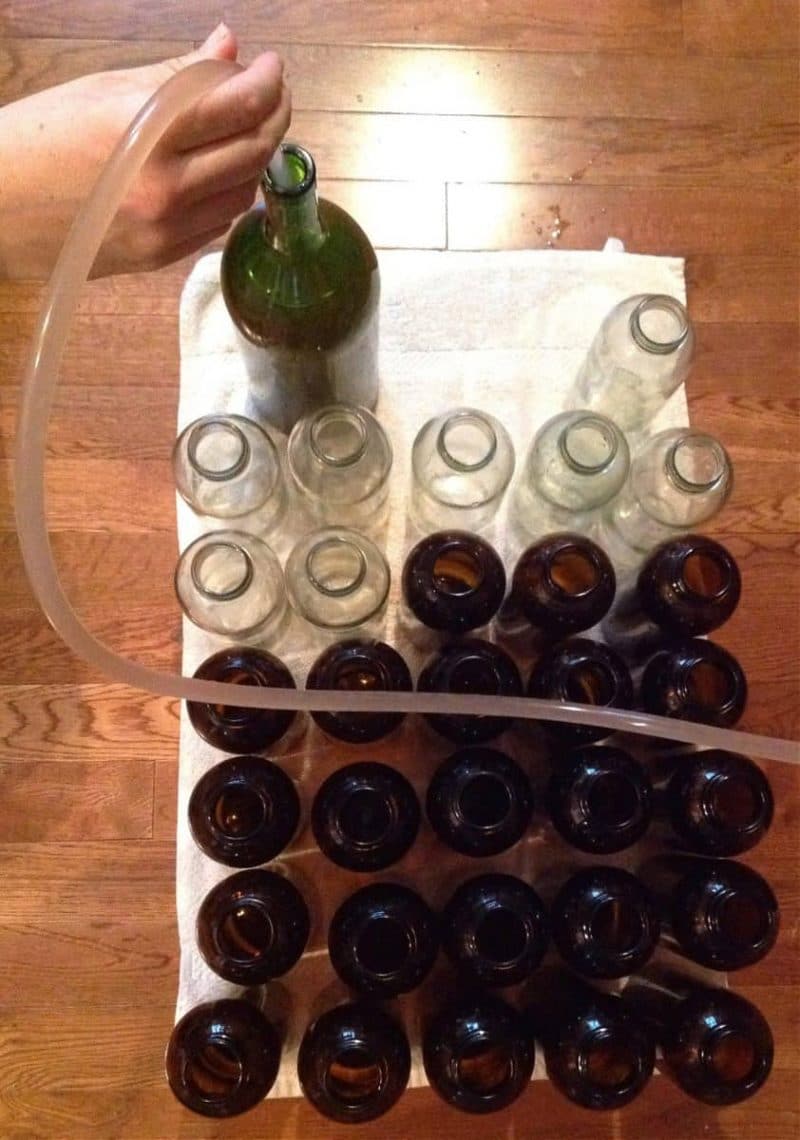
If you’re going to use bottles that have a completely airtight seal such as wine bottles with a new corks or grolsch style bottles with flip top lids, please make sure that your mead has completely finished fermenting before bottling or else you may end up with a champagne style exploding mead! Trust me on that one.
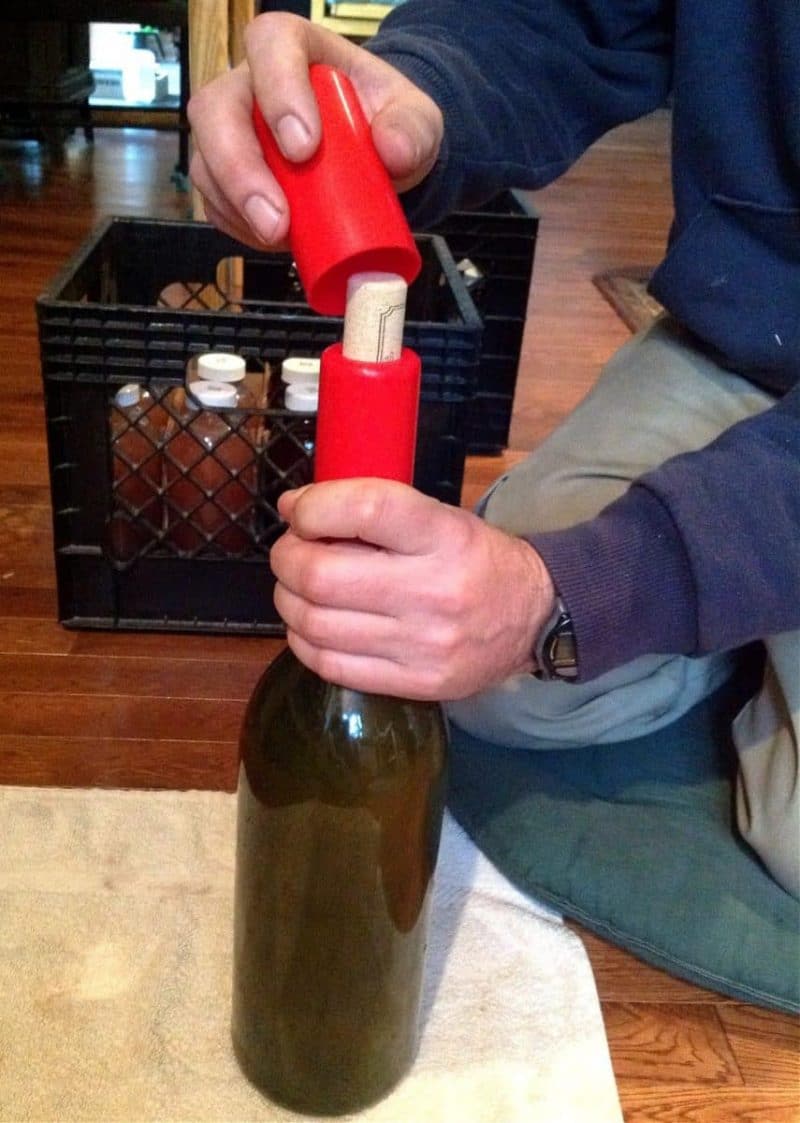
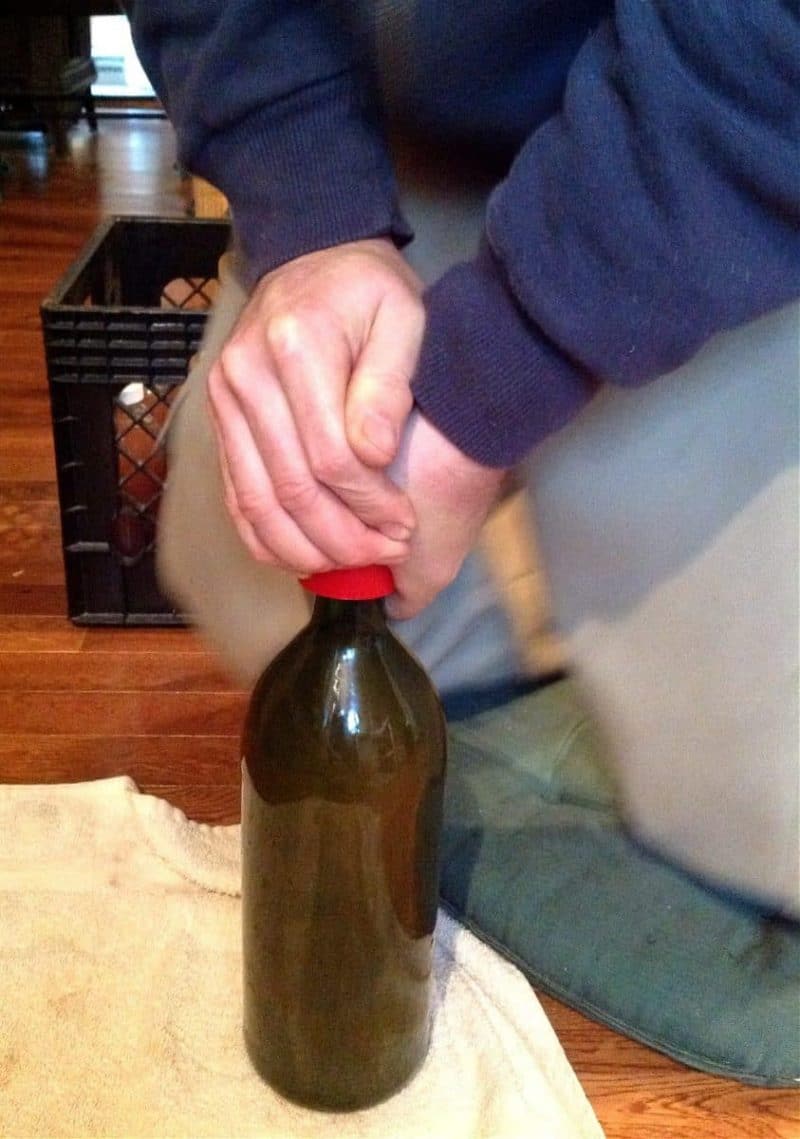
We’ve used a rubber mallet with the mini corker in the past and it worked well for many bottles… until a bottle broke on us and mead and broken glass went everywhere! Very sad to lose that precious brew, plus a big pain to clean up. So now I recommend using good old muscle force only.
Mead Recipes
Ready to start brewing your next batch of mead? Here are 15 mead recipes for you to try including: Dandelion Mead


Hey learned alots, I’m from Norway. Honey mead. Thank you.
You’re welcome, Deb!
So my mead has been in the carboy since June 8th- is it safe to bottle without exploding? I have wine bottles with screw top lids. I’ve never made it before but it looks gorgeous and smells divine, and this is prompting a 5 gallon brew. I got a little carried away with the raisins, and wonder if that will contribute to the explosiveness- or am I safe~
What is the largest size bottle you can use? I’m looking at making this for my wedding, and would rather keep it in a large 5 gallon bucket I can just serve people from. Do you have to bottle it?
i”ve never made mead, but would like to try. my question is can mason jars be used for bottling mead?
Am Claude Schulze am new to this and will try it soon, too.
Does this need secondary fermentation and cleared before bottling? Or can you bottle it straight from the primary fermenting vessel and drink it? Thanks.
It doesn’t need a secondary fermentation, but you can certainly do so if you’d like. I transfer it from the primary fermenting vessel to a bottling bucket, then I bottle it. I like to wait at least 6 weeks before drinking, sometimes longer!
Hey, new mead maker here! I’m trying to keep it student-budget friendly. Is it possible to simply pour the mead into a bucket and use a sieve to separate the lees, then funnel it into bottles? I know all of these items would have to be sanitised. Thanks!
I’m guessing you guys don’t rack into a secondary vessel? I followed your recipe 8 weeks ago and racked from the fermentation bucket to a glass carboy. After a few weeks the sediment has sank to the bottom. There is a thick layer of sediment on the bottom and the mead is mostly clear now. Going to use bentonite to really clear it and then maybe a second racking or bottling.
I don’t usually rack it, no. Sometimes I do, depends on how I feel, ha! I do siphon into bottles, though, which leaves a lot of the sediment behind.
What is the estimated alcohol content using this recipe? And how can one be sure that the fermenting process is complete?
Your alcohol content will depend on how much sugar you had to start with, yeast type and fermenting period. To test it, you’ll need a hydrometer… Here is a pretty basic explanation on how to test your alcohol potential .. https://www.leaf.tv/articles/how-to-test-for-alcohol-content-in-homemade-wine/
If you wanted to make a sparkling mead or wine, what do you add and does that change the way you bottle it?
If you bottle it after about 6 weeks of fermenting you will most likely have a sparkling mead. If you ferment it longer you can add a little more honey water to the mead right before bottling, although I’ve never done it so I can’t give you amounts. You need to be careful either way so that you don’t get exploding bottles! More often that not my mead ends up being sparkling without adding more honey, so I would suggest just trying it that way. The bottling process is the same regardless.
I noticed you seem to be putting your corks in dry. I have found that by sterilising the corks in boiling water for 15 mins prior to use they go in much easier. Te corks must be completely submerged in boiling water. I do this by pouring the water into a bowl, place in required amount of corks and then place a plate on top of the corks in order to submerge them. Thought you might like to give it a try.
That’s a great tip, thanks! I’ll try it next time, but to be honest I rarely cork anymore. I often drink my mead “green” so don’t really find it necessary.
Nice guide! I have never used screw tops to bottle mead, but neither have I made ‘bucha. :) Oh, and mead vinegar is tasty! I had a bottle go unfinished and get too aerated to be yummy. I let it sit for a while in a jar with a cheesecloth and it never quite made a mother, but it did turn into something rather nice that I use as vinegar. It goes well with fish and makes a nice dressing for summer salads!