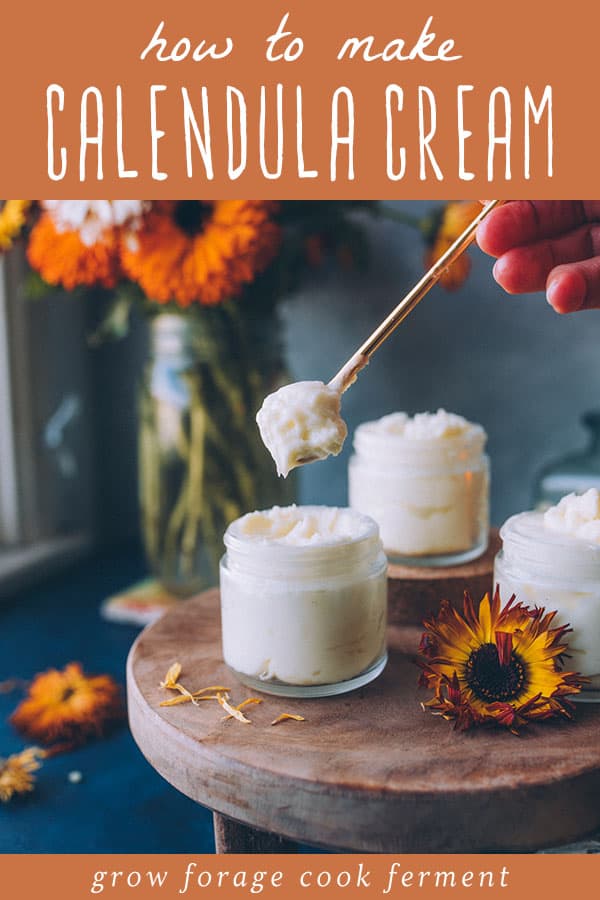
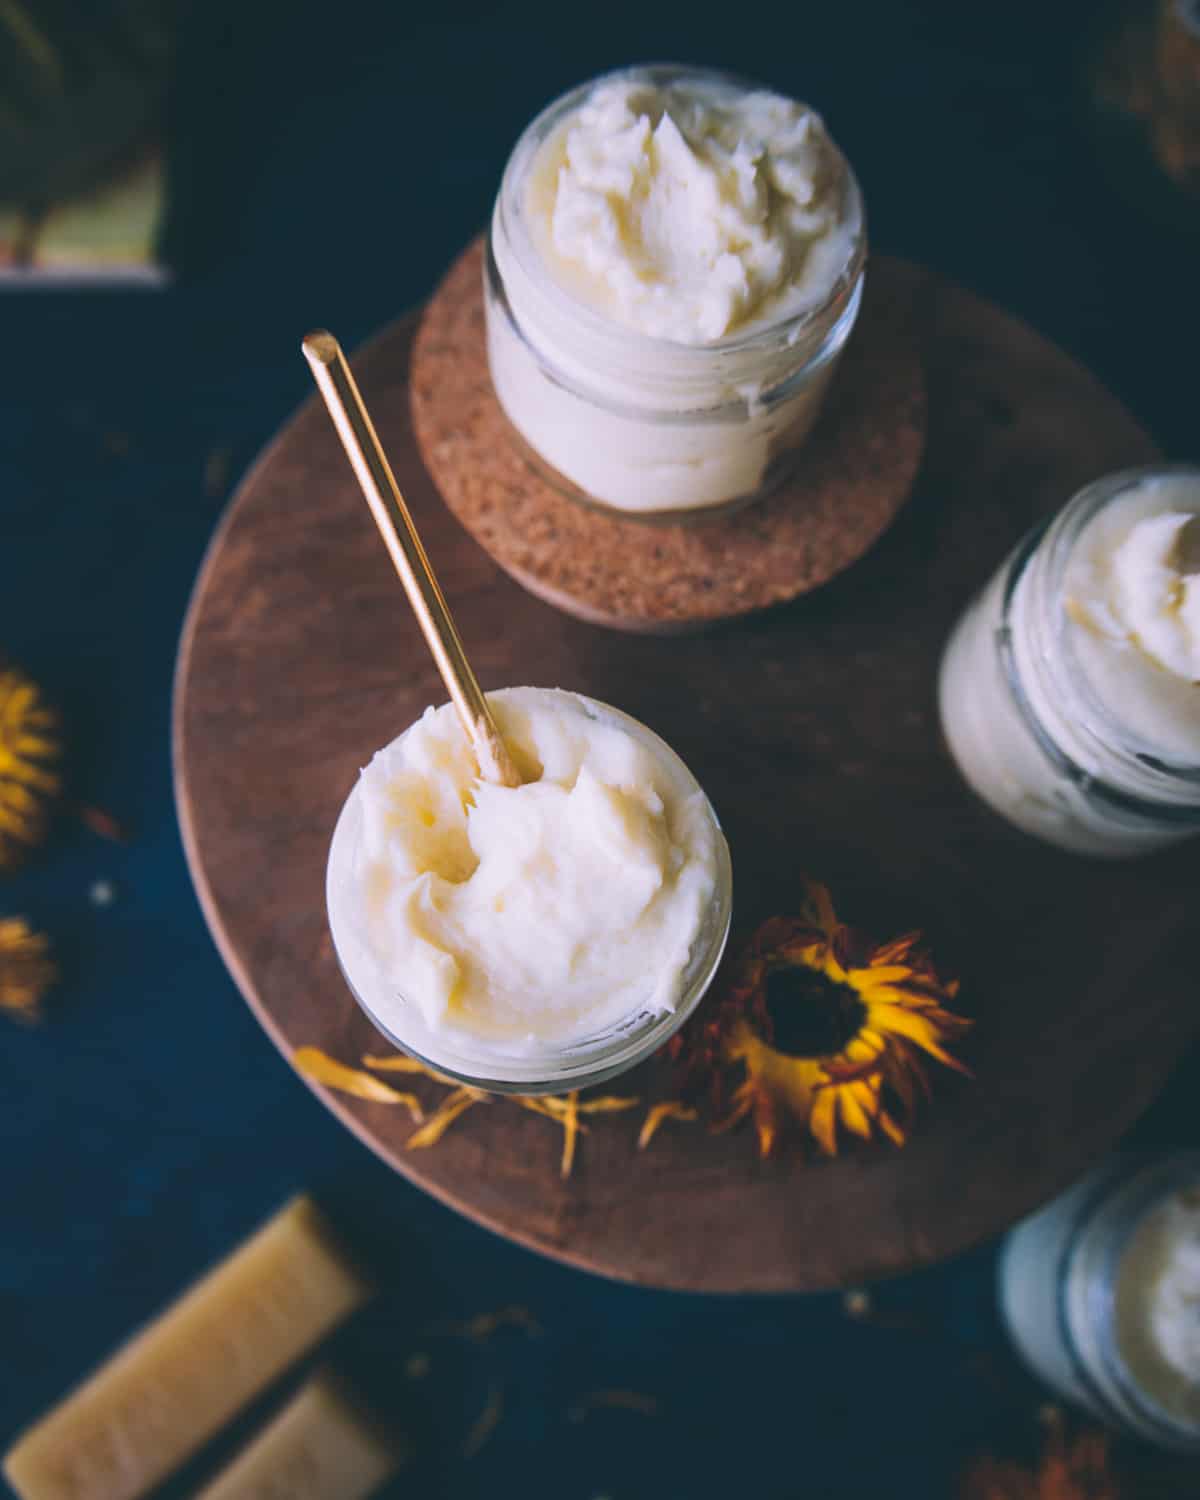
Homemade calendula cream is the perfect way to incorporate healing herbs into your homemade all-natural beauty and body care products! Calendula is well known for its medicinal benefits. It is a powerful medicinal herb, particularly for skin ailments and rashes. This all-natural calendula cream is an easy herbal remedy to make at home – even for beginners!
Want to save this post for later?
Homemade Calendula Cream
I can’t wait to tell you about this! I’m going to show you how to make homemade calendula cream. It turned out so good and is incredibly easy to make.
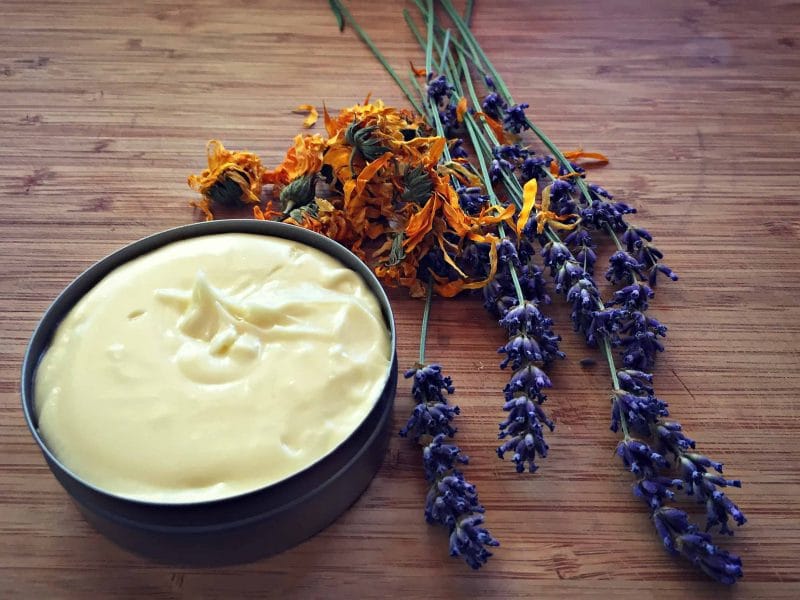
This calendula cream is thick and rich, almost like a body butter, and can be used like lotion or like a healing salve. In other words, it’s a perfect way to incorporate herbs into your body products!
Calendula, also called pot marigold (not to be confused with regular marigold), is well known for its healing benefits. It’s anti-inflammatory, excellent for the skin, and a powerful wound healer.
It is a potent medicinal herb, particularly for skin ailments and rashes, including eczema, acne and even diaper rash. It would also be a perfect addition to an herbal salve.
Related: 10 Ways to Use Calendula Infused Herbal Oil
Make the Calendula Infused Oil
The first step in making this calendula cream, just like in my herbal salve recipe, is to make an infused oil.
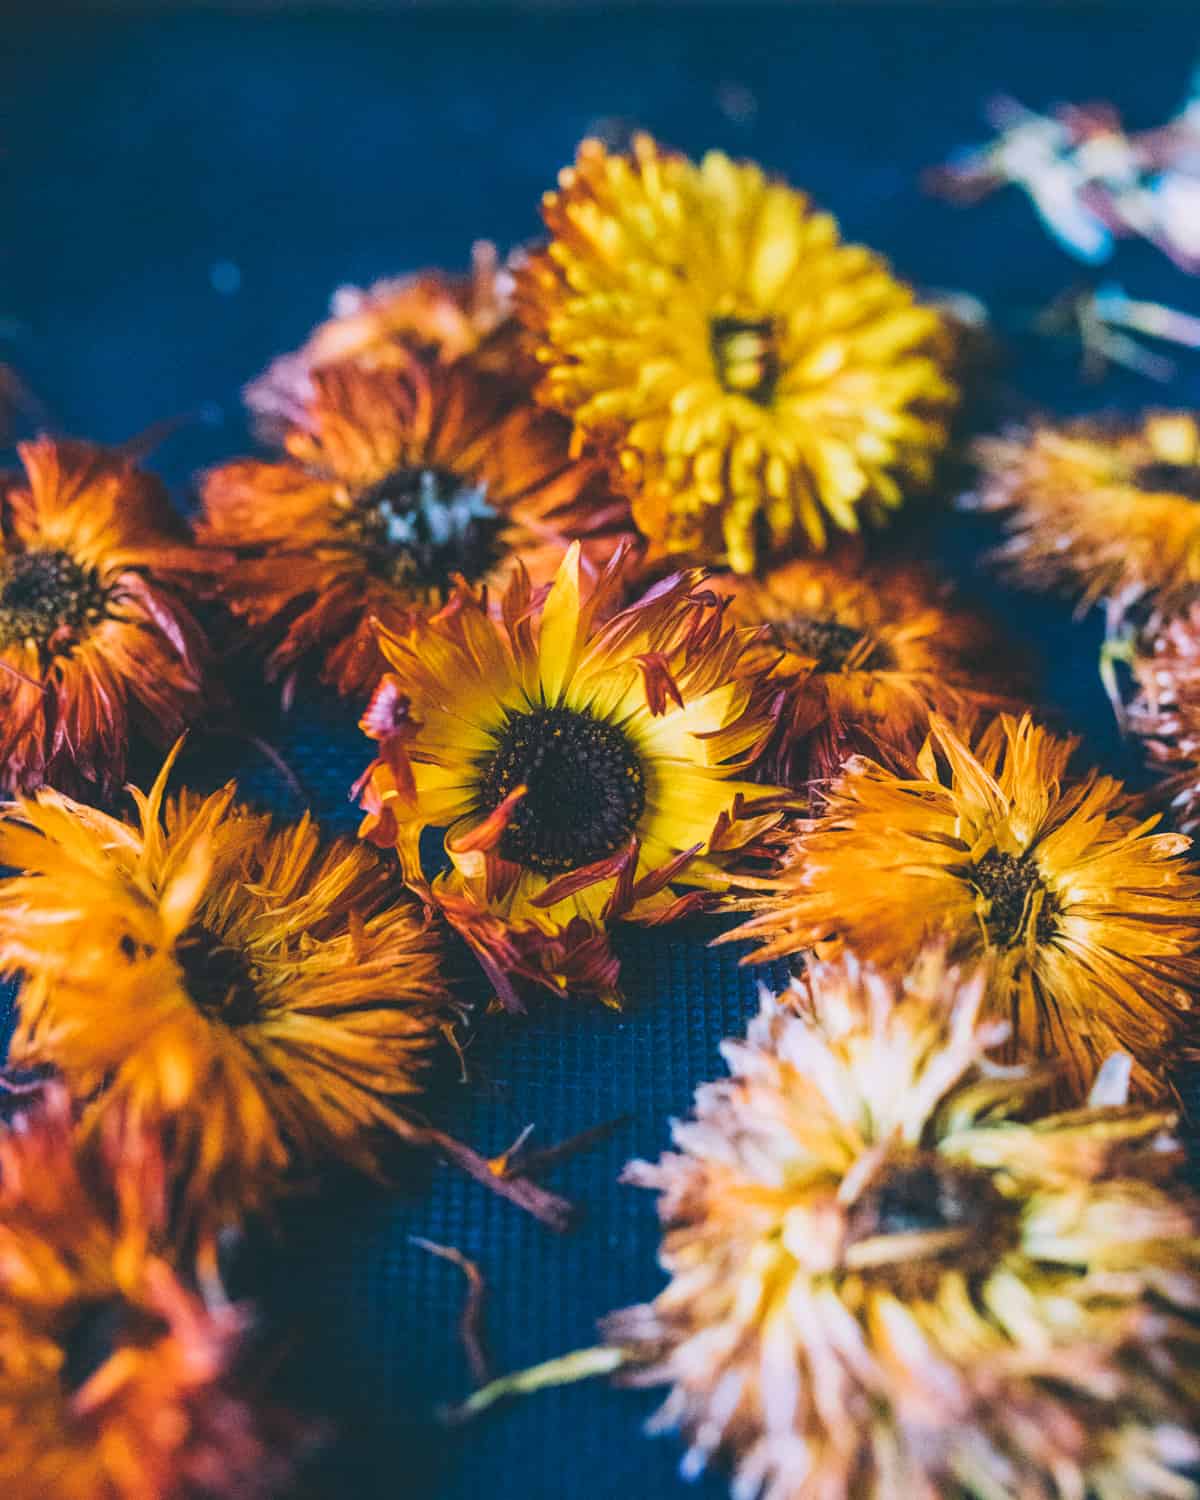
This can be done by putting dried calendula flowers in a jar, cover with a carrier oil, and let it sit for several weeks to infuse.
You can also use the quick method of heating the oil and dried flowers in a pot on low heat for up to 12 hours.
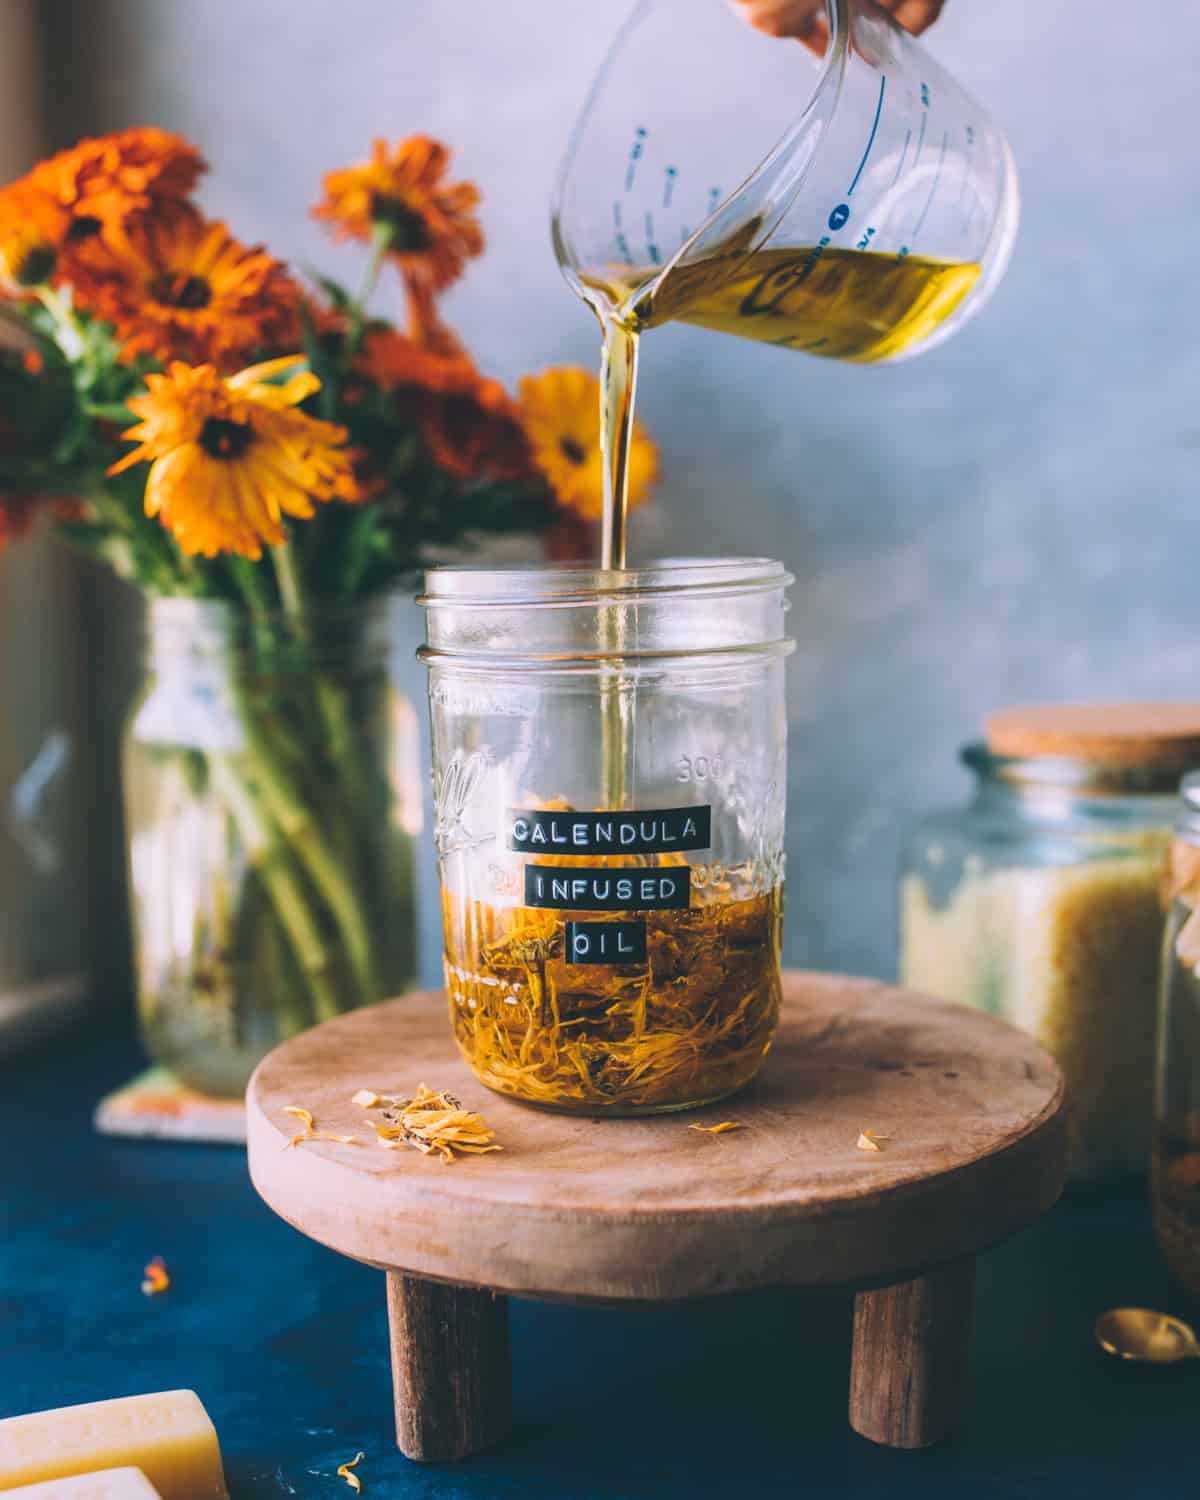
You will need 1 cup total of infused oil for this recipe, but I always figure it’s better to make more than you need so you have it ready for next time! It will keep for quite a while.
Use a ratio of 3 parts olive oil to 1 part coconut oil when making this infused oil. So, if you’re making 1 cup of oil, that means ¾ cup olive oil and ¼ cup coconut oil.
Feel free to incorporate other herbs into the infused oil if you like. Dried lavender flowers or chamomile would be great additions!
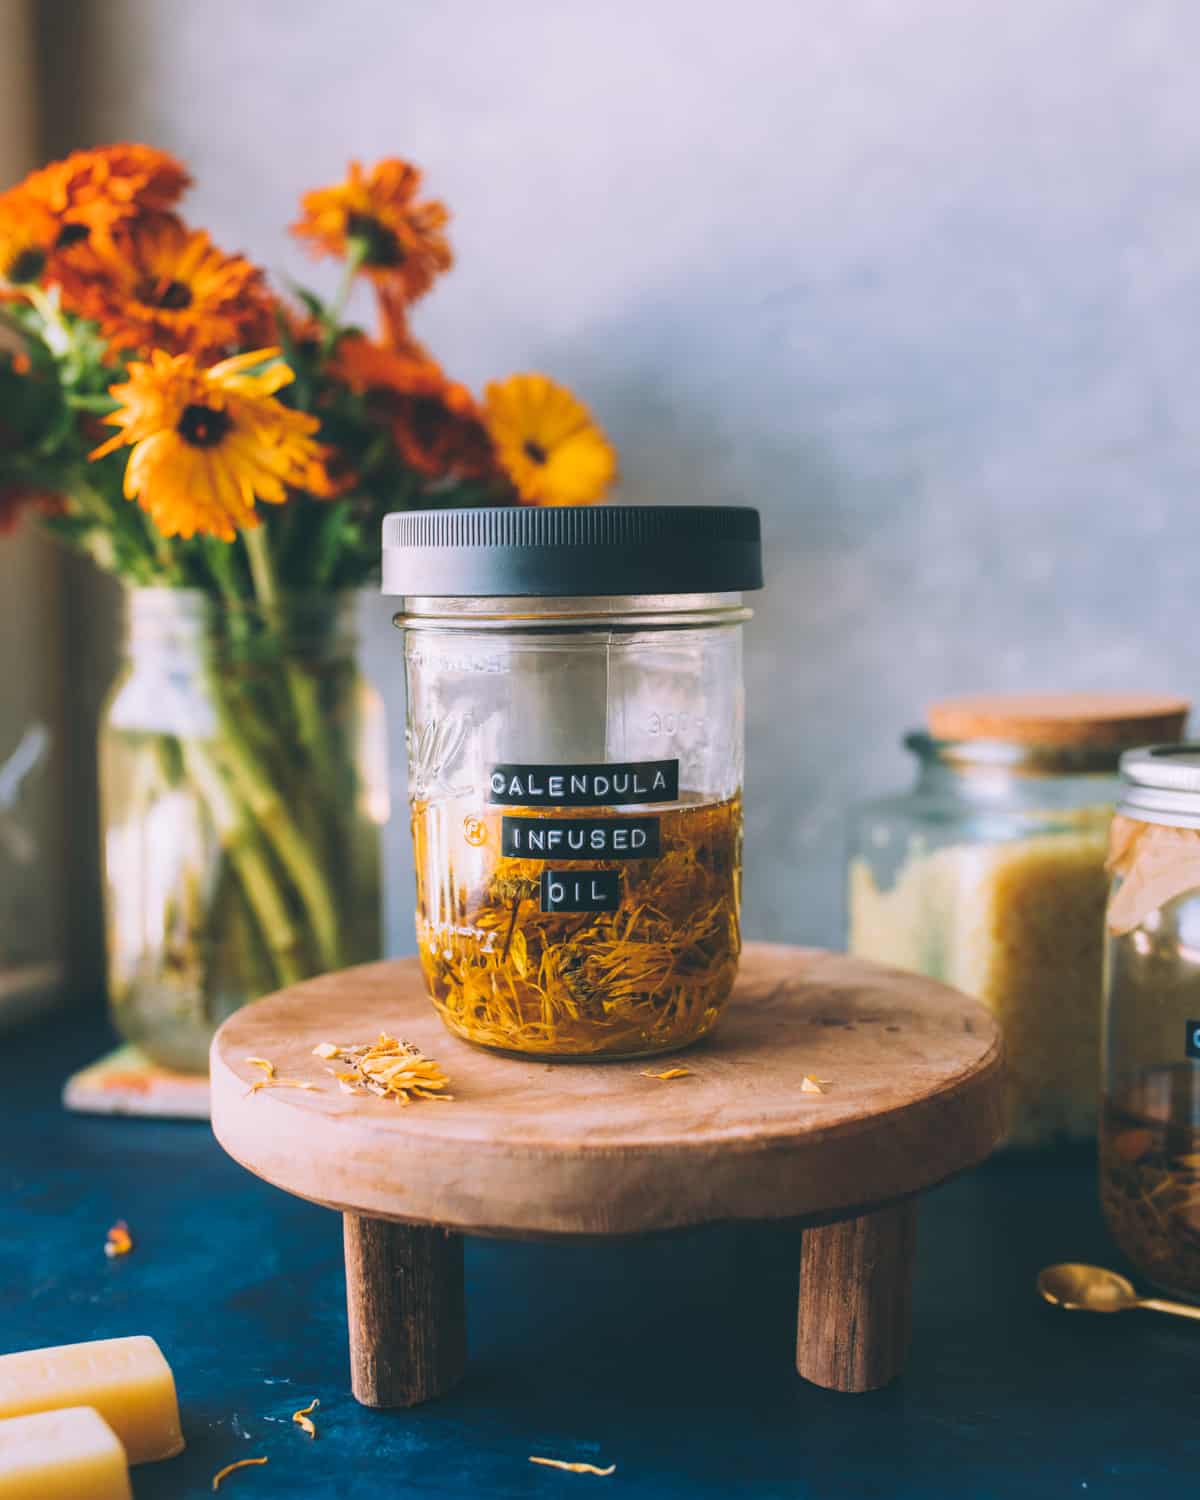
Once the calendula infused oil is made, strain out the flowers. The oil will be a nice golden yellow color.
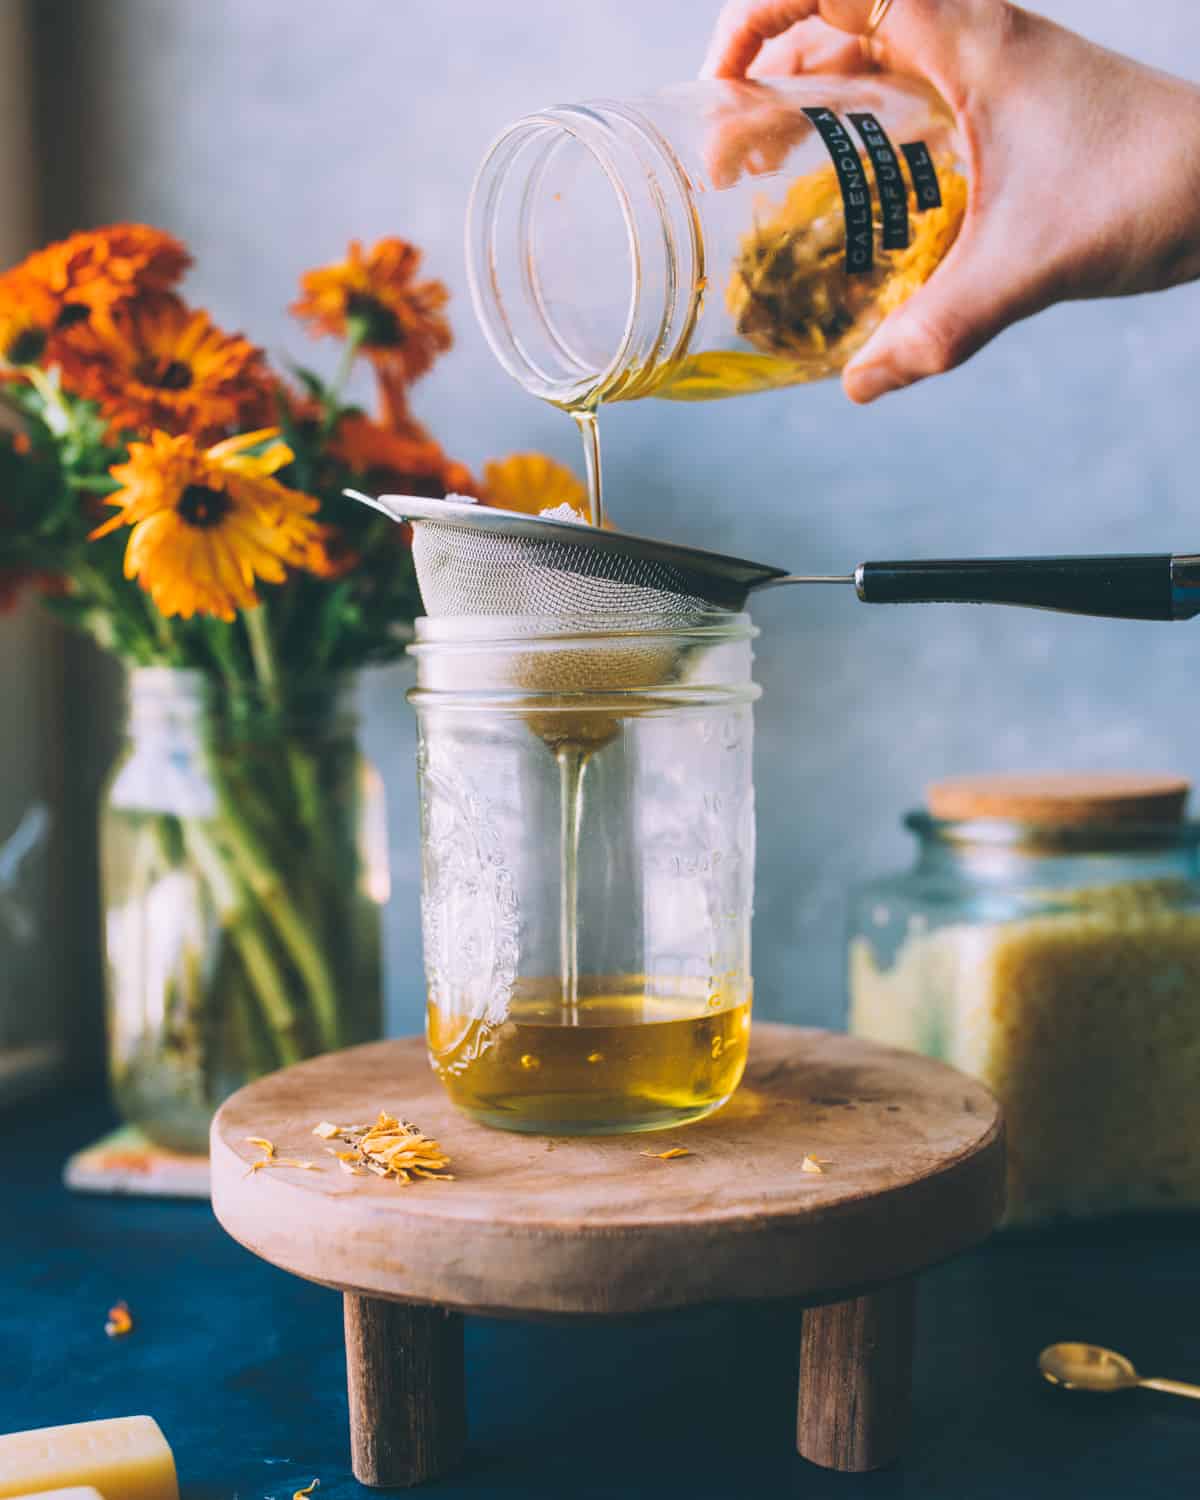
How to Make Calendula Cream
After you have made and strained the calendula oil, it’s time to make the cream.
The first thing you want to do is bring several cups of water in a pot to a boil.
Put about 2 cups of the boiling water into a blender to preheat it. This is to help keep the cream from sticking to the blender.
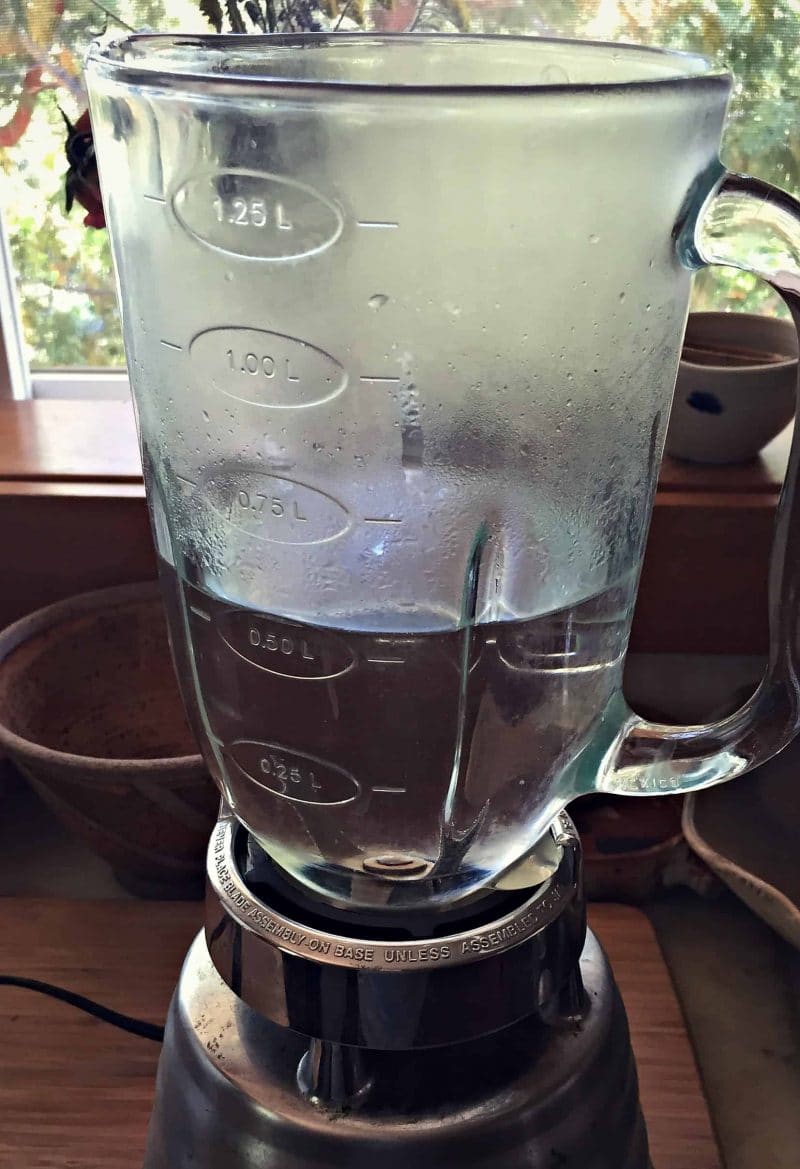
Turn the rest of the water in the pot down to a simmer and make a double boiler.
This can be done by putting the infused oil and beeswax either in a heat proof bowl on top of the pot of water, or in a glass measuring cup that you place in the simmering water.
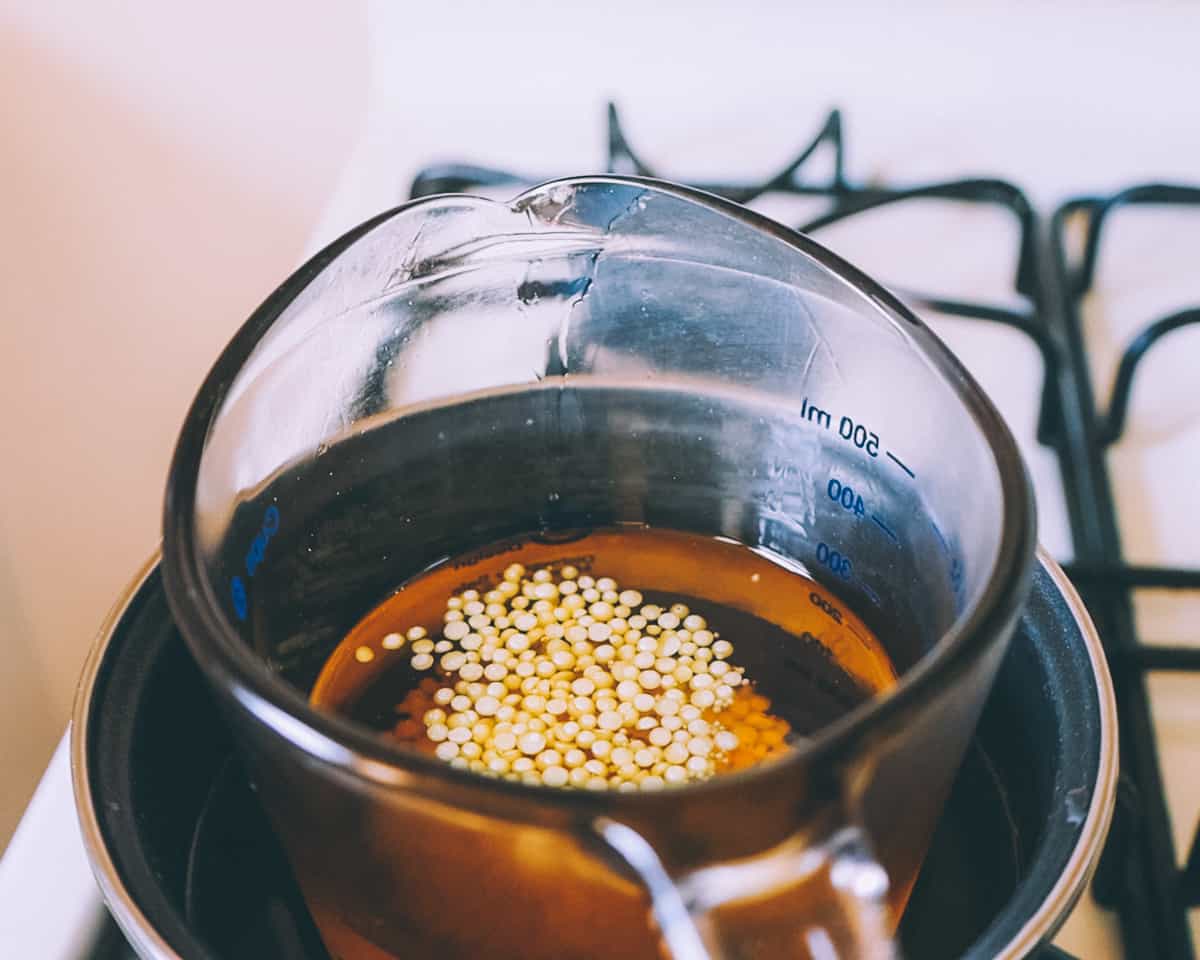
Heat until the beeswax melts completely into the oil.
Pour the hot water out of the blender and put the oil/beeswax mixture in.
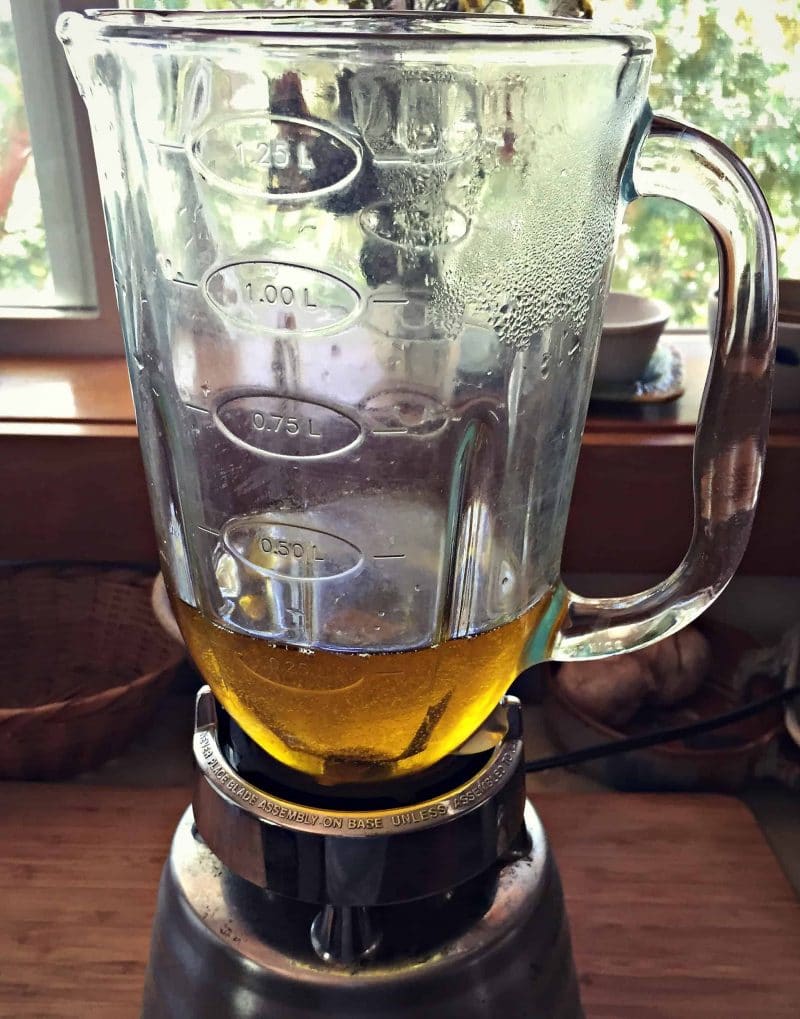
Cover the blender except for the hole that is used for drizzling liquids in. Turn it on and slowly drizzle the tepid water in. Make sure the water is tepid – not too hot or too cold.
It should become a creamy emulsification quite quickly! You may need to scrape down the sides of your blender once or twice to make sure all of the water gets incorporated.
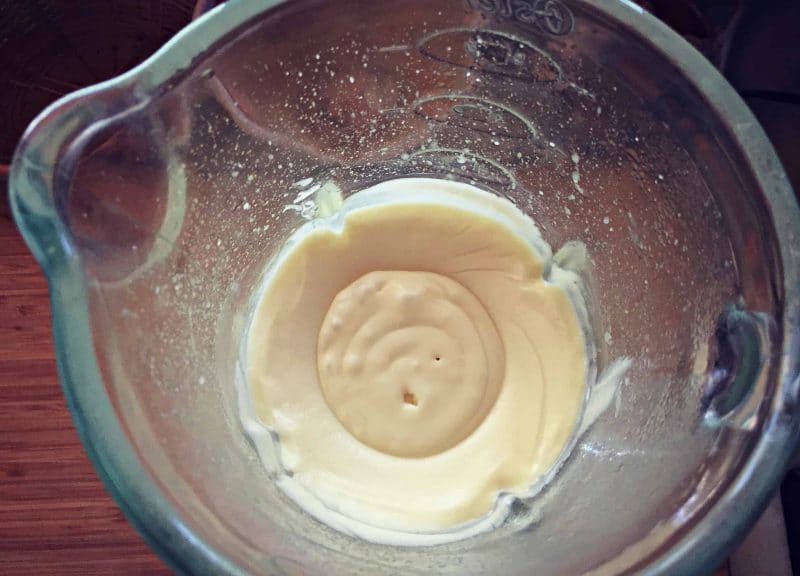
Let the cream cool a bit and then add the preservative and blend again to combine.
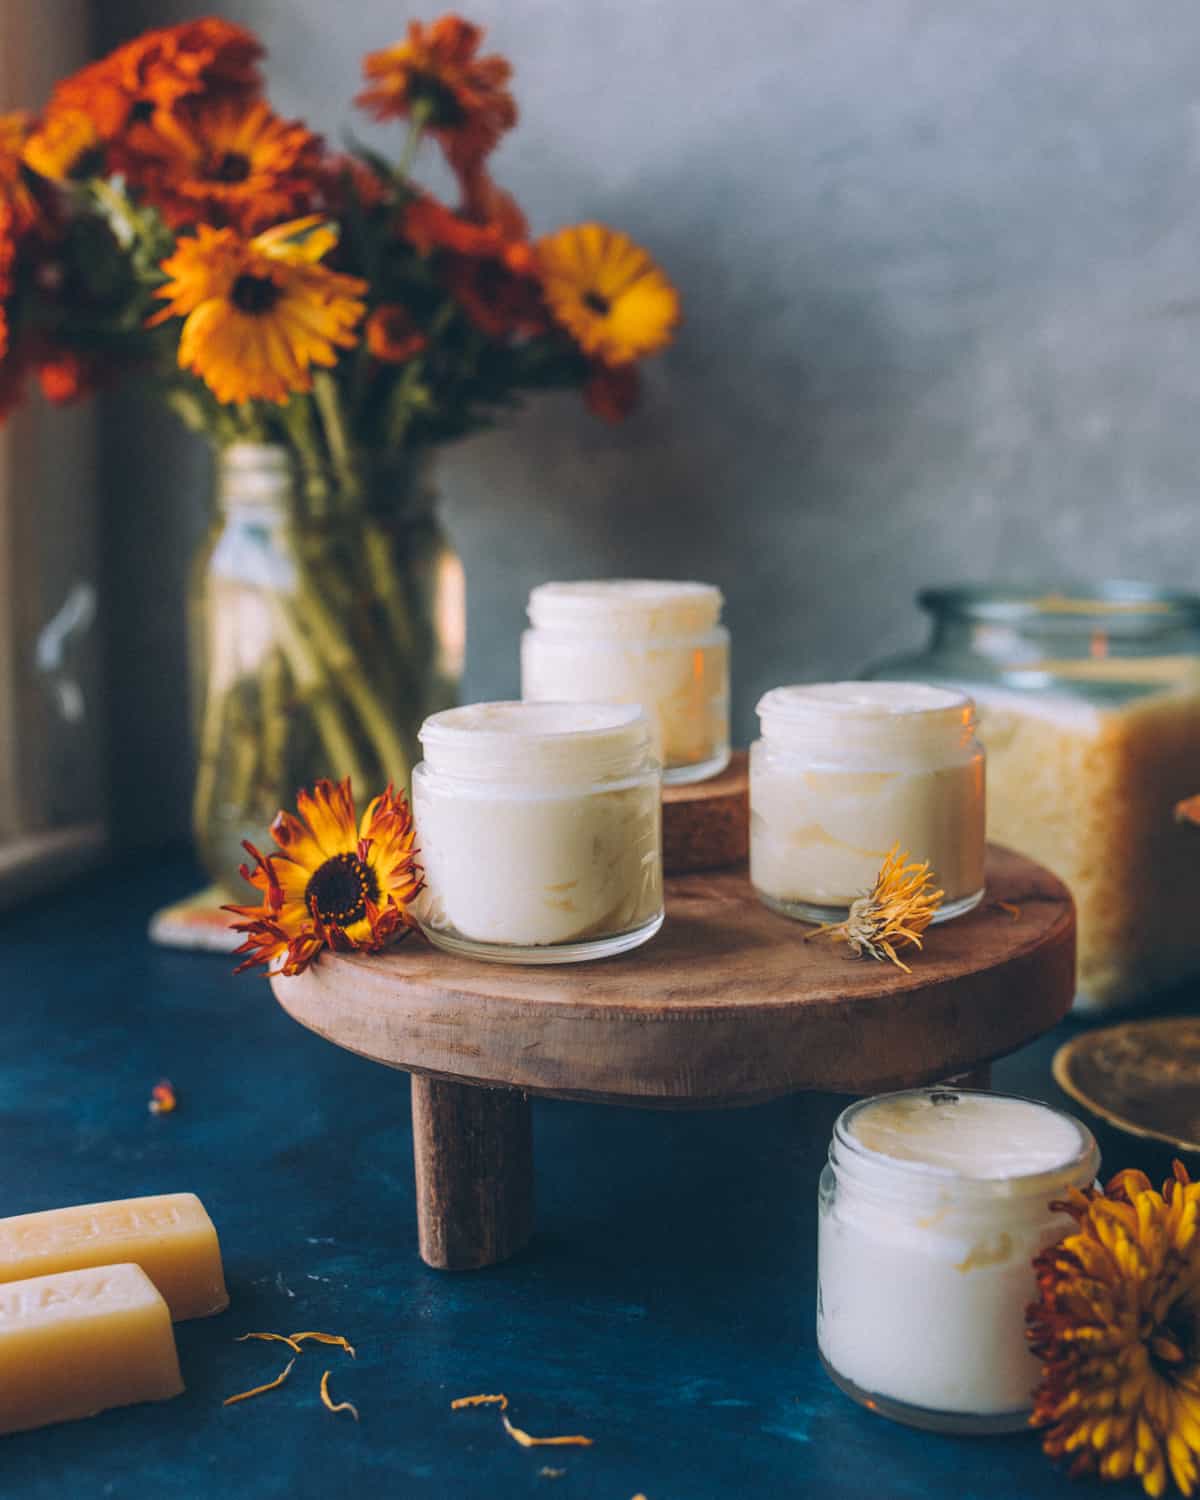
Pour the cream into containers, it will make about 2 cups total. Small glass jars or tins work well for this.
Let the cream set up for several hours before use.
How to Use Calendula Cream
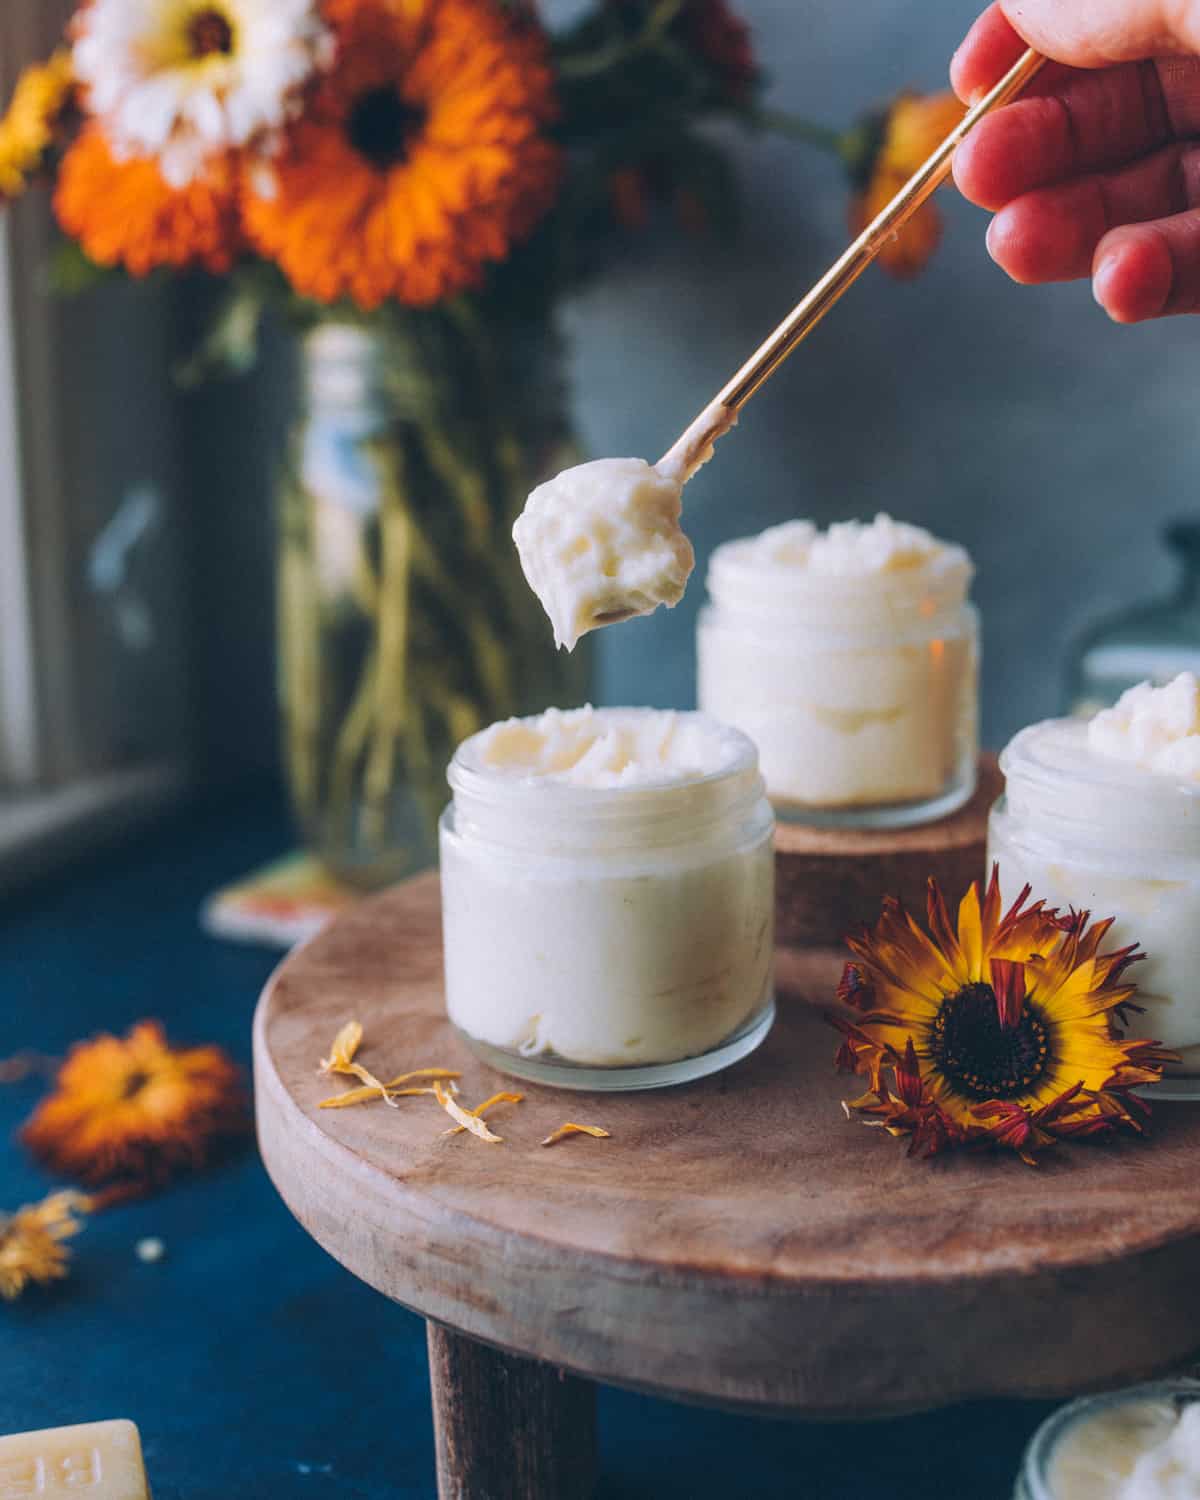
This calendula cream is so amazingly rich and luscious! It is perfect to use on very dry and even cracked skin, or even on minor wounds and scars.
It is better than any lotion that I’ve tried, plus it’s so nice to know that it has beneficial herbs and none of the yucky stuff that might be in the store bought cream. Makes me feel better!
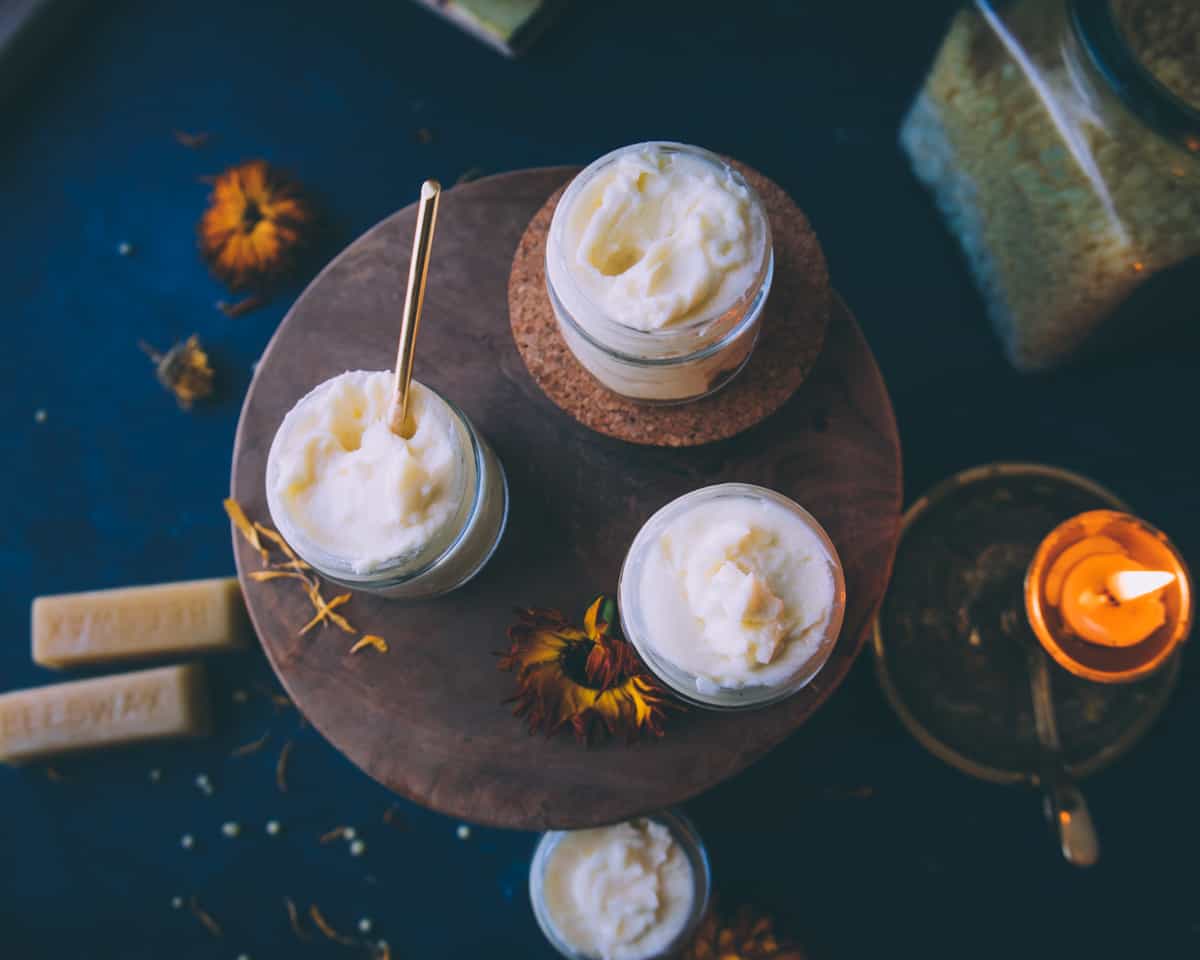
One thing is for sure, this calendula cream smells absolutely wonderful. This is definitely a recipe that I will make again and again. It’s super easy to make and is great for the skin.
Now that I’ve started on the path of making my own herbal remedies and natural healing products I really don’t see any reason to spend the money on buying these sorts of things.
Time to start making them yourself!
If you want to learn more about making homemade lotions and creams, I highly recommend Jan Berry’s (of the Nerdy Farm Wife) Handmade Lotions & Creams ebook collection!
Do I need to use a preservative for calendula cream?
One thing to note, since this calendula cream is made with water it is best to add a preservative of some kind so that mold and other bacteria don’t grow.
While you could technically skip the preservative, it makes the cream quite perishable with a short shelf life of no more than a week. It also needs to be stored in the refrigerator between uses.
The Nerdy Farm Wife has a great post all about natural preservatives for homemade beauty products, so please check that out if you’d like to learn more. She also has a great list of 10 natural preservatives for homemade skincare.
I chose to use Leucidal Complete Protection which is a natural preservative that works well.
More Calendula Recipes
Explore more uses for lovely calendula flowers. Yes, they are even edible!
- 10 Ways to Use Calendula Herb-Infused Oil
- Calendula Lotion Bars
- Whipped Body Butter with Calendula
- Homemade Calendula Lip Balm
- Calendula Salve
- Diaper Rash Salve
- Calendula Soap
- Herbal Bath Salt with Calendula
- Calendula Shortbread Cookies
- Calendula Iced Tea
Calendula Cream
Ingredients
Calendula Infused Oil
- ½ cup dried calendula flowers
- 3/4 cup olive oil
- 1/4 cup coconut oil melted
Calendula Cream
- 1 cup calendula infused oil
- 1 ounce beeswax 4 Tbsp
- 1 cup tepid water
- 2 tsp Leucidal Complete Protection or another preservative (follow instructions on the bottle for amount to use)
Instructions
Calendula Infused Oil
- Combine the dried calendula flowers with the olive and coconut oils in a mason jar. Cover the jar with a lid and shake to mix well.
- Put the jar in a cool and dark place to infuse for 4-6 weeks.
- When you are ready to make the cream, strain the calendula flowers from the oil using a fine mesh sieve. If the coconut oil has solidified in the oil infusion, gently heat it by setting the jar in a pan of warm water to melt the oil before straining.
Calendula Cream
- Bring several cups of water in a pot to a boil. Put about 2 cups of the boiling water into a blender to preheat it.
- Create a makeshift double boiler by putting a smaller pan, bowl, or glass measuring cup in a larger pan that has an inch or two of water in it, and bring the water to a simmer.
- Measure out one cup of the calendula infused oil. Top off with extra olive oil if needed to make exactly one cup of oil.
- Put the oil into the double boiler. Add the beeswax to the oil and continue to heat until it has completely melted. A wooden skewer works well as a stirrer.
- Pour the hot water out of the blender and put the oil/beeswax mixture in.
- Cover the blender except for the hole that is used for drizzling liquids in. Turn it on and slowly drizzle the tepid water in. You may need to scrape down the sides of your blender once or twice to make sure all of the water gets incorporated.
- Let the cream cool a bit and then add the preservative and blend again to incorporate it.
- Pour the mixture into jars or tins.
- Let the cream set up for several hours before use.
Notes
- I adapted this recipe from the book Making It: Radical Home Ec for a Post Consumer World by Kelly Coyne and Erik Knutzen of Root Simple.



OMG! Thanks so much for this recipe and the easy to follow instructions. I already had calendula infused olive oil (for soapmaking) so I simply added coco oil to get the right amont of oils, and preferred to use only lavender essential oil. I just used it generously after a hot bath. My “winter” skin is thanking me :) The mix of odors from calendula, coco and lavender is surprisingly nice and calming! I guess rose infused oil would be great too :)
Hi, I’m wondering if adding a bit of rosehip powder to that cream would be possible? Should I adjust the amount of oils to compensate for the powder? Just curious, as rosehip has lots of benefits for the skin.
I don’t grow calendula. Is there a source to purchase it?
Yes, Mountain Rose Herbs is the company that I recommend: dried calendula flowers
Colleen, is it essential to use water with this? I’ve made comfrey salve recently with just infused oil and bees wax and it seemed to work out fine.
This recipe is for a cream, which is more like lotion, so that’s why the water is added. I have other salve recipes that are similar to what you are talking about, you can see them here: Herbal Salve and Calendula Salve.
thank you for this wonderful recipe. i have just finished my third patch. it was easy and feels so nourishing and rich for the skin. i have sent some out to family members who absolutely feel at last a product that works for their dry skin. peace and gratitude.
Hi what weight of calendula petals do I use and how long do I dry them for? thanks
I didn’t actually weigh them, I just used a good amount to make a strong oil infusion. You want the flowers to be completely dry before infusing them in the oil.
thanks so much for sharing this recipe I will try it
is it okay to whip this in a blender made of plastic? coz i notice that yours looks like a glass to me. thanks.
I made this cream today and was very impressed! It was my first go at making a cream. I used a stick blender. The emulsifying process had always been intimidating to me. This turned out great!! After a hot bath this cream just melted in to my skin and didn’t feel greasy!
Are there any other alternatives to the olive oil? I’m allergic and would love to try this!
I haven’t tried it with anything else, but I’m sure that it would work. Sweet almond oil might be a nice one to try!
Can this be used with any oils? For instance, oils with a lower comedogenic level like jojoba or hemp?
I would think yes, but I haven’t tried it so I’m not sure.
hi i made this last night
love it
but when i put it into jars it separated ?
any idea why and if there is anything i can do to rectify ?
Hmm, I’ve never had that happen so I’m not sure! You could try reblending it with a pinch of borax as someone else here mentioned. I’ve haven’t tried that method, but it may work!
Mine has separated each time I’ve made it too, leaving water below the cream in my tins. I wonder if I’m not blending it long enough or if the water is too hot or too cool?
Any thoughts?
Thanks
Well, this has been interesting. Why do recipes call for beeswax when it is not an emulsifier. After whipping for a long, long time, and it got no thicker, I realized I added two cups of water instead of one. So I fixed that by doubling the batch. Then I started whipping again, for a long, long time. Finally I went and asked google why it wasn’t emulsifying. That’s where I learned that beeswax won’t emulsify. But in that reading, I saw that borax is used to emulsify in combination with something else. But I didn’t have the something else so I added a tablespoon or so into the blender and within minutes I had a texture like whipped cream…just what I wanted.
You’re right, beeswax is not actually an emulsifier, but if you get the water ratio right it does have thickening properties that are similar. My guess is that when you added too much water there was no real way to fix it by simply doubling the it. This recipe does work very well when the right proportions are used, I’ve done it many times – but I’m glad that adding the borax worked for you in a pinch!
Could you substitute goat milk for the water?
I don’t have any experience with using goat milk in beauty products, so I can’t answer that question. Sounds like it could be nice, though!
When trying to choose a carrier oil for the “infused” part of the process, I notice that several carriers are sensitive to light and heat. Should this be a consideration when making the herbal infusion and if so, do you have any recommendations for a good and stable carrier.
I’ve used olive, coconut, and sweet almond oil (usually a mix) and have never had a problem.
Hi, Can you make the oil using fresh flowers or do they need to be dried first?
They do need to be dried first, as fresh flowers still have moisture in them and can cause mold to happen.
I wonder..if you add/desolve Epsom salt to the water for the recipe will that act as a presevative?
Thanks so much for the tip of the boiling water in the blender. It such an arduous process of cleaning the blender when making any butter recipes with oil. Looking forward to an easier clean up.
kitchen aid mixer…lol… got to get me another one, but it worked great with the wisk
Thank you for this recipe. I made the Calendula oil in my crock pot and I’m anxious to make this cream. I don’t have a blender; would a stick blender, food processor, or bullet work?
I have not used anything else but a standard blender, but I would guess that those other things might work. I would probably try the stick blender first as long as it is a pretty powerful one. It needs to have enough gusto to whip the mixture pretty good :)
Susan, a stick blender would probably be better. Use a bowl that is deep and not wide. Like a measuring cup, like the picture Colleen posted on melting her oils.
Oh, my goodness……I used the stick blender and a deep bowl and the results were great. This has to by far be the best cream I have ever made….. I LOVE it; so rich and creamy! Thank you for the recipe.
Have you ever used Calendula flower instead of oil. I have a lot of dried on hand
You need the oil to make the cream, so use your dried flowers to make the oil. It’s easy and so worth it!
Oh my goodness! I just made this and it is wonderful!!!!!!!!!!!!!!!!!!!!!!! Thank you.
This looks wonderful; I can’t wait to make a batch.
Please excuse my redundancy if it was already in the recipe but I can’t find where you told us how much calendula to use to make the infusion.
Thanks!!!
I actually didn’t measure it, I just put the dried flowers in my little crock pot and made sure they were completely covered with oil. I don’t think the amount matters all that much, really.
What is the purpose of using water? Can this be made with Shea butter?
The water mixed with the oil creates an emulsification which makes it nice and creamy. You could probably use Shea butter in place of the beeswax, but I’ve never done it so I’m not certain of the results.
Couldn’t salt be used as a preservative?
What do you have in the way of deodorant…I threw out my antipersperant because the skin is our largest organ and chemicals I don’t want…
I have a post on homemade deodorant that works really well!
What ratio do you use of dried flowers to oil?
I am very processed oriented:) can you tell?
Looking forward to trying this and many more. Thank you
Truth be told, I’m not one to measure. I just filled my baby crock pot about 3/4 full with dried flowers, then poured in oil (about 3:1 ratio olive oil to coconut oil) to cover the flowers. It made more oil than I needed, but that’s ok as I’ll use it in the future. I really don’t think the ratio of flowers to oil is all that important, to be honest, it just depends on how strong you want it. I tend to like making fairly strong infused oils so I use a lot of flowers!
Please don’t ever use vitamin e as a preservative and if anyone ever sells anything with water as an ingredient then it needs a preservative. You can’t see all bacteria etc just because it doesn’t look moldy. Vitamin e will help with rancidity in an anhydrous (containing all oils and no water) product but that’s it. It preserves nothing. It helps to extend the shelf life of oils but is not meant to be used as a preservative. This should be included as a side note if you give out recipes to anyone because not everyone is educated in making bath and body products. I see people all the time saying to use gse and vitamin e for preservatives and it is scary that they may be selling products to folks that are loaded with bacteria and other things that a customer sure would want as freebies! Sounds like a nice recipe though and I will try it one day :)
Thank you for the info, I definitely need to look more into it. I will contact Mt. Rose Herbs and see what they recommend.
check on Majestic Mountain Sage too, they have something you can add as a preservative..it inhibits bacterial growth..can’t think of the name of it but it is in a lot of their recipes
you should use distilled water as it’s purified, this plus perhaps a tsp of vitamin E oil (which is a natural preservative) will give it an even longer shelf life. Essential oils like lavender and tee tree and antibacterial anyway.
This cream looks fantastic! I can’t wait to make it! Thank you for sharing :-)
Thanks for that info, especially about the vitamin E oil! I use well water which is quite pure, although not as much as distilled I suppose. And yes, essential oils should also help! Glad you like it!
The vitamin E helps to slow down rancidity but it does nothing to stop bacterial growth. Any time you introduce water into the mix – distilled or not — there are concerns for bacterial growth. I would make only small amounts, keep them refrigerated when not using it, and don’t count on more than a few weeks at a time for shelf life. You won’t be able to see bacteria growing, but it’s there.
Also make sure you have clean fingers dipping into the cream.
Having said that, I wonder if the chosen essential oils have any anti-bacterial/preservative properties.
Looks like an easy recipe, so small amounts should be easy to whip up (you could store much of it in the oil stage until needed too, just making cream as needed. )
Thanks for the recipe!
If you used Tea Tree Oil in the mix, wouldn’t it control any bacterial growth since it is an antimicrobial?
This looks great. Just wondering how long the shelf life would be as is and if you can recommend a natural preservative to make it keep for longer. Thanks
Ps i absolutely love your page and recipes.
Thank you! I’m not sure about a preservative as I’ve never had a problem with it going bad. Thanks and I’m so glad that you love the blog!
This sounds really nice. My question is to its consistency. Will it be creamy like a body butter or will it get harder? The picture looks creamy but with the beeswax I’m curious. Thanks.
The consistency is very similar to a body butter when finished, very creamy and nice. It may harden slightly in winter when it’s colder. You can always adjust the amount of beeswax to suit your needs, a little more for a harder, salve like product or a little less for an even softer and creamier product. I personally love it as is, though!
Sounds wonderful. One question, I’ve read with any homemade cosmetic product using water you need a preservative. Can you recommend one? Of course if this recipe will be all used up within a wk or so, you may not need it. Thx in advance :>
I’m not sure as I’ve never used a preservative and never had a problem. I will look into it, though! Thanks!
I use a teaspoon of Vitamin E to help extend the shelf life of my body butters and lotions and that works very well too. I can’t wait to try this as my Calendula is ready to be harvested :)
I’ve made lotions at home before and never used preservatives. Never had an issue.
How much dried herb should I be using for this recipe?
Colleen, how about putting this on the market? I will be your first customer! My order is in!