These pine lotion bars are perfect for moisturizing dry winter skin, and they make wonderful gifts. With cute shapes and lasting skin soothing nourishment, these lotion bars smell like a walk through the forest. Make some for friends and loved ones, and keep some for yourself!
Want to save this post for later?
Herbal Infusion Lotion Bars
To make an herbal infusion with pine needles, the first step is to properly identify pine and other conifer needles.
For this recipe, it’s ok to use pine or most other conifer needles like fir, spruce, hemlock (the tree, not the poisonous plant), or douglas-fir.
The main exception is yew which is toxic.
Pine needles are one of the easiest plants to forage and use during the winter season, and they have a wide range of uses since most are edible and medicinal.
Oil infusions with pine needles are an easy way to access the skin benefits this winter herb provides, and it has a wonderful forest smell that lends itself nicely to these lotion bars!
Pine and other conifer needles have skin benefits that are perfect for dry or irritated skin. They are warming, can help with circulation, and have pain relieving properties.
A pine needle infused oil works well to help heal dry, chapped, or cracked skin. These lotion bars are the best way to deliver that goodness to your dry winter skin!
Related: 30+ Best Pine Needle Recipes
For lotion bars with other herbal infusions, try these calendula lotion bars, rose lotion bars, or dandelion lotion bars.
Get more of my favorite food, drink, medicine, and body care recipes that use pine, fir, spruce, and other conifer needles in my ebook Foraged Conifer Recipes for Body, Mind, and Health!
Pine Infused Lotion Bars for Winter
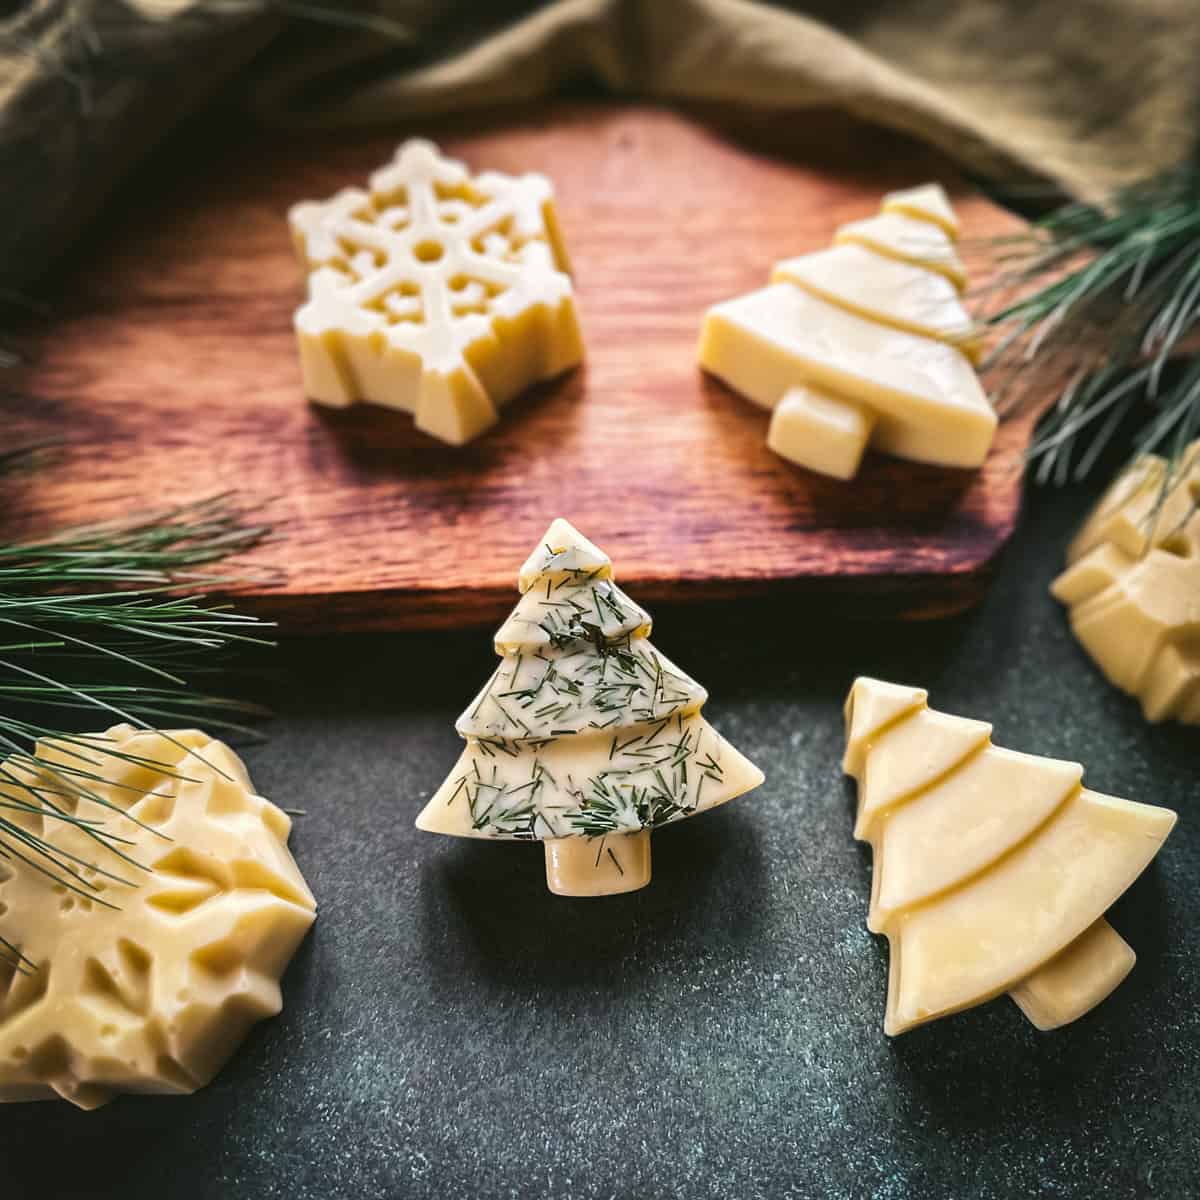
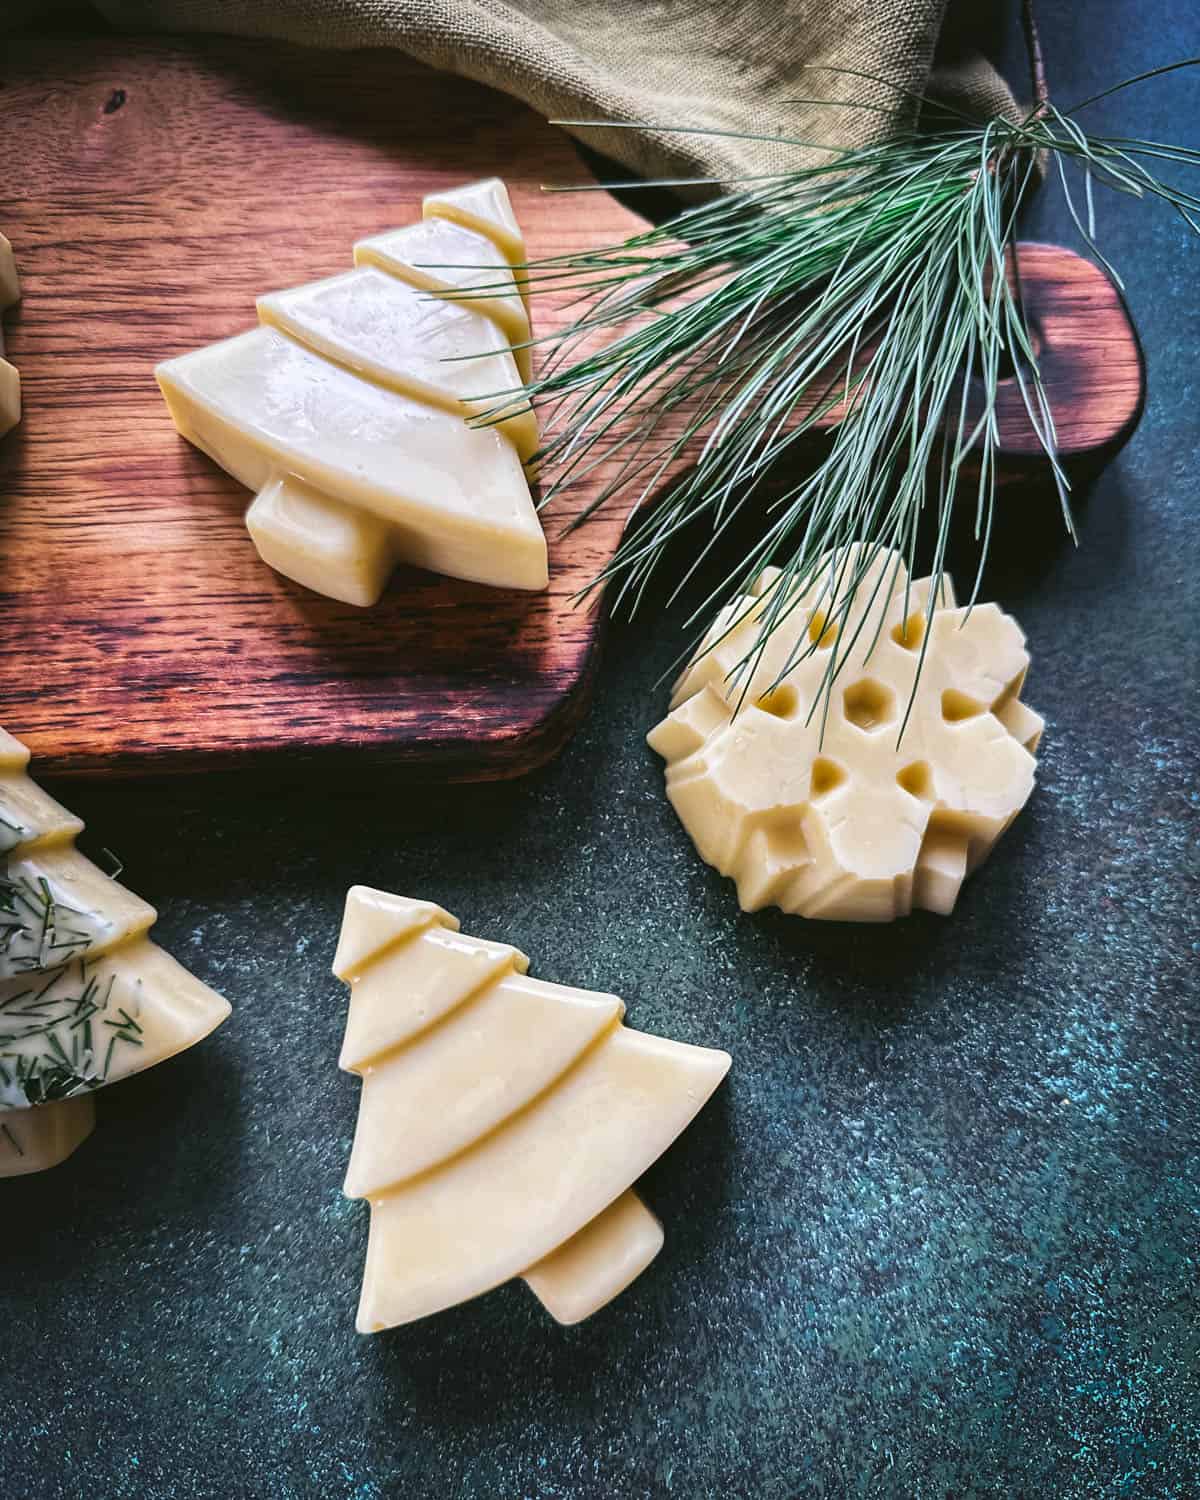
Find the tree and snowflake molds from these photos here, or use these small tree molds to make mini lotion bars. It’s ok to use any molds, but keep in mind that silicone molds help the lotion bars easily pop out once set.
The pine needles give this infused oil some pine scent, but if you prefer a stronger smell add some essential oils when making the bars!
Ingredients
For the Pine Infused Oil
Pine needles: Foraged pine or other conifer needles work perfectly to make this herbal infusion.
Olive oil: I prefer to use extra virgin olive oil.
Castor oil: For this herbal infusion, castor oil is optional. I recommend to use it because it is very hydrating and is great for dry skin. It only takes a little bit, and it is a nice addition for lotion bars.
For the Lotion Bars
Pine infused oil
Beeswax: I use beeswax from Mountain Rose Herbs.
Shea butter: I prefer to use refined shea butter for this recipe as it does not carry a scent.
Optional essential oils: Pine, fir, or spruce all work perfectly to add to the lovely forest scent!
Lotion Bar Recipe
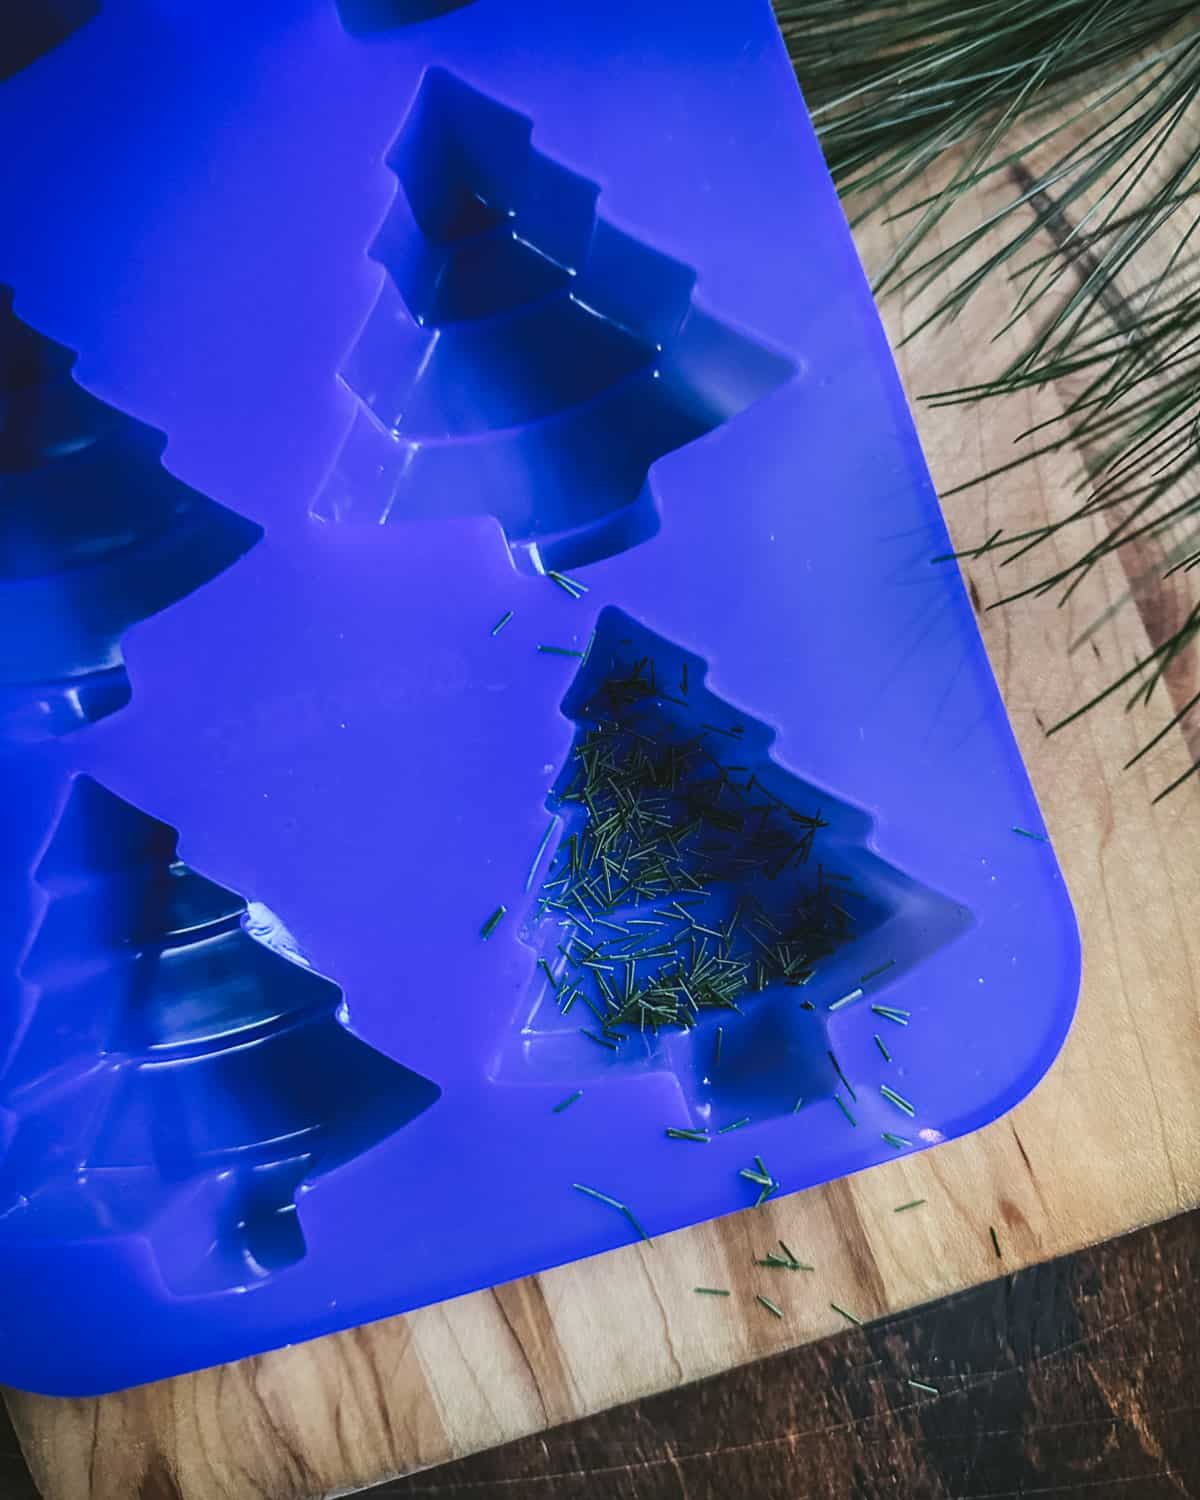
A cute option for this recipe is to place a few cut pine needles to the bottom of the molds before pouring in the lotion bar mix to make them look pretty.
Eastern white pine has relatively soft needles that work well for this, but some pines or other conifers may have rougher needles, so keep that in mind. It’s mostly for looks, so isn’t necessary at all!
To Make the Pine Infused Oil
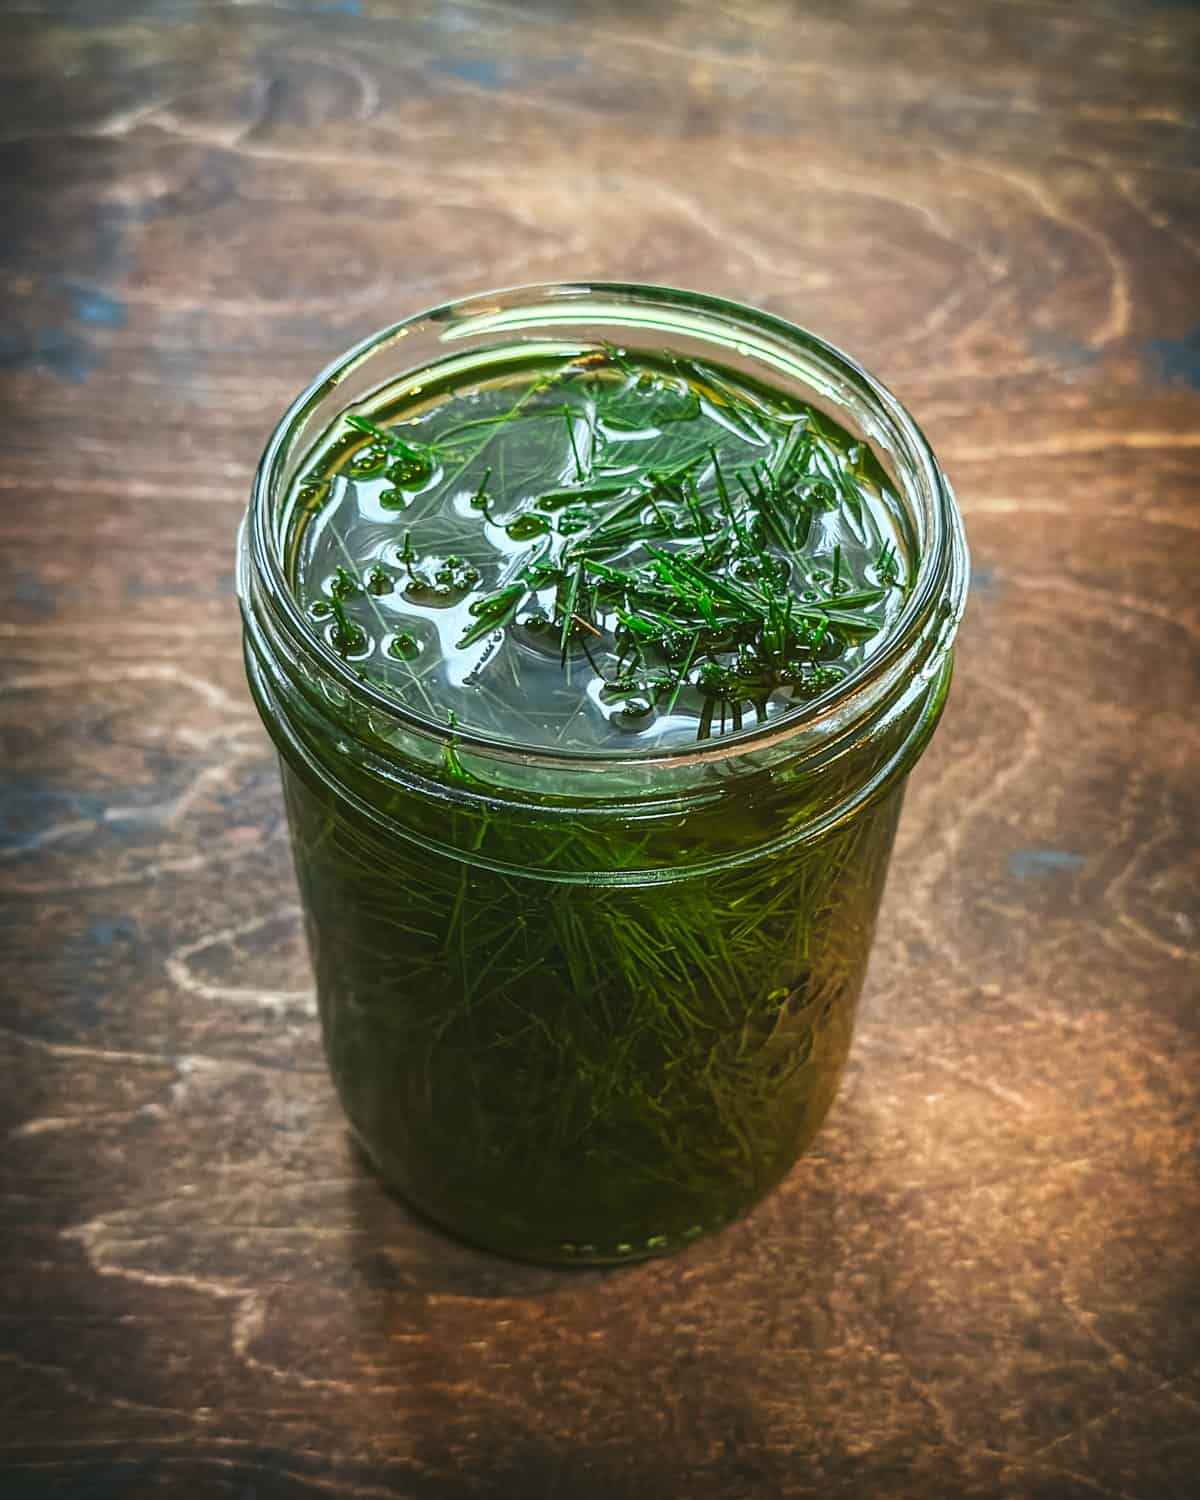
First, cut the pine needles into 1-inch pieces and put them in a half pint jar. Cover them completely with olive oil, then add the optional castor oil for extra hydration.
Cover the jar with a lid and store it in a cool place out of direct sunlight for at least a week. It’s ok to let it infuse for up to 6 weeks.
Then once the oil is fully infused and you are ready to make the lotion bars, it’s time to strain out the pine needles, reserving the amazing smelling pine infused oil.

To Make the Pine Lotion Bars
Now it’s time to make these moisturizing winter lotion bars! First, create a makeshift double boiler by putting a smaller pot, bowl, or glass measuring cup in a larger pot that has an inch or two of water in it.
While you bring the water to a simmer, measure out ½ cup (120ml) of the pine infused oil.
Note: You can save any extra infused oil to use topically!
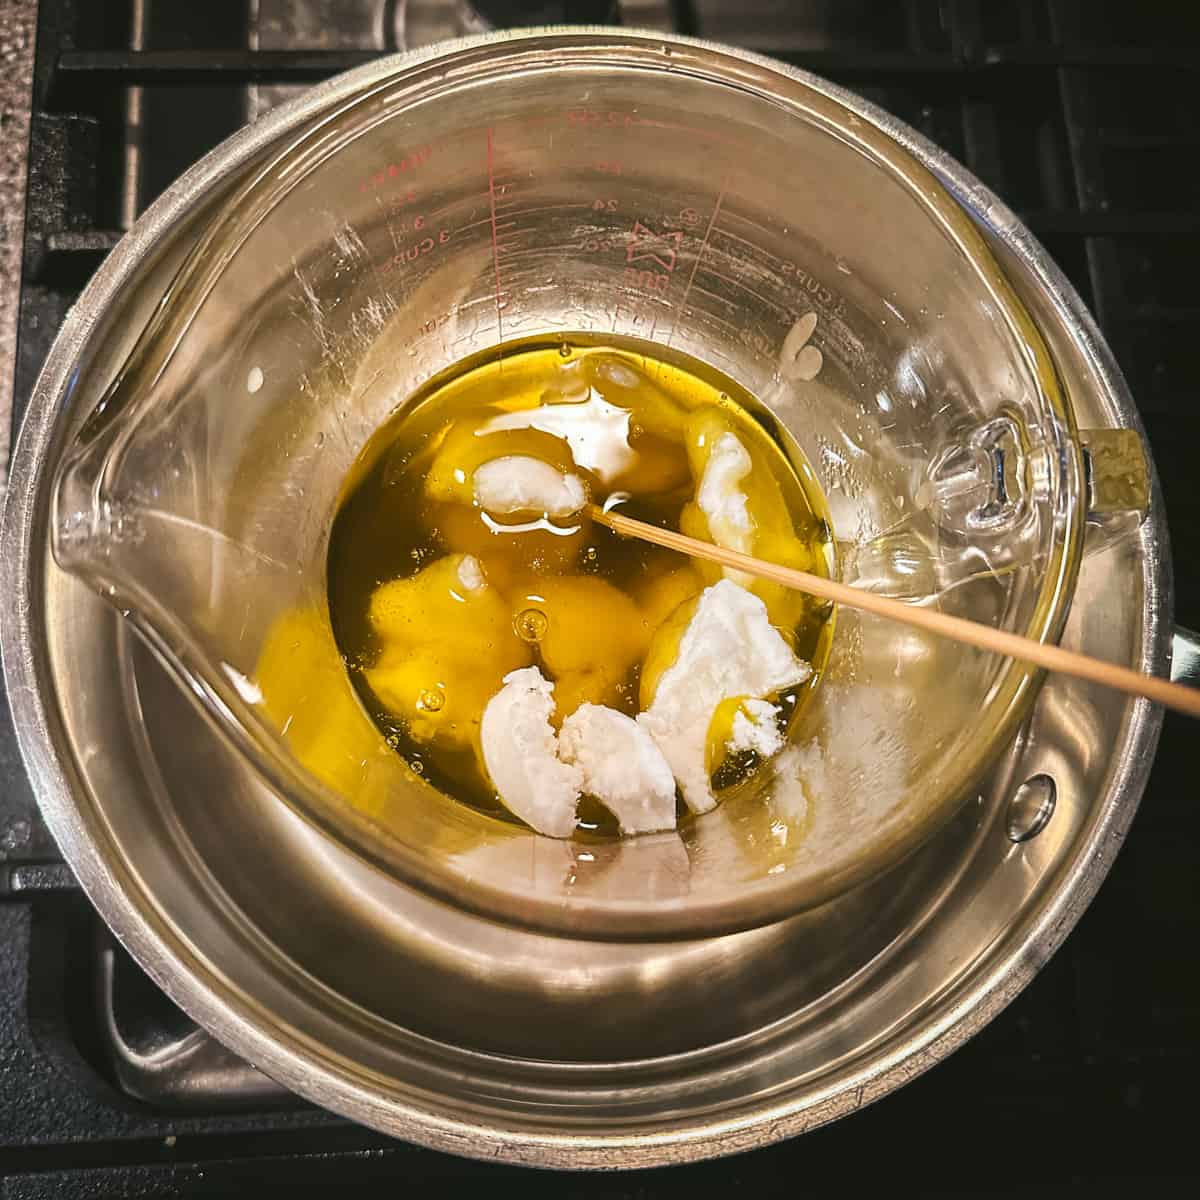
Pour the oil into the double boiler. Then, add the beeswax to the oil and continue to heat until it is completely melted. A wooden skewer works well as a stirrer, but use what you have.

Next, stir in the shea butter until everything is fully liquefied. Then, remove the mixture from the heat and quickly stir in the essential oils, if you decide to use them.
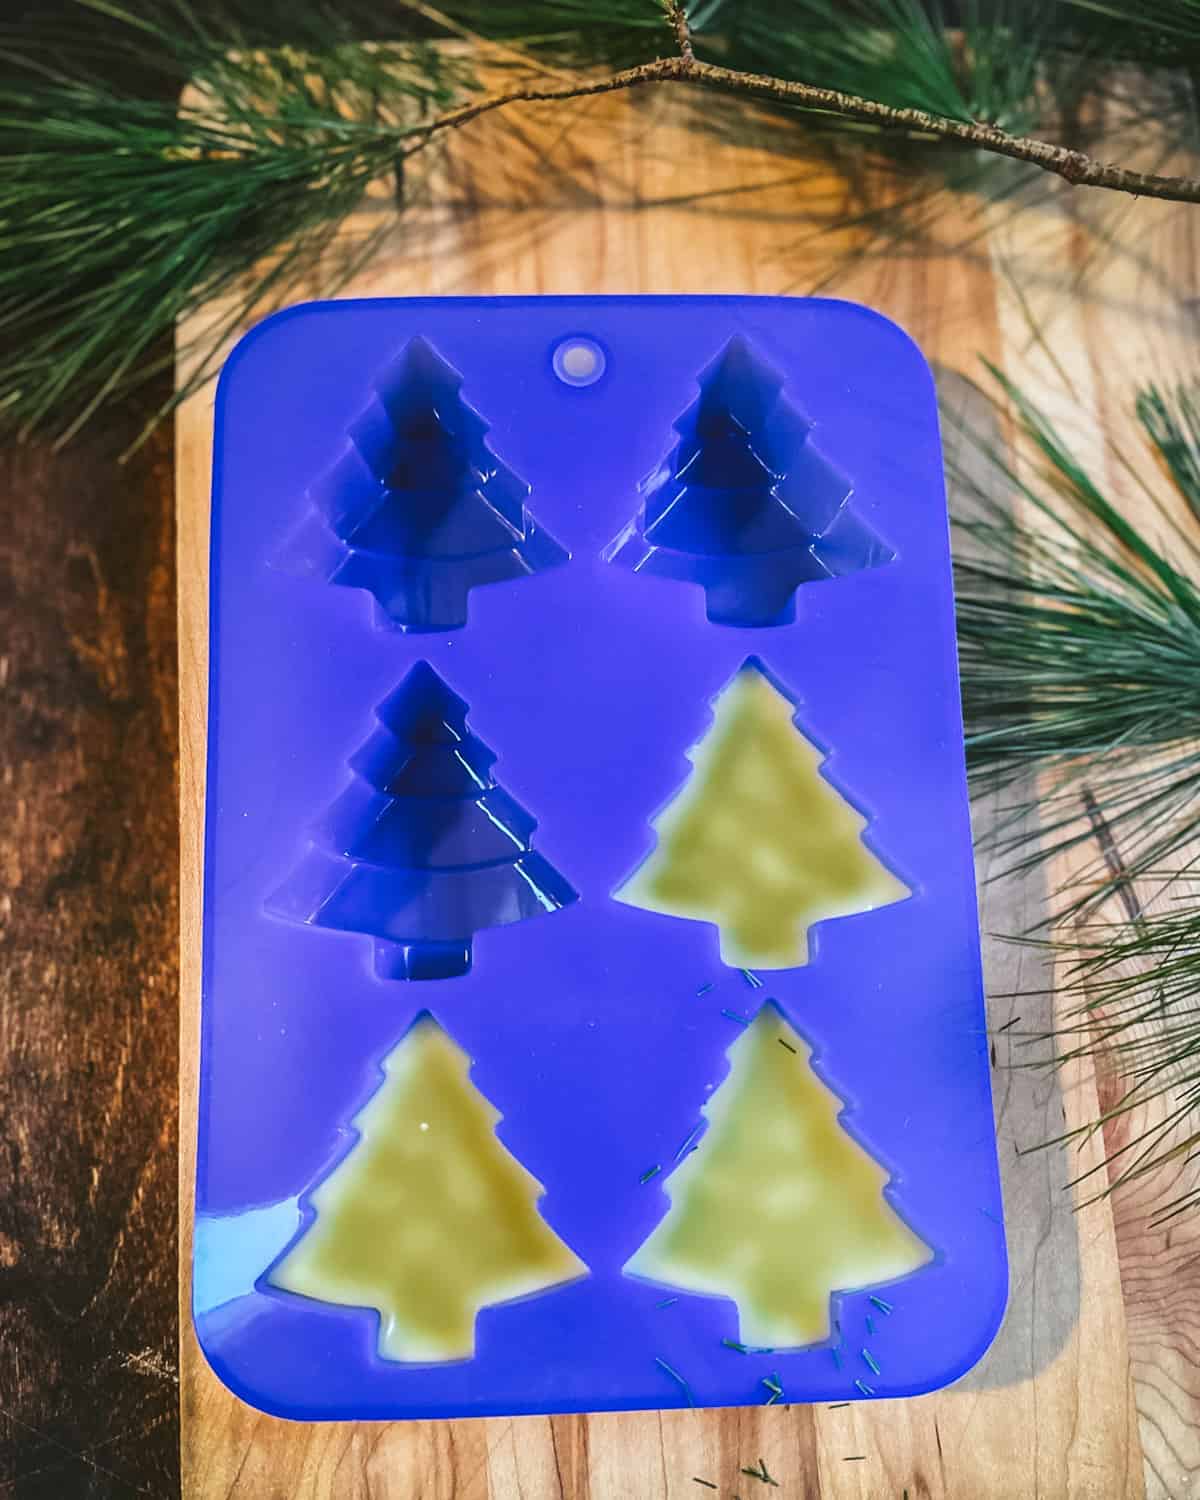
If you’d like you can sprinkle a few cut pine needles into the molds first before pouring the liquid in!
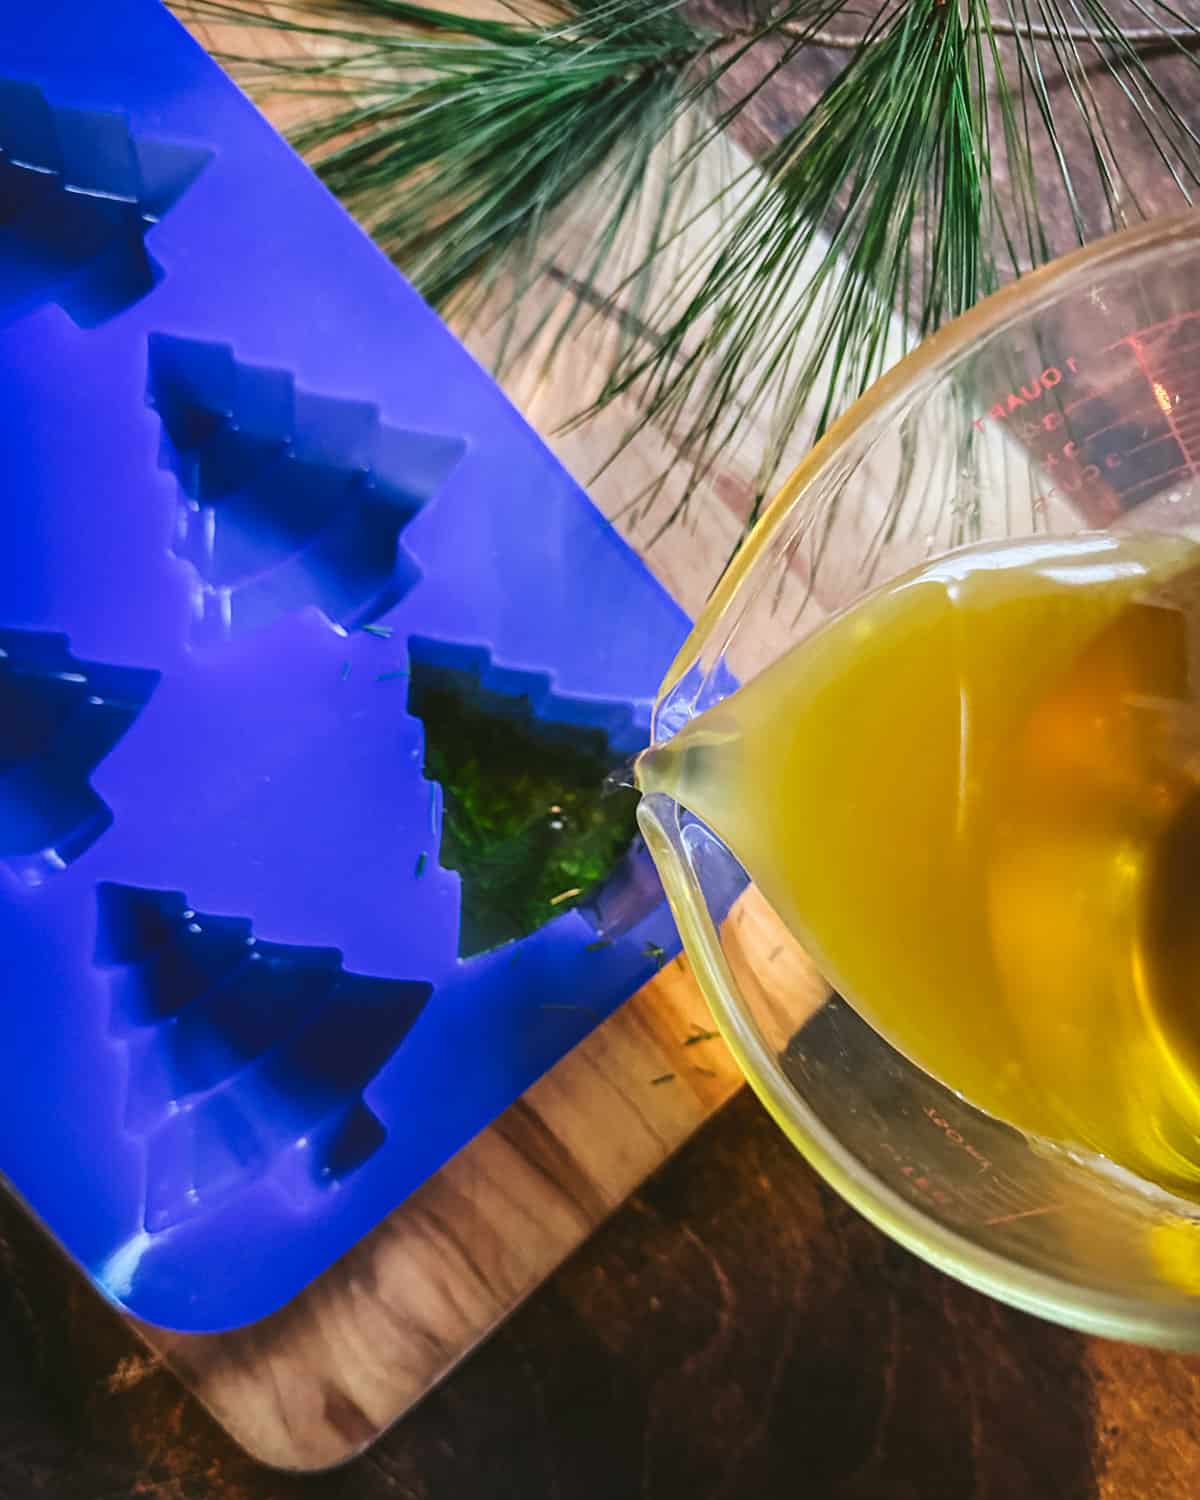
Now, as quickly and carefully as you can, pour the mixture into the lotion bar molds.
Let the lotion bars sit undisturbed until they solidify completely. This will take several hours.
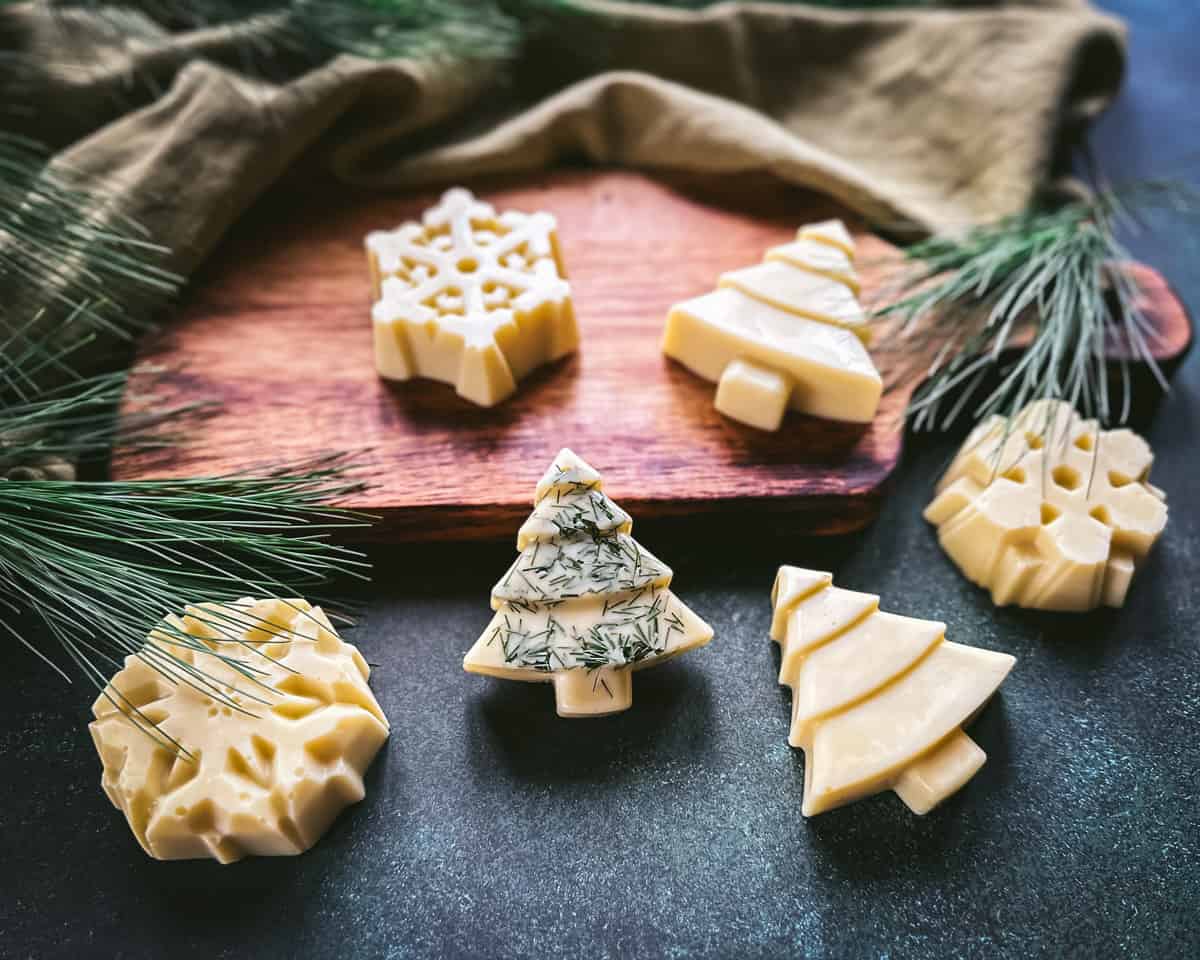
Then pop them out of the mold and store them in tins or other containers.
How to Use Pine Lotion Bars
Lotion bars work wonders on dry winter skin, and these have the added effect of a calming aromatherapeutic scent that transports your mind to a forest.
This recipe makes 6 or more lotion bars, depending on the size of molds you use, so they are perfect for gift giving! Just make sure to keep some for yourself too.
They’d be wonderful in an herbal self care basket with some rose hip facial oil, conifer infused body oil, calendula lip balm, and rose hip soap.
The best way to get the most out of pine lotion bars is to use them on warm skin right out of the bath or shower. You’re skin will be luxuriously moisturized and you will feel instantly relaxed from the scent!
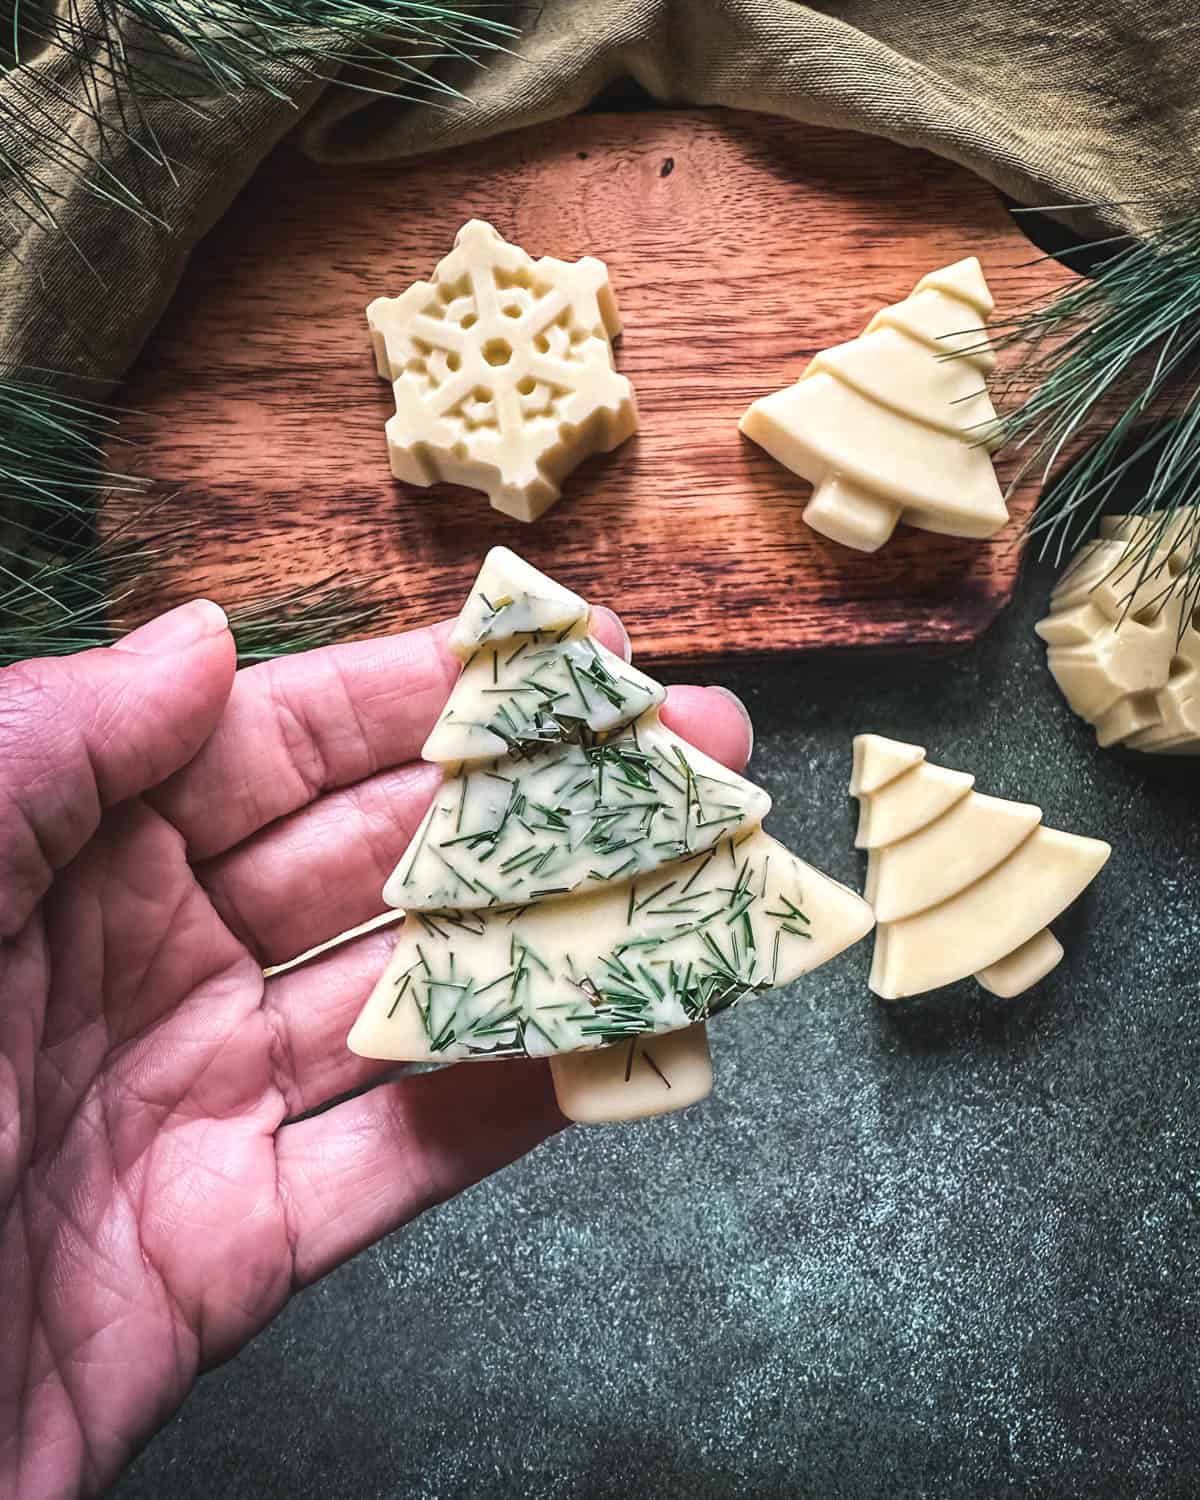
Since these are kept in tins, they are also great for travel or keeping in a bag. Grab one any time, warm it up in your hands and gently rub it on any dry areas in need this winter!
More Pine Needle Uses
- Pine Needle Infused Honey
- Pine Needle Tea
- Winter Spice Pine Soap
- Conifer Needle Shortbread Cookies
- Pine Needle Cough Syrup
- Conifer Hot Toddy
- Pine Needle Soda
- Pine Needle Cookies
- Pine Salve
- Pine Lotion Bars
- Conifer Tip Syrup
Pine Lotion Bars
Equipment
Ingredients
Pine Infused Oil
- 1/2 cup pine needles or other conifer needles
- 3/4 cup olive oil
- 1 tablespoon castor oil optional
Pine Lotion Bars
- 1/2 cup pine infused oil
- 3 ounces beeswax
- 4 ounces refined shea butter
- 24 drops pine, fir, or spruce essential oil (optional)
Instructions
Pine Infused Oil
- Cut the pine needles into 1-inch pieces and put them in a half pint jar. Cover them completely with olive oil, then add the castor oil if using.
- Cover the jar with a lid and place in a cool place out of direct sunlight for at least a week and up to 6 weeks.
- Once the oil is fully infused and you are ready to make the lotion bars strain out the pine needles, reserving the infused oil.
Pine Lotion Bars
- Create a makeshift double boiler by putting a smaller pot, bowl, or glass measuring cup in a larger pot that has an inch or two of water in it, and bring the water to a simmer
- Measure out ½ cup (120ml) of the pine infused oil (save any excess oil you may have to use topically).
- Put the oil into the double boiler. Add the beeswax to the oil and continue to heat until it has completely melted. A wooden skewer works well as a stirrer.
- Stir in the shea butter until everything is fully liquefied, then remove the mixture from the heat.
- Quickly stir in the essential oil, if using.
- Quickly and carefully pour the mixture into the lotion bar molds. If you’d like you can sprinkle a few cut pine needles into the molds before pouring.
- Let the lotion bars sit undisturbed until they solidify completely. This will take several hours. Then pop them out of the mold and store in tins or other containers.

This recipe sounds great, especially for me dry skin!
Much appreciate this x-mas foraging idea.
What specific pine needles do you think would make the most aromatic infused oil? What about juniper?
There’s alot of different types to choose from near me. :)
Juniper would be nice. It’s really hard to capture the scent with only the needles, which is why I also suggest adding some conifer essential oil.
Thank you for sharing this recipe! I can’t wait to make these as I’m certain they will smell absolutely incredible.
Is there a time of year (spring versus fall, etc.) that is best to pick pine needles for these types of recipes, or does it matter?
Thanks!
Nope! Pines are evergreen, so you can forage their needles whenever you like!